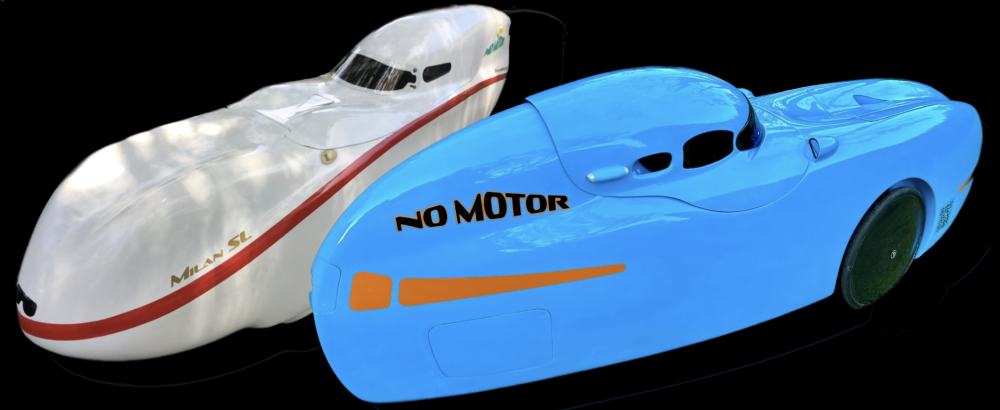
Last July, my Milan SL developed a cracked boom. It probably wasn’t a single event, more like a growing splintering of the sides of the boom. It became evident to me one day when I took off from a stop and my chain came off of the chain ring. This never happens. Upon closer inspection, I could see that, under load, the boom would bend enough to the left to dislodge the chain from the chain ring.

I had a cracked boom on my DF a while ago apparently from over tightening the bottom bracket sled clamps. I was able to successfully reinforce that boom from the inside by laminating carbon fiber and applying pressure using an inner tube as a bladder while the epoxy cured. Unfortunately, the same cure wasn’t available on the Milan. I wasn’t able to work in the interior of the boom tube since neither end of the boom was open. I tried patching it on the outside, then grinding it back down to the 40mm x 40mm square shape required by the bottom bracket sled and clamps. I also added a vertical brace at the cockpit end of the boom and one near the nose of the boom. This whole effort reduced the boom movement under load, but didn’t really solve the problem completely. Back to the drawing board.
I had to bite the bullet and do major surgery. The old boom and added struts had to be removed and replaced with a new boom and supports. With total removal of the old 40mm x 40mm boom, I now had the option of installing a stiffer 50mm x 50mm boom as used on the new Bulk velomobile. So I contacted velomobileworld.com to order a new section of 50×50 carbon fiber tubing, the larger bottom bracket sled and a crankset that fit the new threadless bottom bracket.
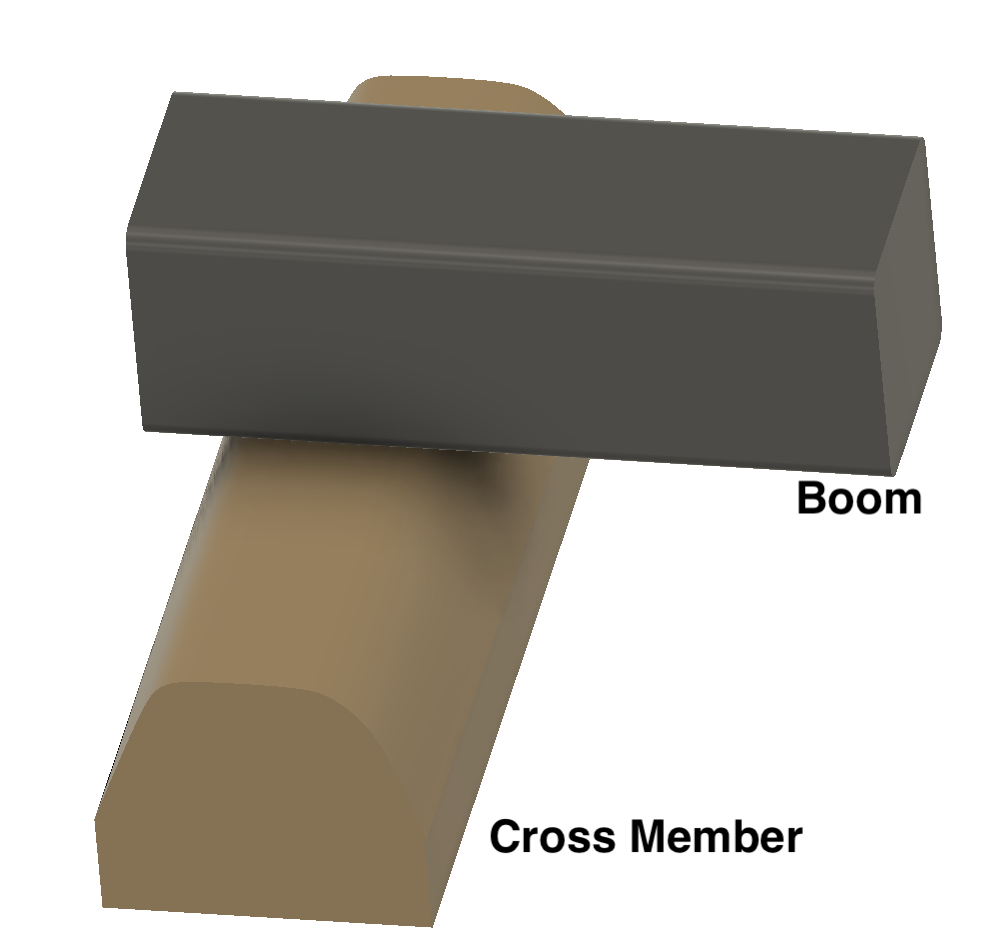
Now the question became how to mount the new boom. Should I remove all of the old structure and redesign the fore and aft mounts? This would also entail redesigning the front idler mount. I opted to leave the existing boom pedestal on the cockpit end. This also serves as the front idler mount. The old boom could just be severed where it joined the pedestal and the new boom could be bonded in the same location. The mounting of the old boom on the nose end was surprisingly simple. It was just laid on top of a cross member in the nose and bonded to that cross member at the intersection. There was no added structure. I could easily cut away the old boom and bond the new boom to the cross member in a similar fashion – although I would end up adding some carbon fiber supports tying the boom to the cross member.
There was one problem looming over the whole project. The Canadian Milan SL was built without any open access to the front half of the interior of the velomobile. Doing surgery in the nose would require longer arms than I posses. There was no getting around the fact that I’d first need to build an access hatch near the nose to remove the old boom and install the new boom.
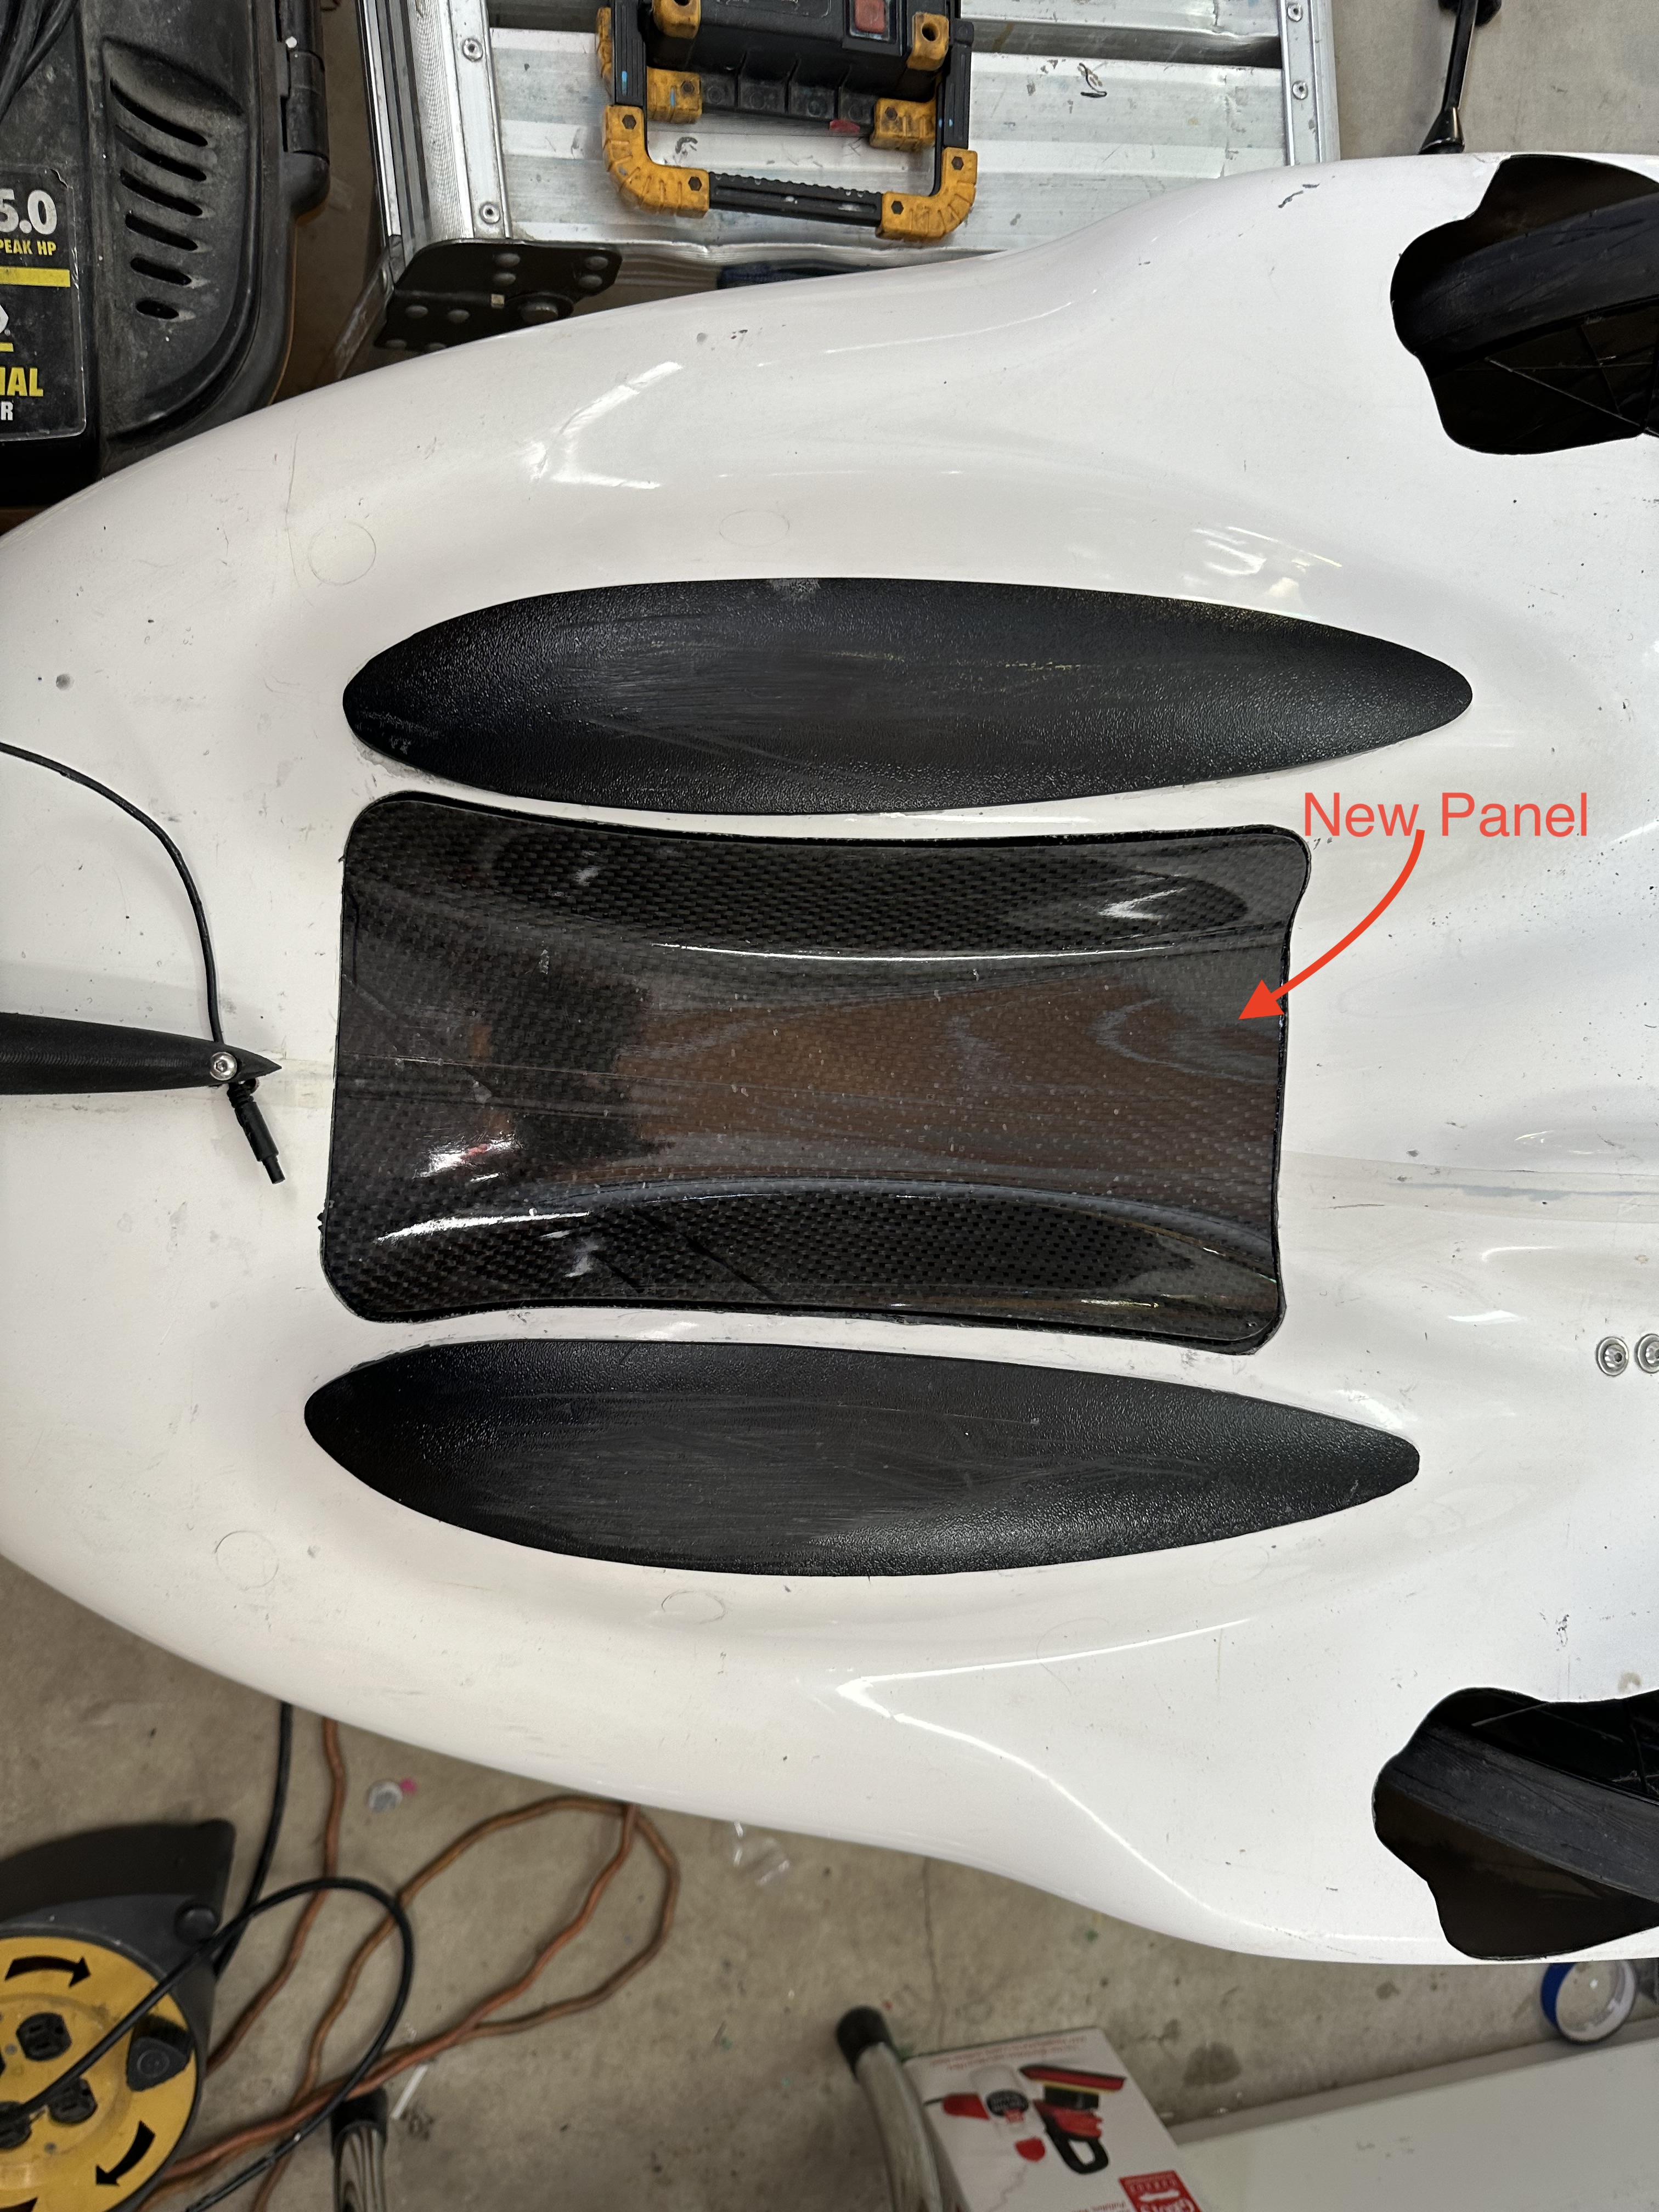
The new opening would need to be reinforced to maintain the strength of the Milan’s shell. It had to have a flush mounted access panel and it could not look like a home made hack job. To give myself a little leeway on that last point, I decided to install the opening out of sight on the bottom of the Milan. The size and shape of the opening were dictated by the structures inside the front area of the cockpit. There were the 2 side luggage compartments, the boom pedestal and the front crossmember to work around.
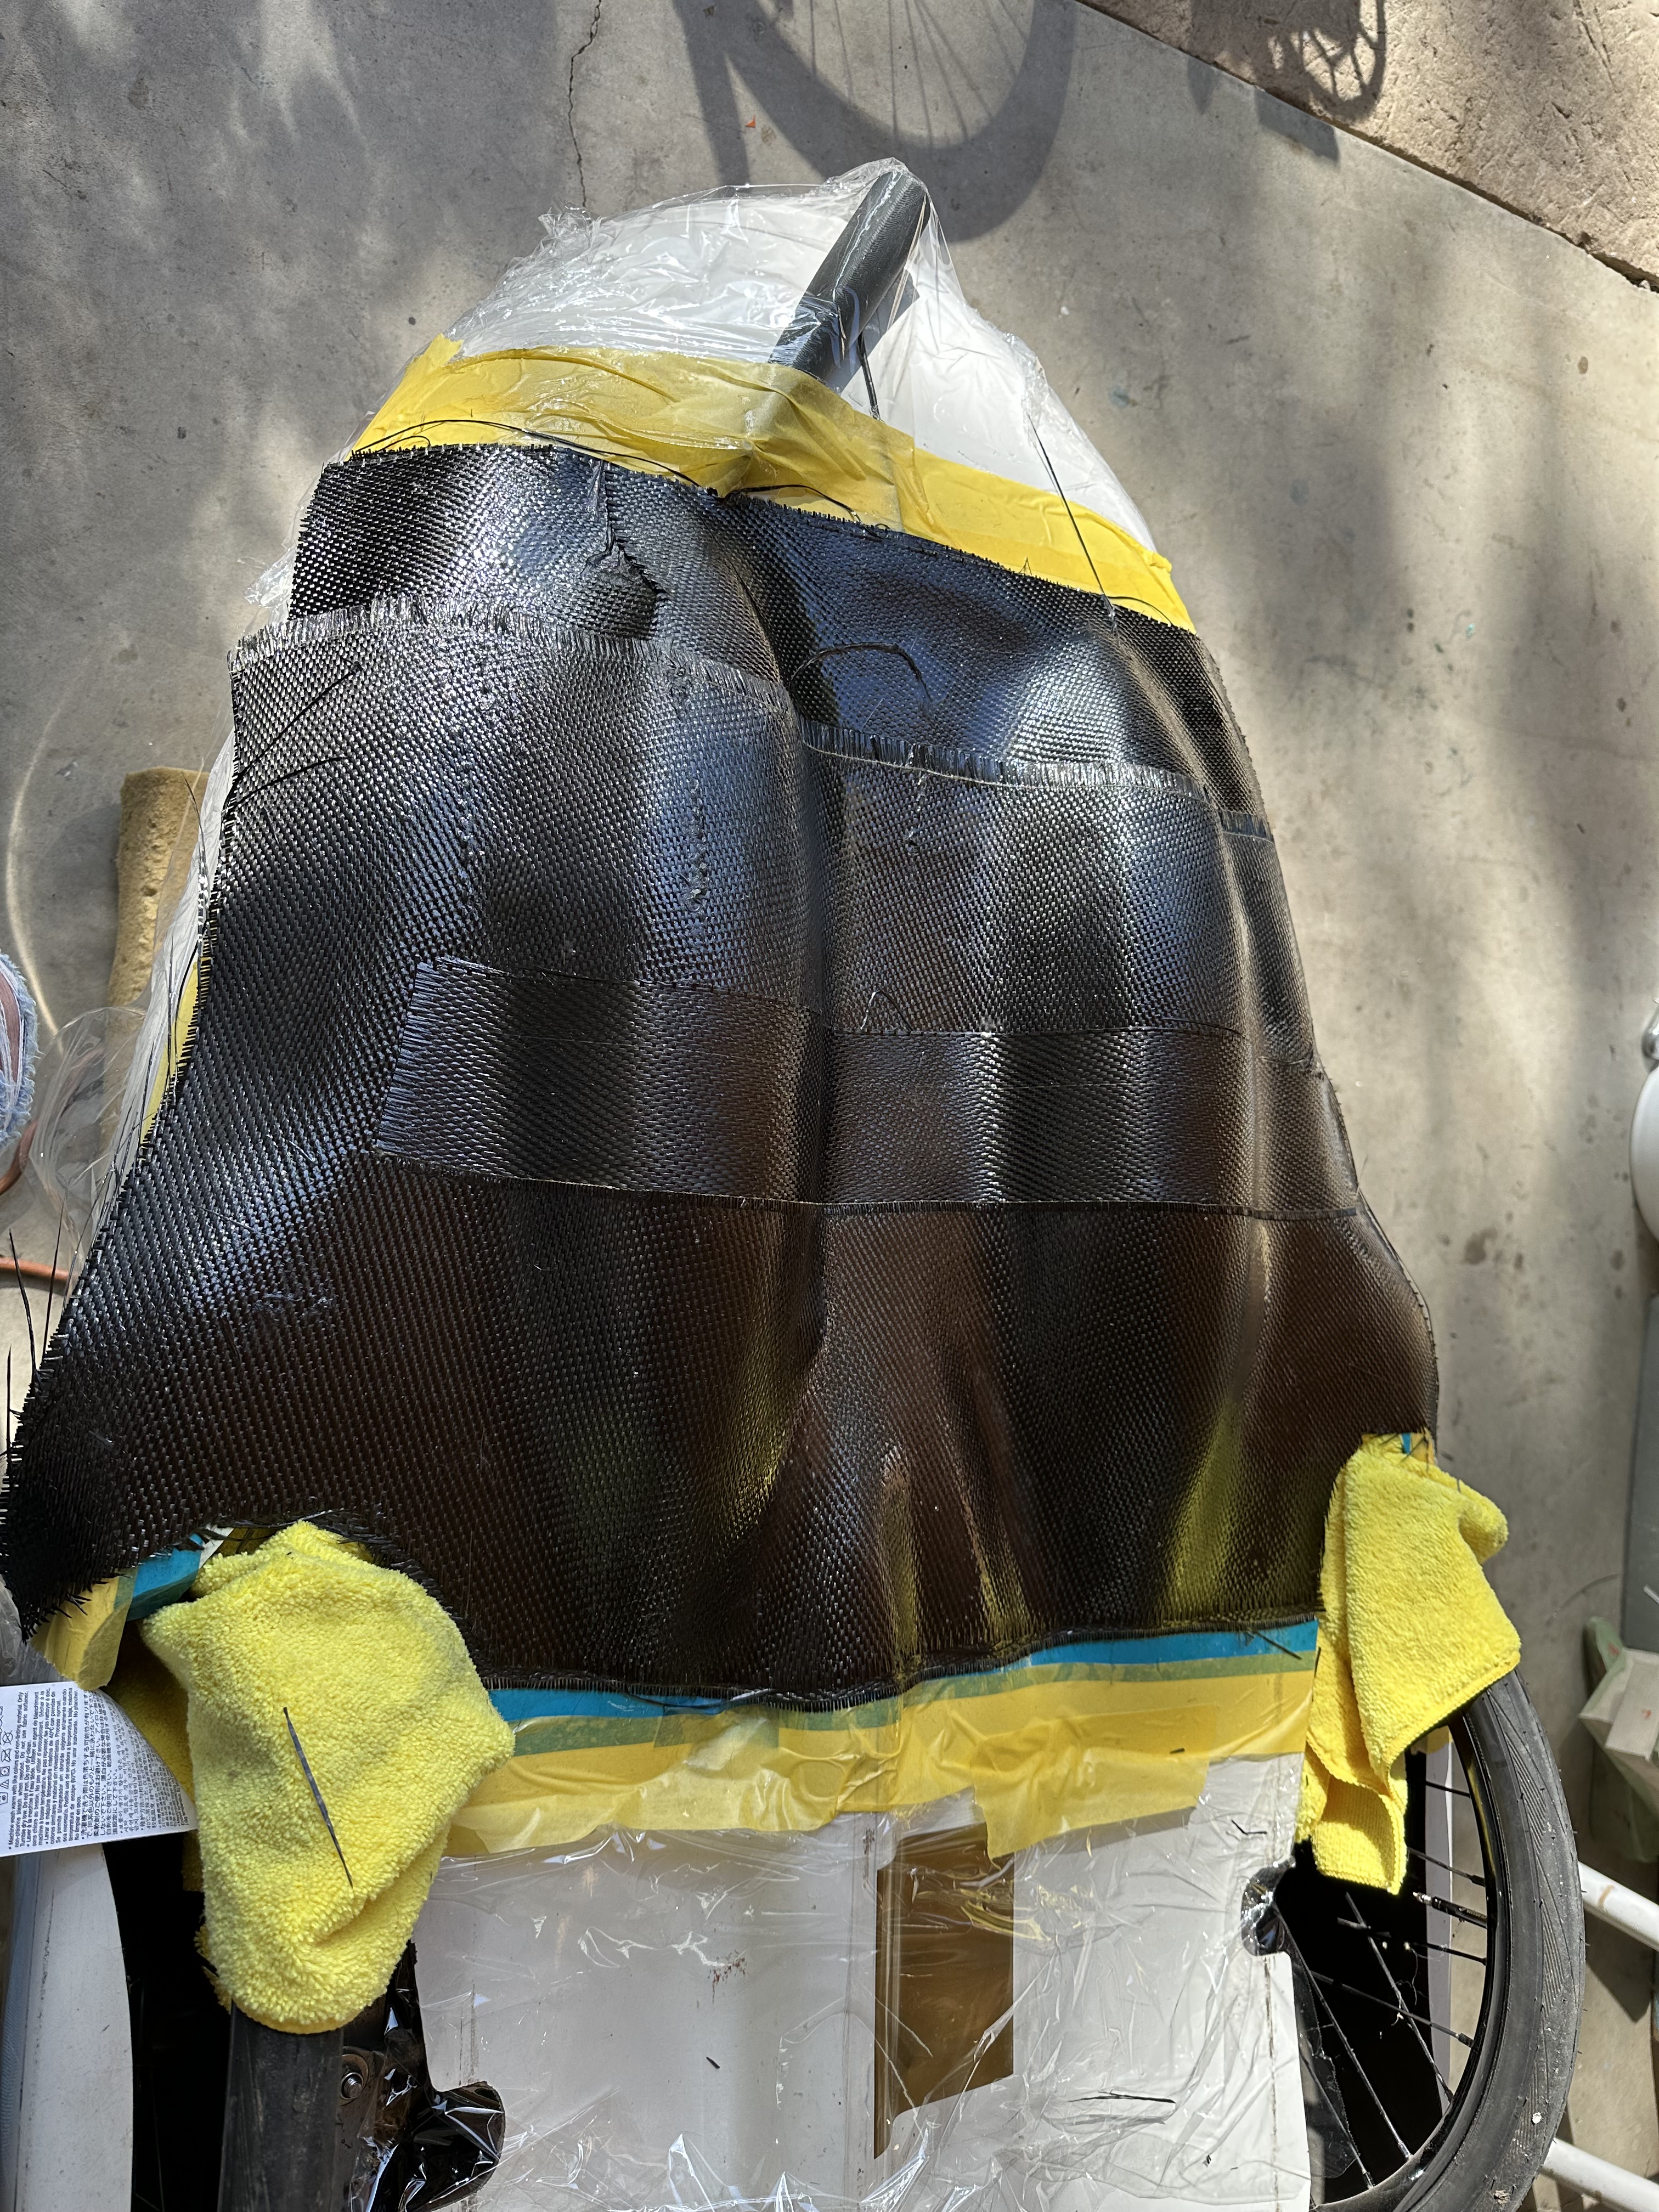
Before doing any cutting, I made a mold of the bottom front portion of the Milan. This would be necessary to construct a reinforcement ring, a flange and an access cover for the opening. This also gave me some extra confidence knowing that I could restore the Milan bottom if I were to totally mess things up.


Besides bonding the new boom onto the existing pedestal and crossmember, it seemed like a good idea to add some reinforcements. At the cockpit end of the boom, I made a carbon fiber vertical support going from the top of the boom to the reinforcement rib on the underside of the cowling. For this piece, I shaped a foam prototype, body worked it then made a mold of the prototype. I purposely built this support with the opening of the boom uncovered. This would allow me future access for repairs and also the potential to use the boom as a cooling duct.


At the front attachment, I used a technique of molding compressed, chopped carbon fiber called Forged Carbon fiber to make left and right support structures to reinforce the boom connection to the front cross member. This technique involved modeling the structure in Fusion 360. In Fusion 360, I then built a solid shape that enclosed the structure. Combining and subtracting the structure with the solid shape left a negative impression or mold of the desired part. I could then easily have Fusion 360 generate the mirror image of that mold. From there, I 3D printed both (L & R) molds. The forged carbon fiber parts were then made in those molds and bonded in place using structural epoxy adhesive.


Using a larger cross section tube for the boom introduced a couple of other minor considerations. The location of the bottom bracket spindle had to remain at the same relative height as the old spindle in order to prevent my toes and heels from scraping the inside of the nose. Fortunately, the new bottom bracket sled positioned the spindle closer to the boom surface than the old plastic sled by about 4mm. This reduced the 10mm offset of the new taller boom. I had to remove only about 6mm of material from the pedestal and the cross member in order for the new bottom bracket spindle to keep the correct vertical position.
The headlights were mounted on a bracket on top of the old boom. By correctly positioning the new boom vertically, I was able to mount the lights on top of the boom, maintaining the correct alignment with the body opening for the headlights.

One future enhancement that I’m considering is adding a fresh air opening in the nose. The boom is open at both ends so any air passing through would flow right to the rider. As it stands now the only opening in the nose is occupied by the 2 headlights that sit on top of the boom.
Was it worth the effort? It was a lot of work, but I’d say that it was absolutely worth it. Adding the new access hatch and larger boom have really enhanced the Canadian Milan SL. The boom is rock solid. Adjusting the bottom bracket, the front derailleur and changing chainrings up front no longer require major gymnastics with the addition of the access hatch.
