“Screwless” Derailleur Cover For the DF

This modification falls under the category of “that guy must have too much time on his hands”. I’ve admired how the Alpha 7 foregoes the use of screws to mount the front access panel and the rear derailleur panel. The DF has unsightly M4 screws holding both panels in place. I’ve already converted the mounting of my DF’s front access panel from screws to magnets. However, my rear derailleur panel was still held on with M4 screws. OK. This is really a pretty trivial thing. I know. But, with the encouragement of my friend, Doug, I decided to convert my panel to mount securely with magnets. This modification had to be reversible so no permanent changes would be made to the DF.

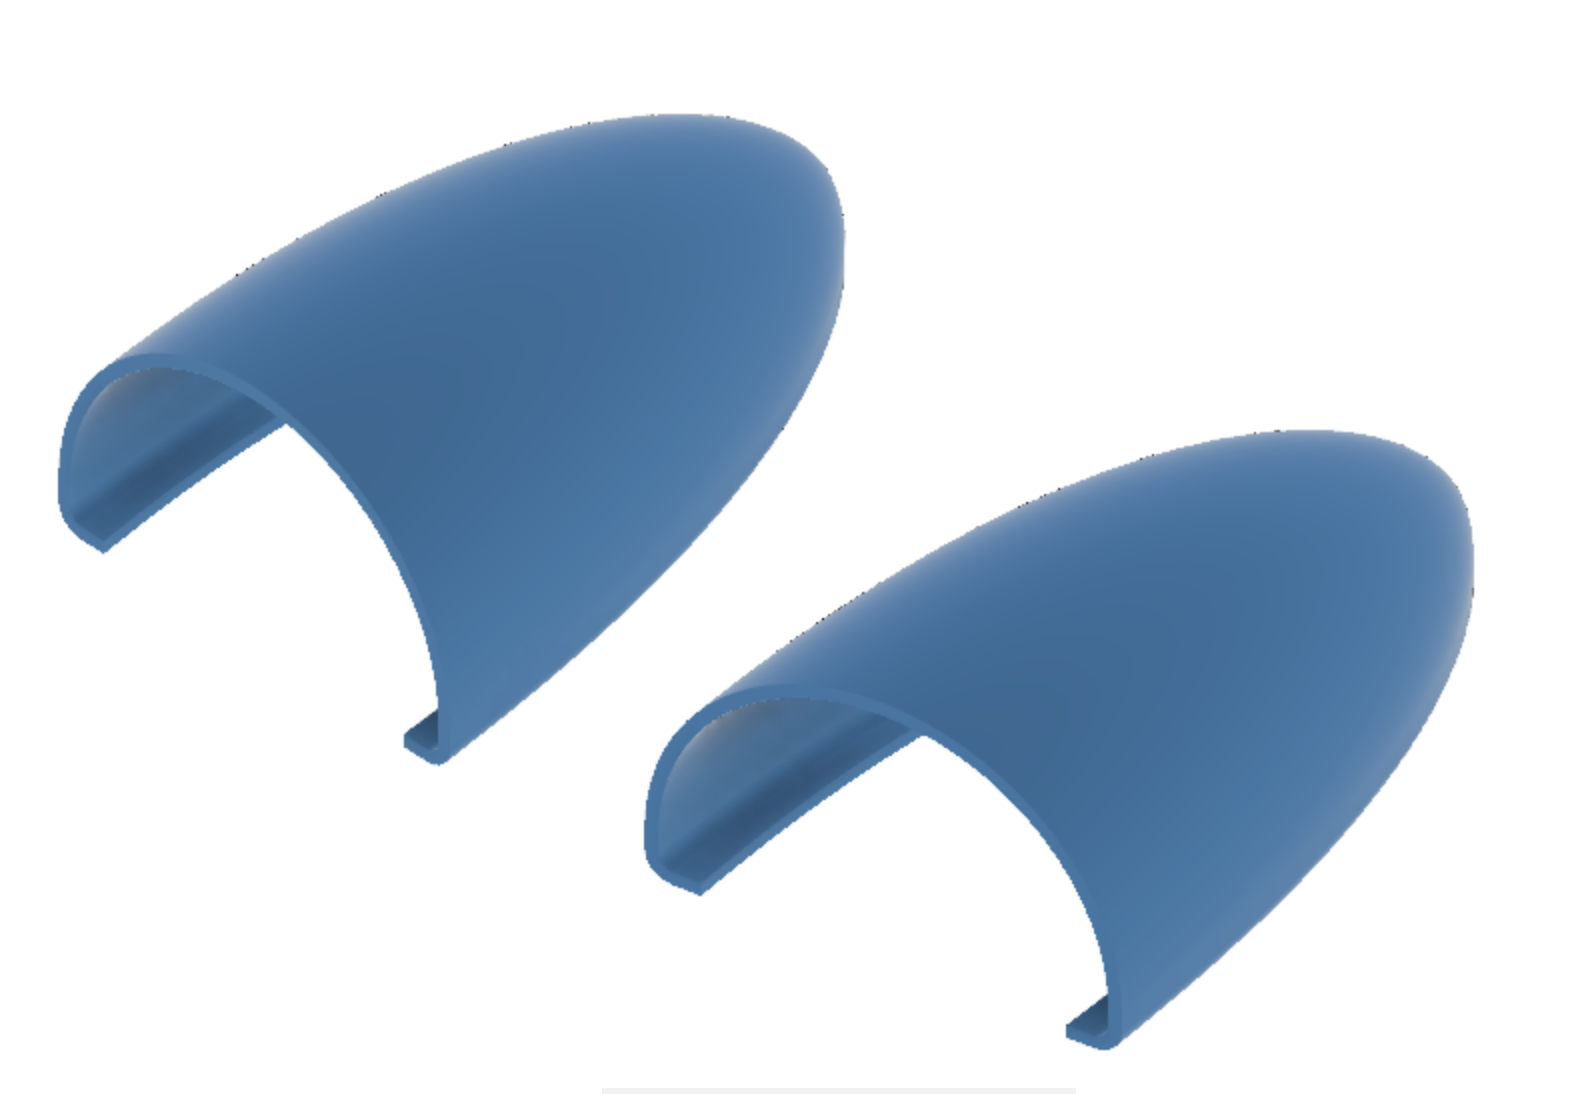
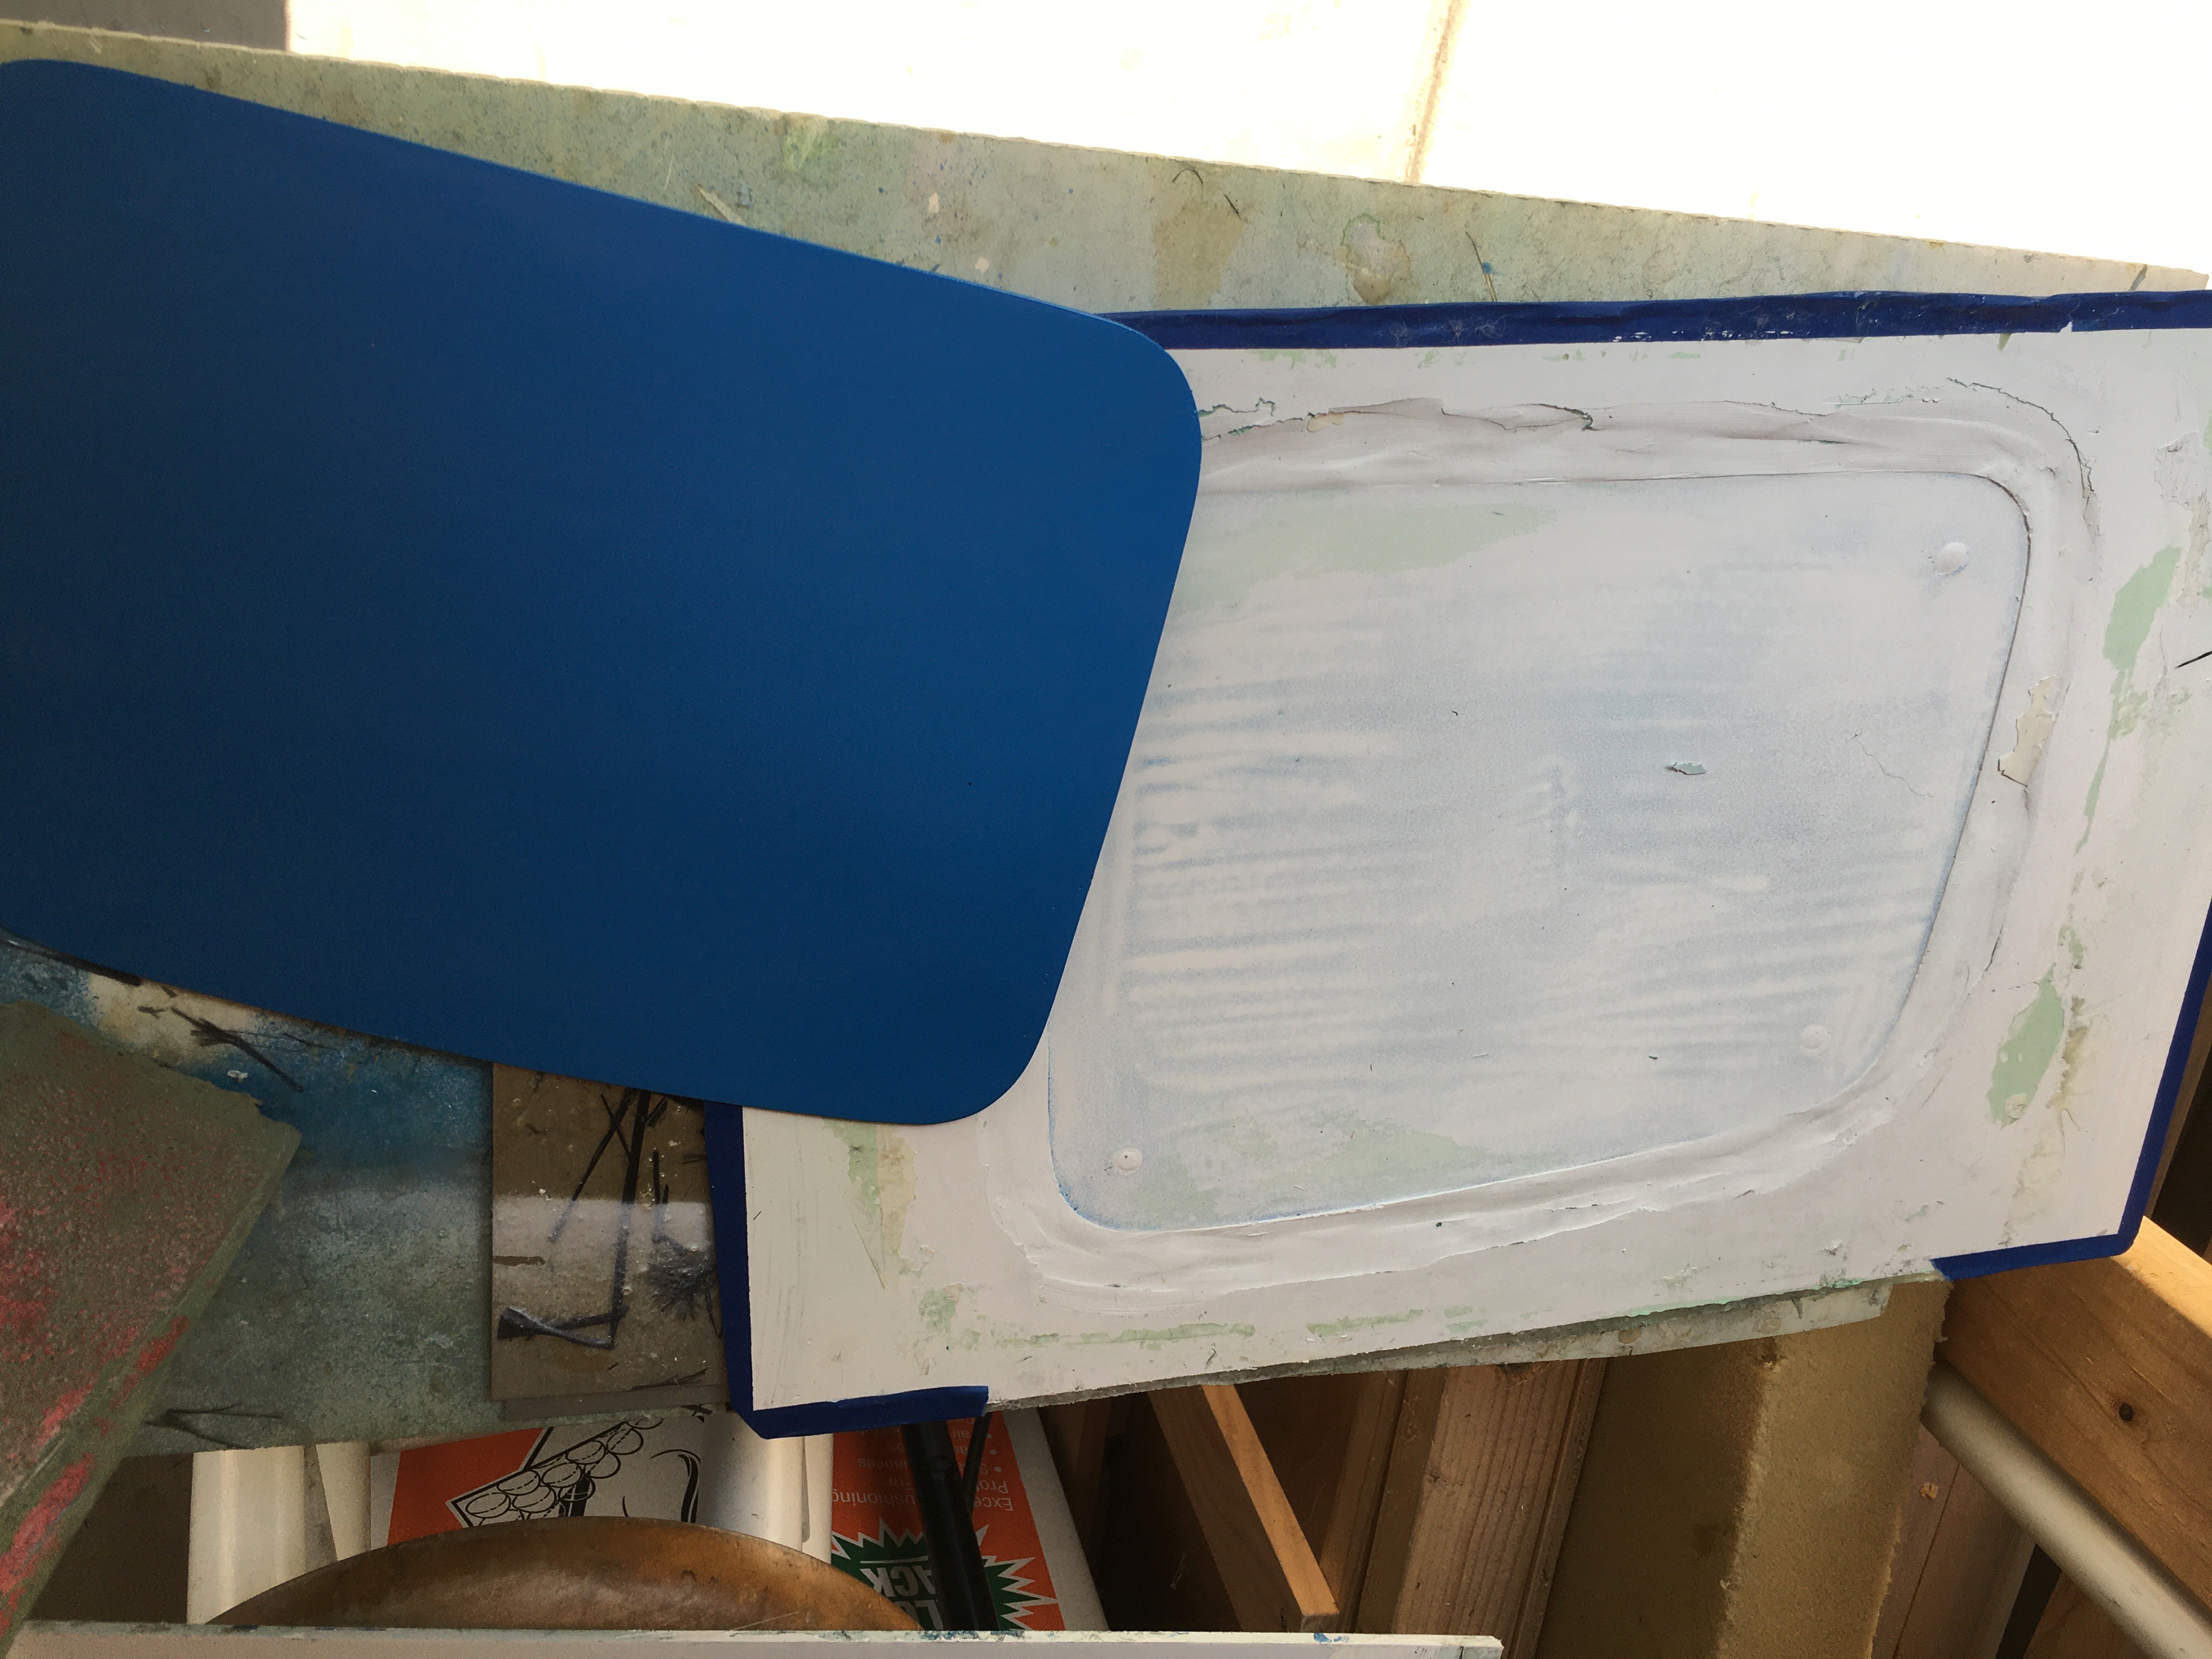
I first made a mold of my existing rear panel so that I could make my own copies and keep my factory panel intact. I laid up my first part with a layer of gelcoat and 2 plys of carbon fiber twill. This part came out slightly thicker than stock by still usable.

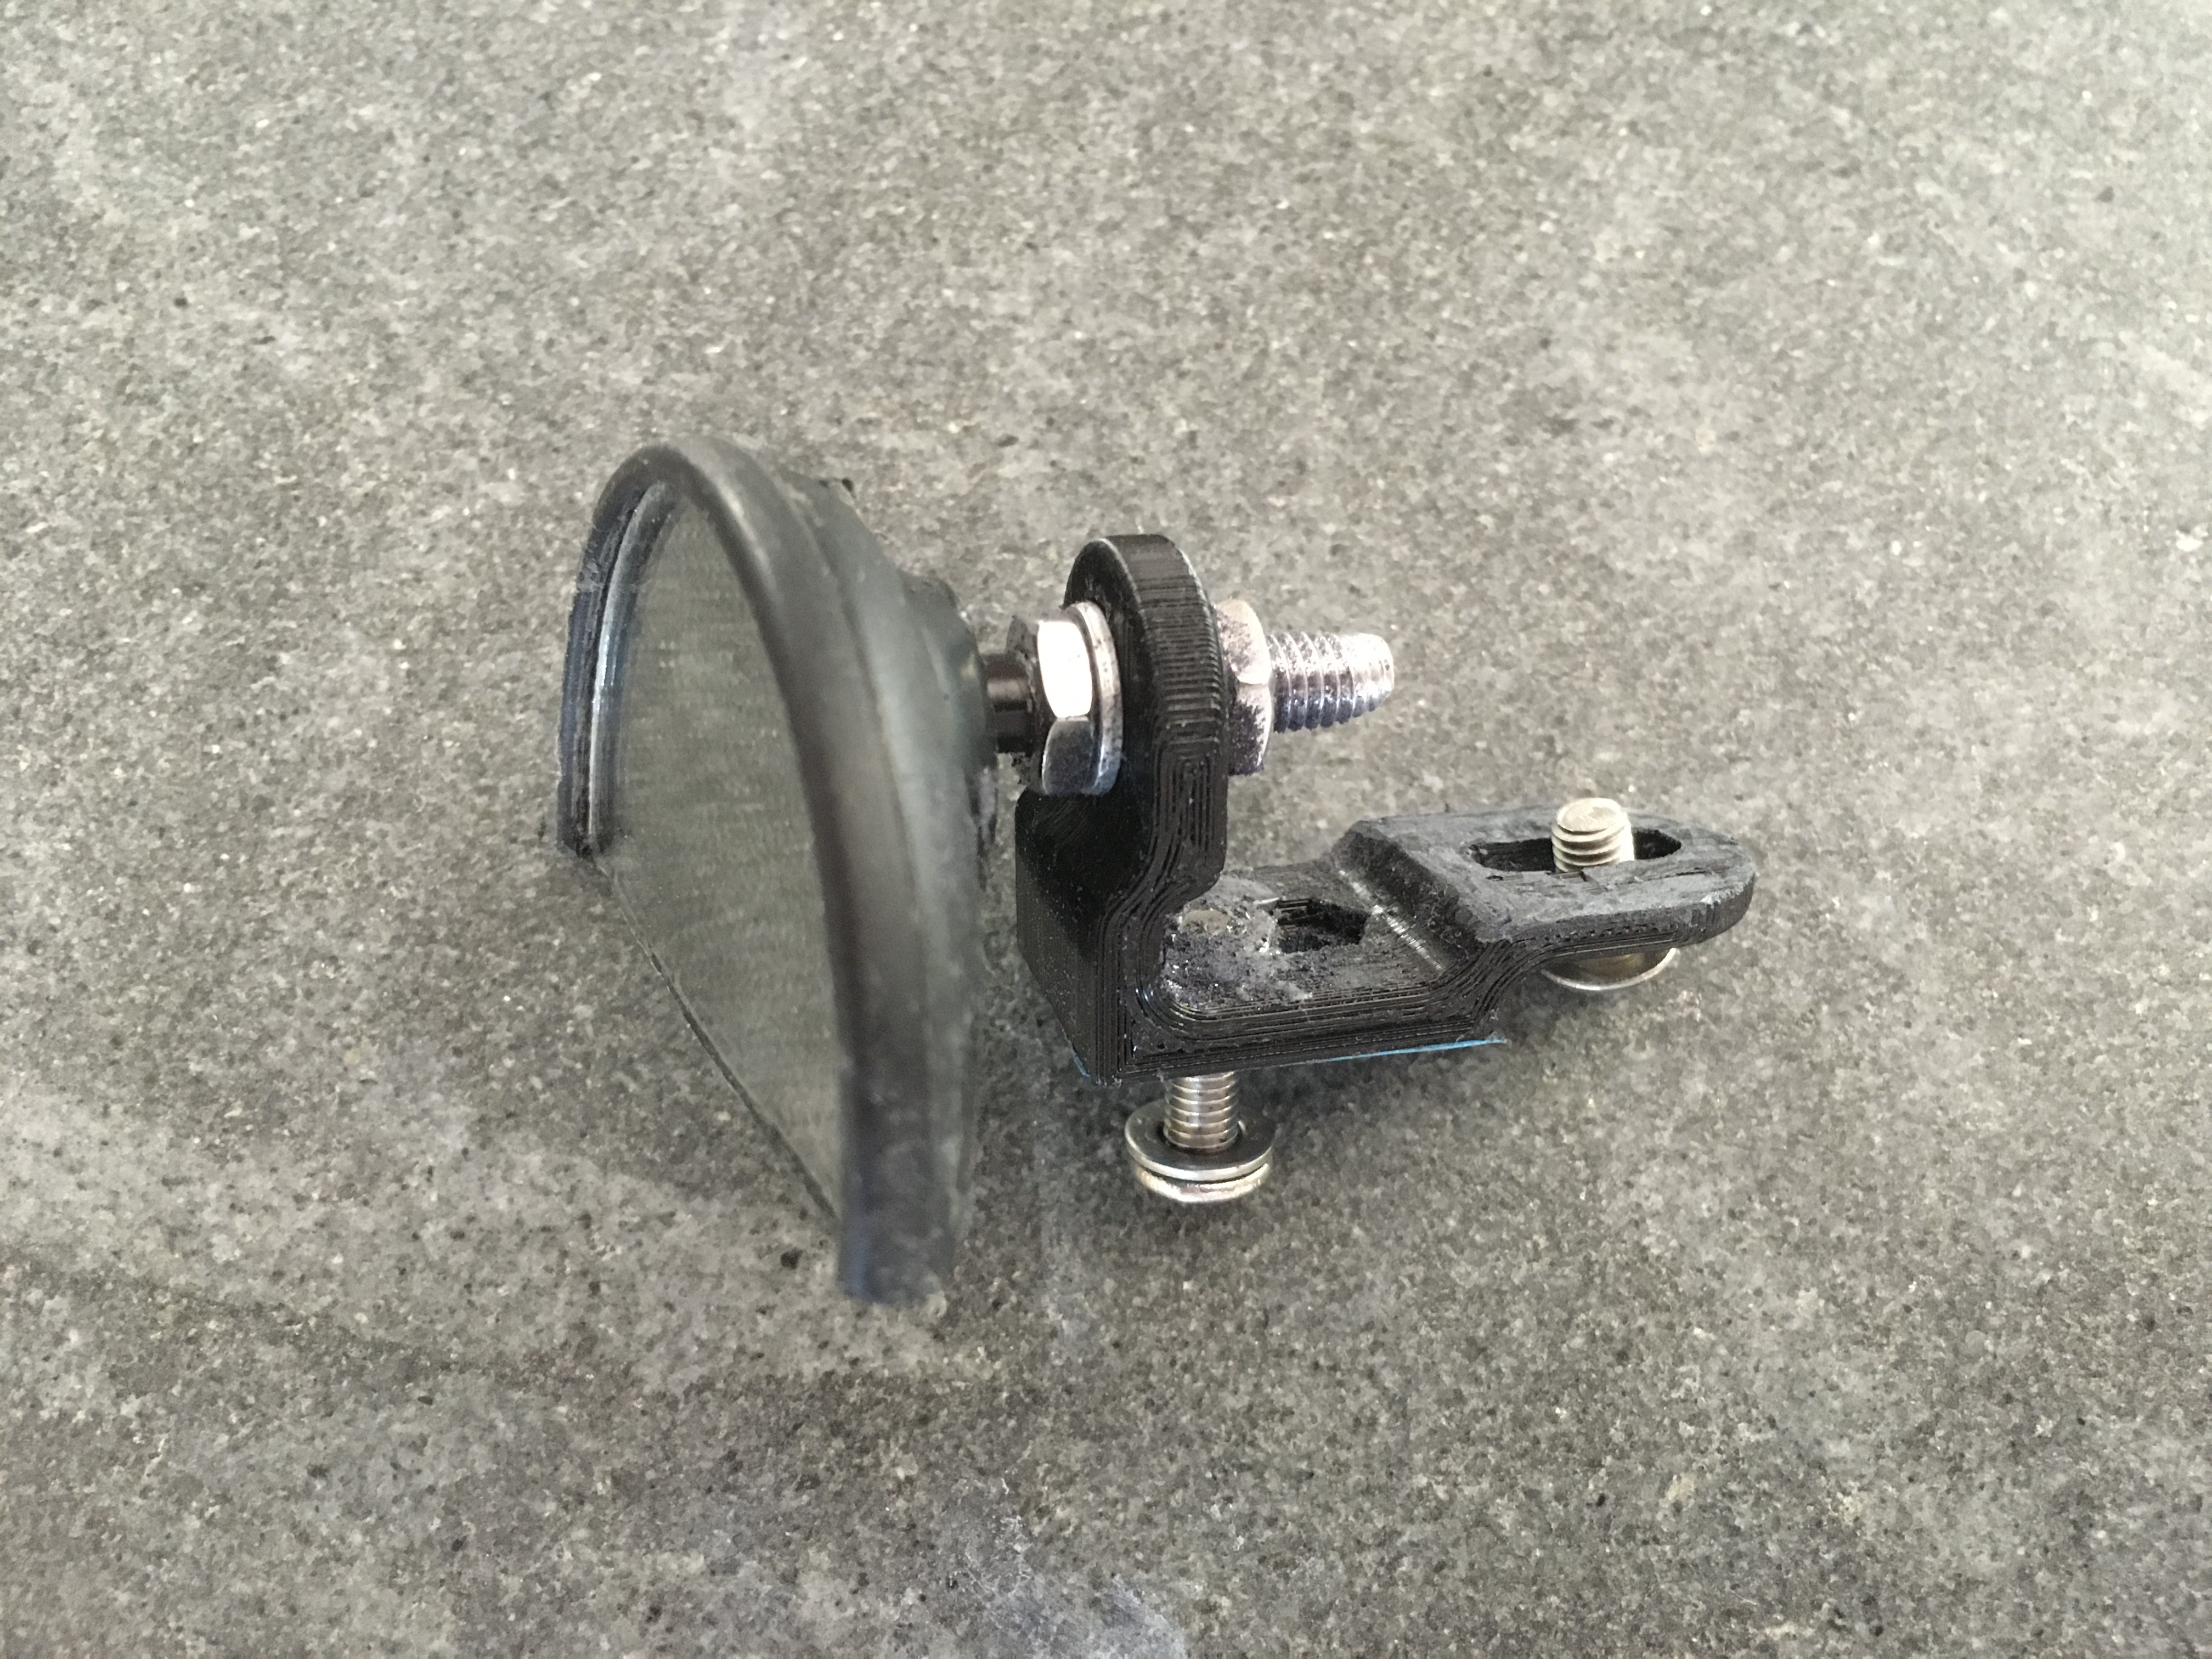
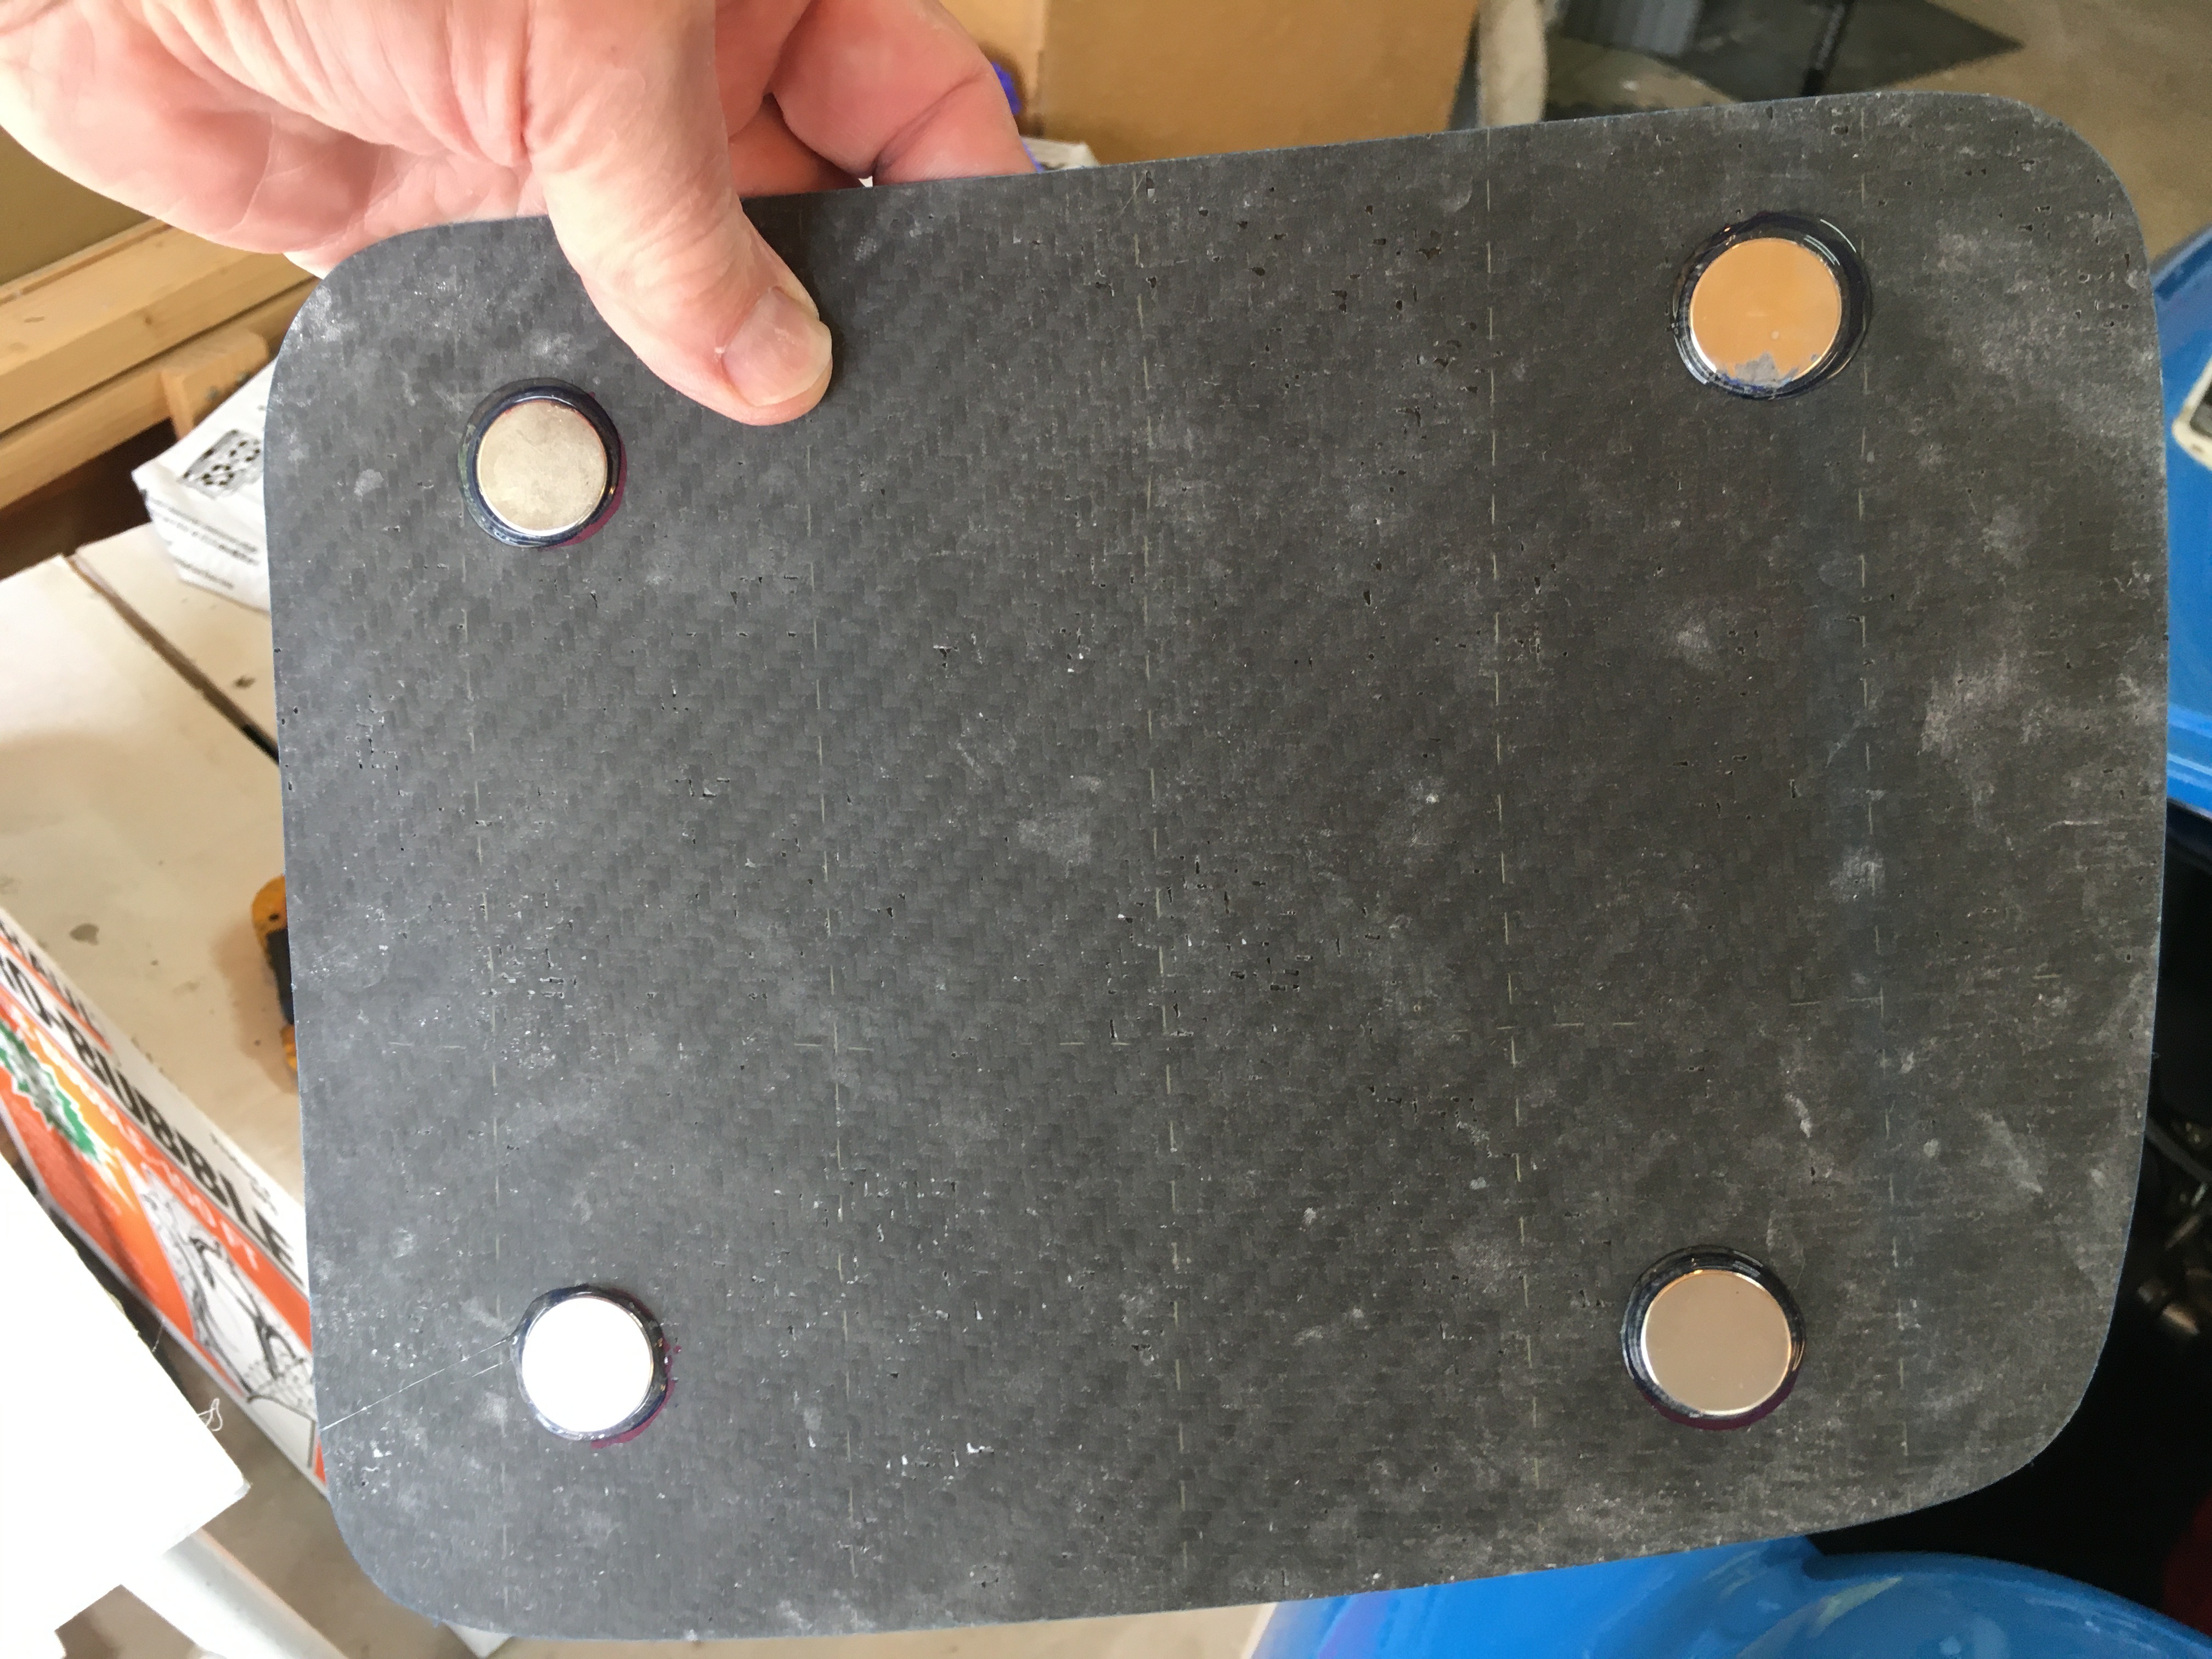
Next, I had to come up with a way to mount the magnets on the DF body in a non-permanent way. I ended up doing something similar to my approach with the front panel. I stretched some thin flexible abs plastic sheet (the orange pieces in the photo below) across the screw holes and taped some magnets on the backside of the plastic. I used some M4 button head screws and nuts in the stock holes to mount the strips. The magnets were held on with gorilla tape. The magnets on the panel were glued in place with E6000 glue.

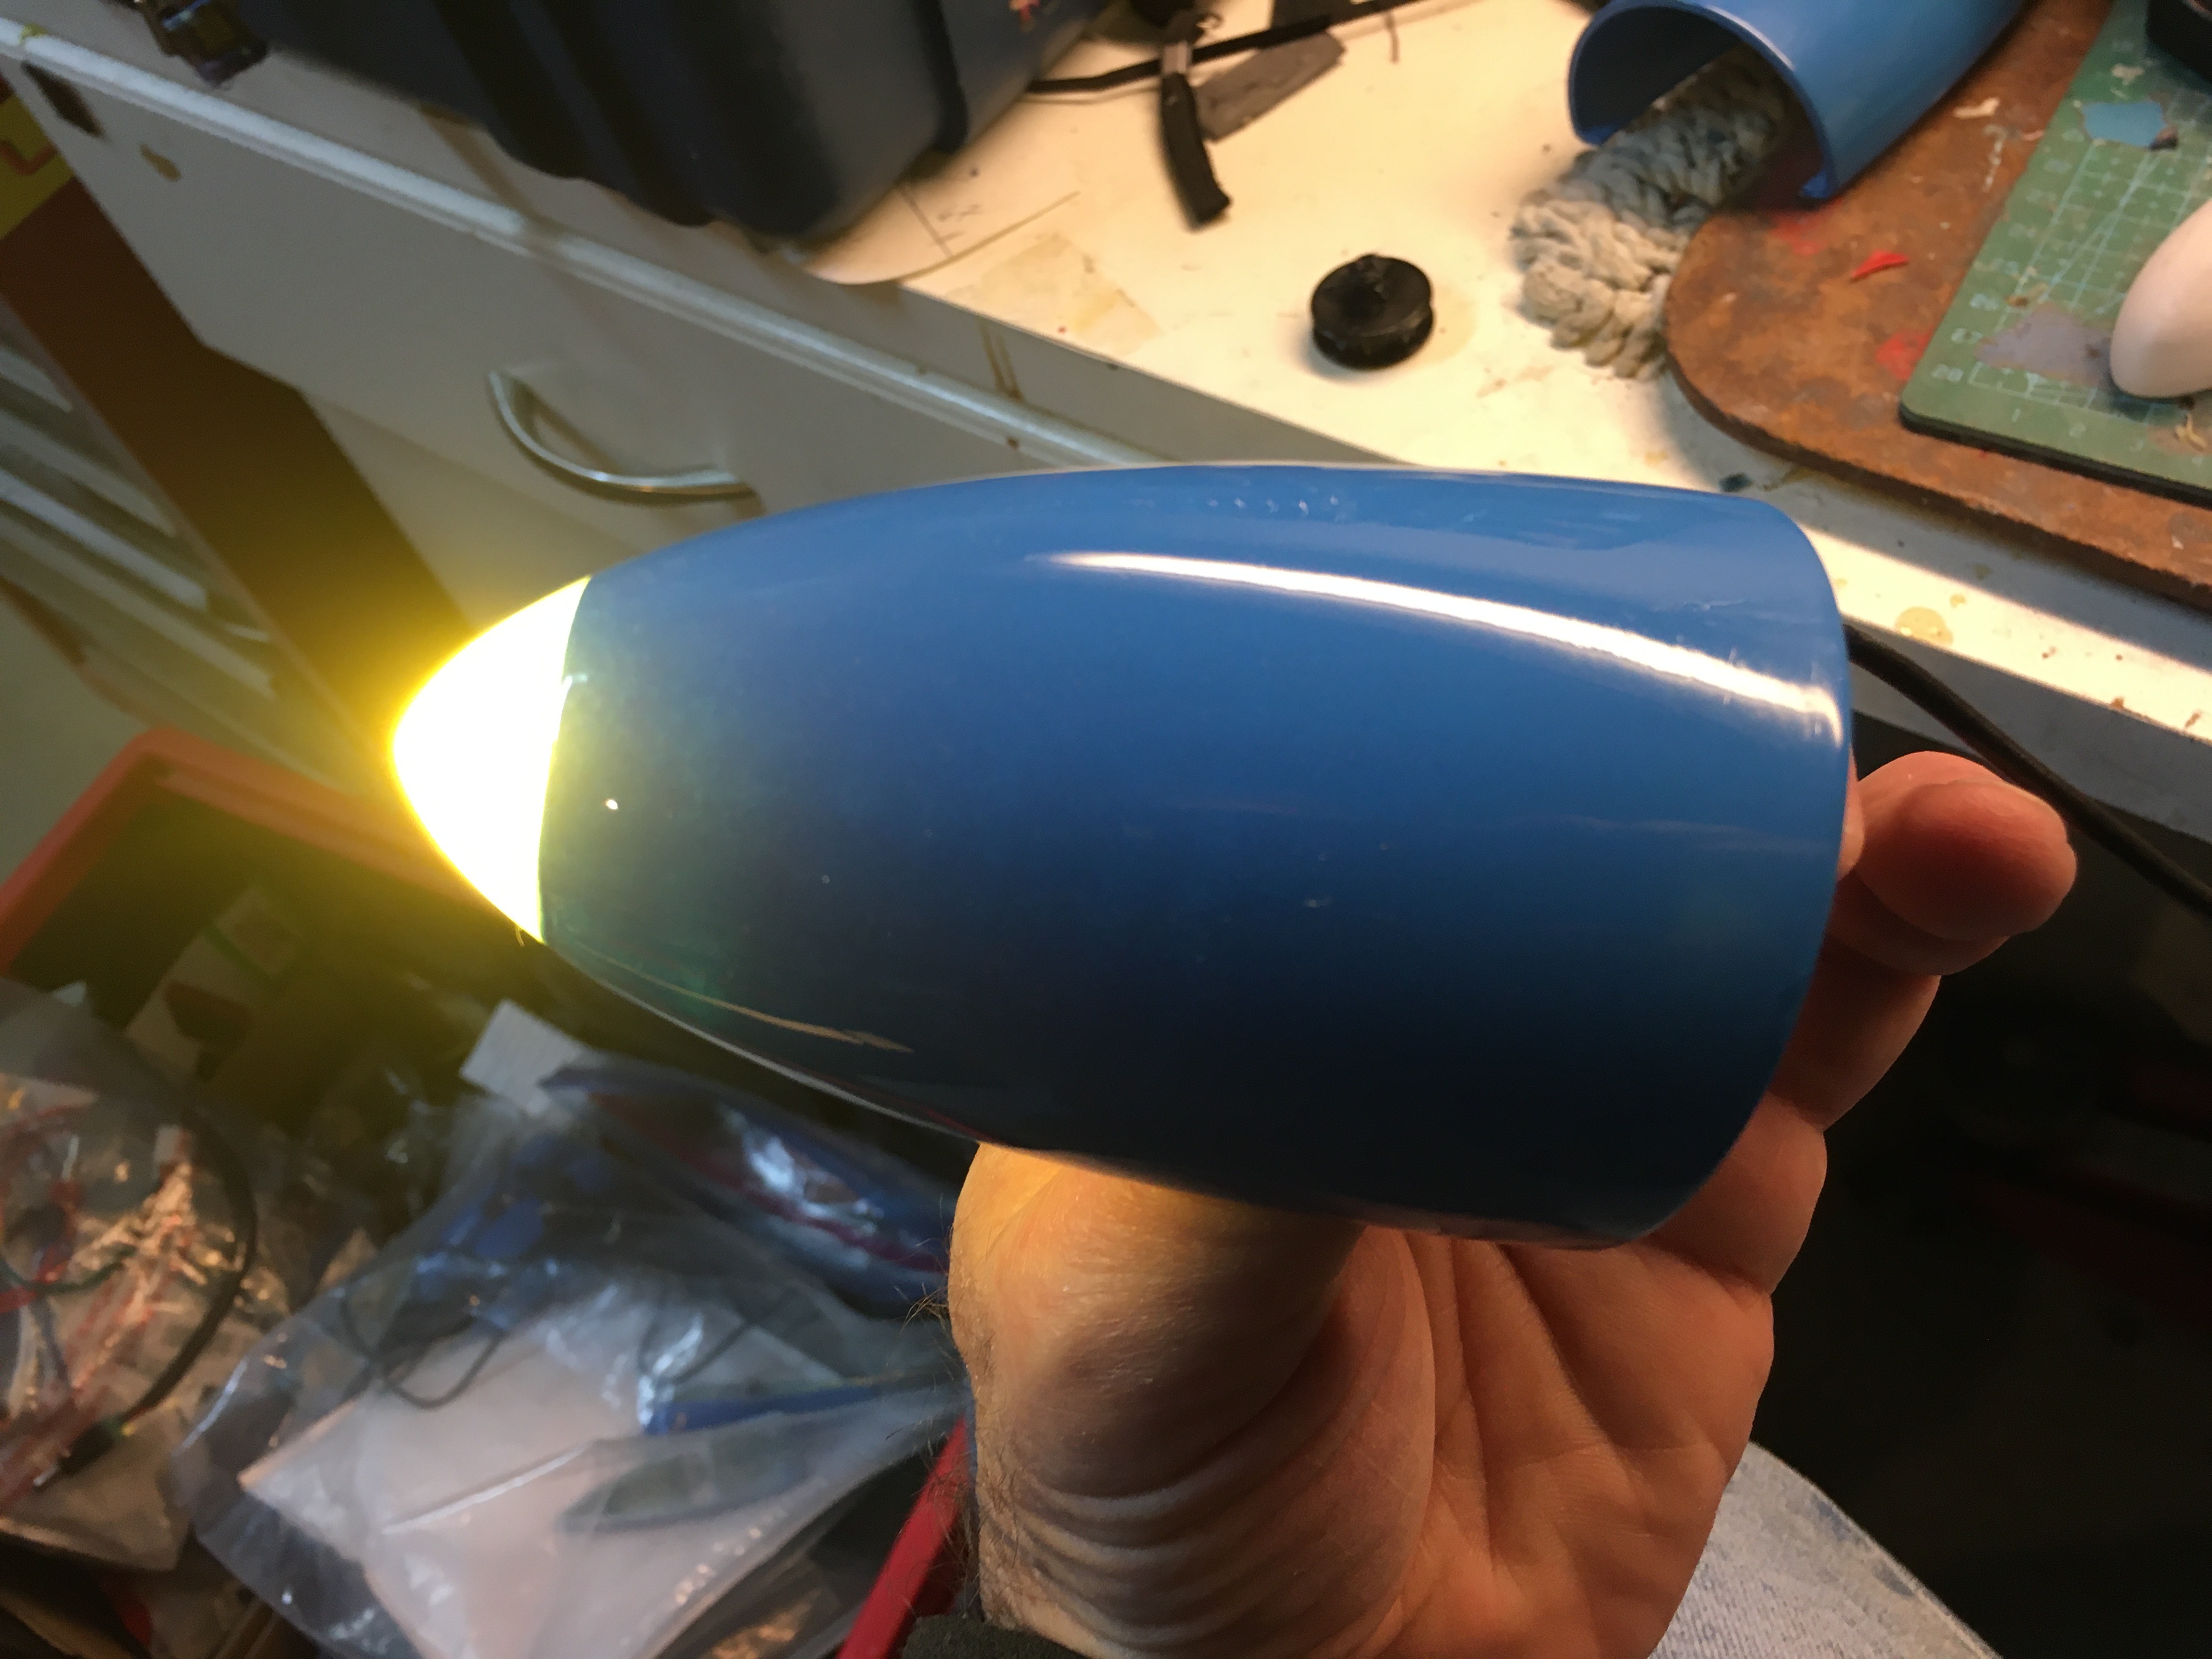
The panel mounts with a loud “thunk” and seems very secure. I’ll wait until I’ve had a few successful rough rides before I declare victory but I’m pretty confident that the panel will stay in place.

Snoek-Inspired Mirrors

The Snoek is a new velomobile from Velomobile.nl. It is extremely small, light and supposedly fast. One of the details that caught my eye is its aerodynamic mirror cover. It is sort of a half cone that extends from a half round mirror. I believe that the mirror is the ubiquitous B&M Cyclestar mirror cut in half. This is the Snoek mirror…

I decided to come up with a similar mirror setup for my DF. It’s important to me to make few if any permanent changes to the DF. I always want the ability to revert back to stock. So whatever mirrors I came up with, they had to mount in the stock mirror holes.

I started with 2 B&M mirrors that I pilfered from one of my trikes. I cut them in half using a diamond cutoff wheel in my Dremel tool. I needed a way to mount the mirrors and the covers in just one hole per side. Below are models of the mirror mount (left) and the mirror covers.

To attach the mirror to the mirror mount, I cut off a piece of the stock B&M mirror’s ball/stem and cut M6 threads into its outside diameter. M5 screws are used to attach the mirror cover to the mount and to attach the mount to the body.

Here are the mirror covers that I came up with. I 3d printed them, sanded and painted them. I was concerned that they may be too far inboard to be effective. However, in my first test ride, I found that the visibility rearward was fine.

I’ve since enhanced these covers on the DF to include lighted turn indicators.

Update: I’ve since added these mirrors to my Milan SL. I found a flat area on the sides of knee humps where they fit without modification. Visibility is good.

Closable NACA Duct for the DF

After noticing how much more air is passed by the Milan’s small NACA duct than the DF’s, I took a long look at the larger duct on the DF. One of the main differences was the depth of the ducts. The floor of DF’s duct seemed to rise so that there was a section of the duct that was very shallow. My guess is that this reduced area was causing some turbulence which reduced the air flow. I came up with this deeper duct. I also added an extension to the duct to feed the air closer to the rider. The air flow was improved greatly by these pieces.

I showed these changes to my friend Doug (the gentleman who sold me the Milan SL). He thought that it would be nice to make the duct closable with a flush flap of some sort. There are 3D printed NACA ducts sold in Germany for the Milan that have a closable flap. However, these NACA ducts won’t work directly on the DF due to the flat shape of the Milan’s top panel vs the curvy, recessed shape of the DF’s access panel.

I took Doug’s suggestion as a challenge and this is what I came up with. I first laid up a new NACA duct and extension duct as shown above. Then I laid up 2 new DF access panels – one to house the NACA duct shown above. The other panel was used as the donor for the flap. The flap needed to have the same curvature as the duct panel in order to perfectly fill the opening when closed. Extensions were added to the tip and trailing edge of the flap to allow it to lie flush with the top of the duct panel. The tip extension of the flap inserts into a loose slot in the front of the NACA duct to form a sort of hinge. All of the pieces in their rough, unpainted form are shown below.

To operate the flap, I needed a mechanism to push it up flush with the panel and down to touch the floor of the duct. The solution that I came up with was a simple stick screwed to a carbon fiber clevis (not shown) on the bottom of the flap and protruding through the floor of the duct. I 3D printed a piece to attach to the bottom of the duct to provide a rigid slot for the stick to ride in. The stick could easily be reached by the rider. I used a small piece of 5mm bungee attached to the stick to force it and the flap up and back. To lower the flap, the stick just needed to be pulled down. The friction caused by the bungee pulling the stick back against the 3D printed slot holds the flap in the down position. If needed, I can grind several notches in the stick to hold it more firmly in some in between positions. Below you can see the stick exiting the plastic slot attachment and the model of that slot attachment.

So how did it turn out? It works surprisingly well. I replaced the wooden stick with a nicer carbon fiber piece. I added a couple of very thin magnets to the bottom side of the panel and to the rear flange of the flap to locate the flap more precisely when being closed. Was it worth the trouble and complexity? Maybe. For the most part, I just ride with an open duct. So it would be a rare occasion that I’d want to be able to open and close the flap. That said… it was a fun exercise.

Here are some photos of the “finished” duct panel.