There’s a little project for the DFXL that’s been on the back burner for a while. The front access panel on the DF is held in place by ten flat head m4 screws. I seldom need to remove that panel but when I do, it’s a bit of a nuisance. This can be particularly bothersome while out on a ride. In addition, I have to say that I find that the visible screw heads detract from the look of the DF. So this has lead to my “Screwless” access panel. There were 3 goals for the panel.
- Be quicker to remove and re-install.
- Give the DF a cleaner look.
- Require no modifications to the DF body itself. The mounting system must be confined to only the panel.
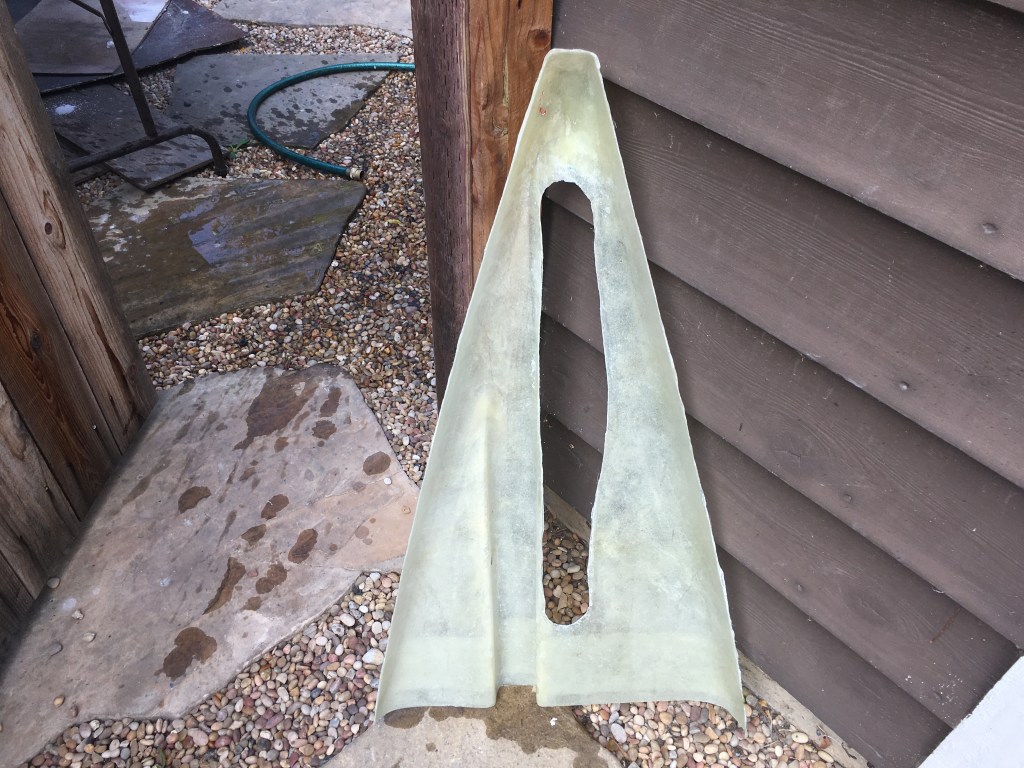
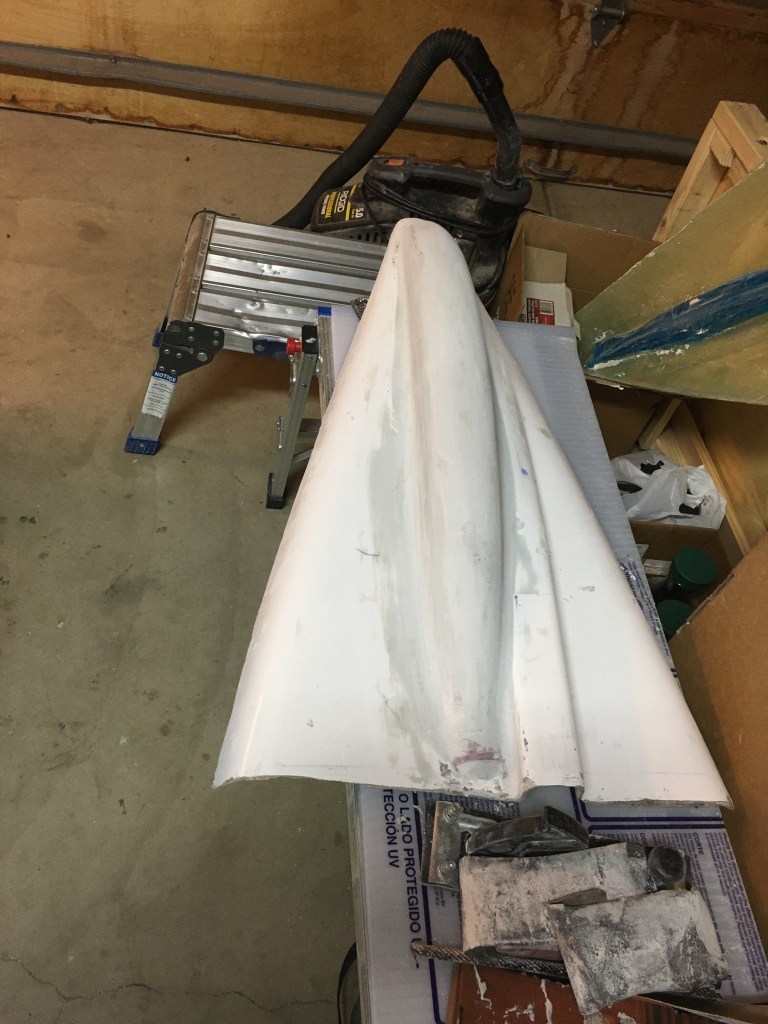
Here’s the first iteration of the screwless panel. This was produced from my mold, followed by a little body work to remove the stock countersunk screw holes.

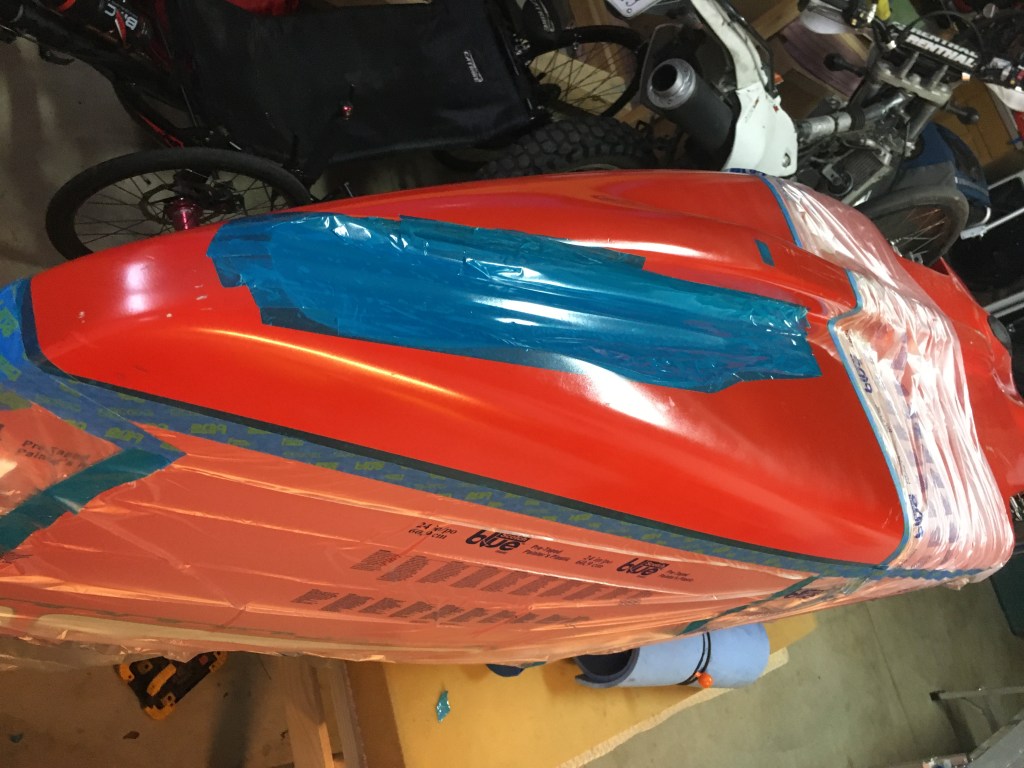
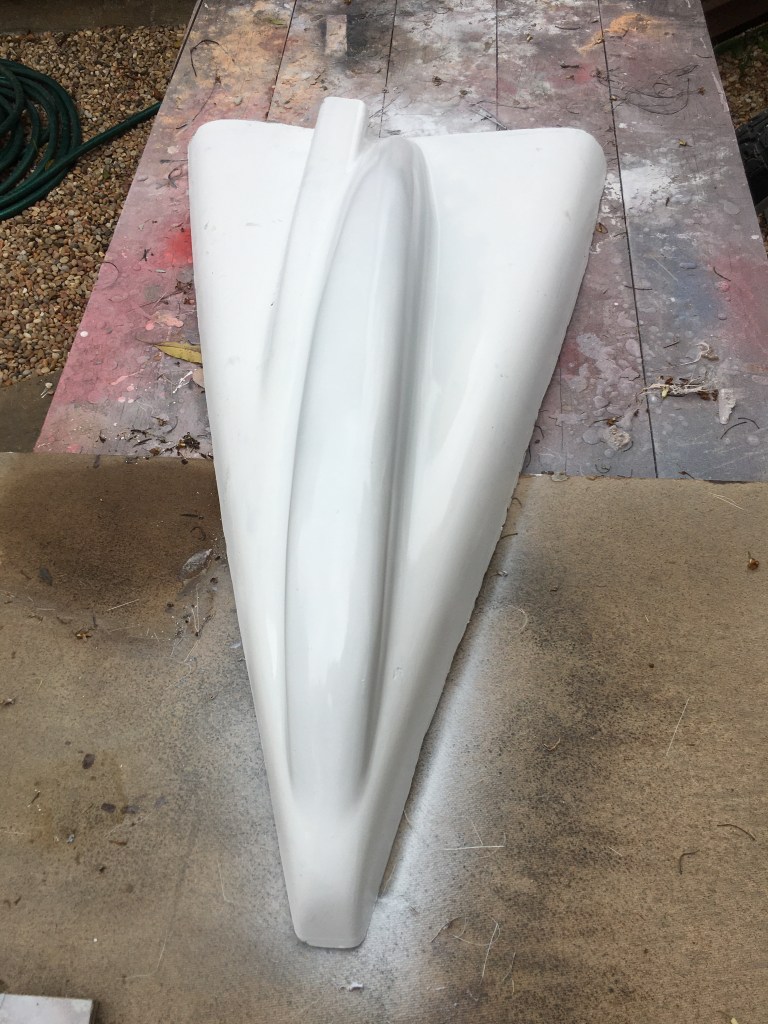
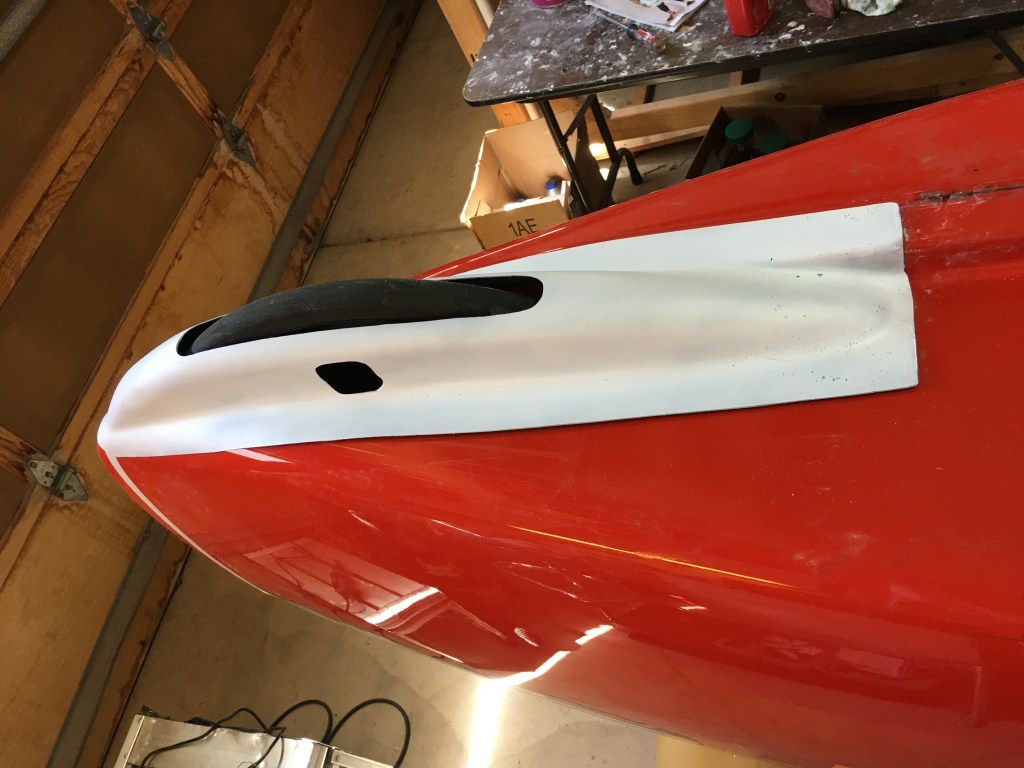
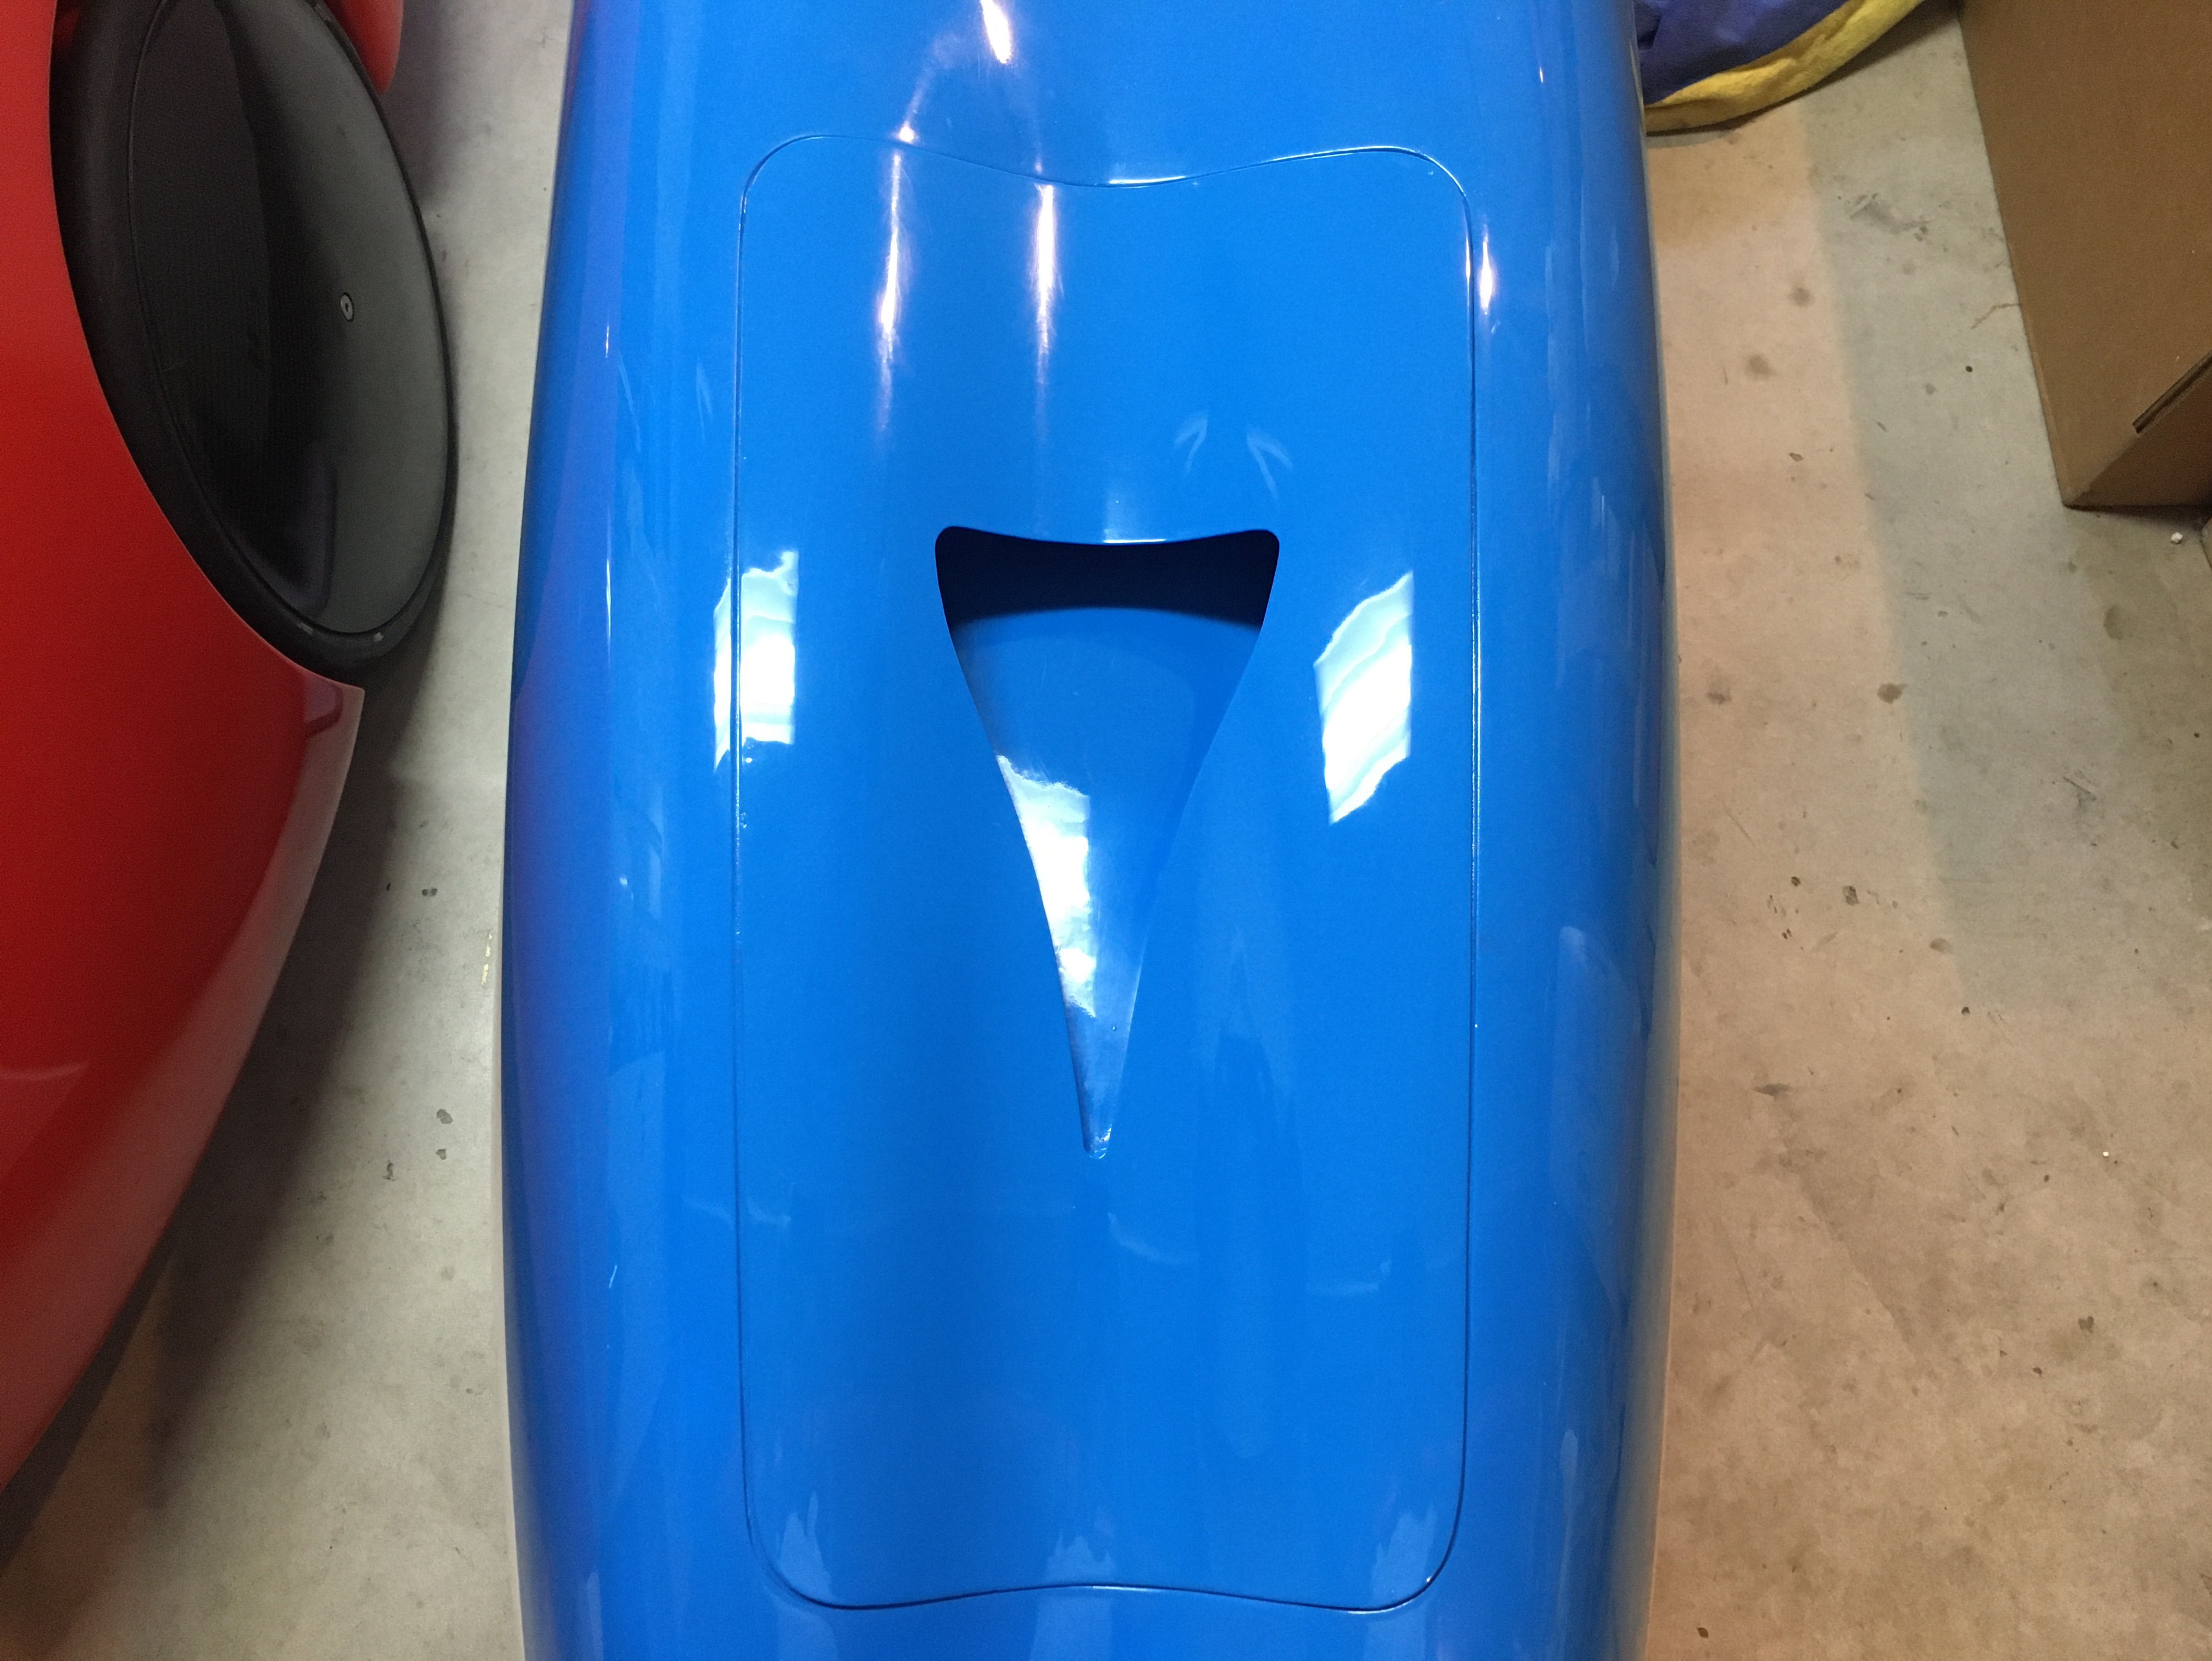
I’ve found that the addition of the NACA duct on my previous panels really made a difference when riding on warmer days. Here’s the screwless panel with a NACA duct added.

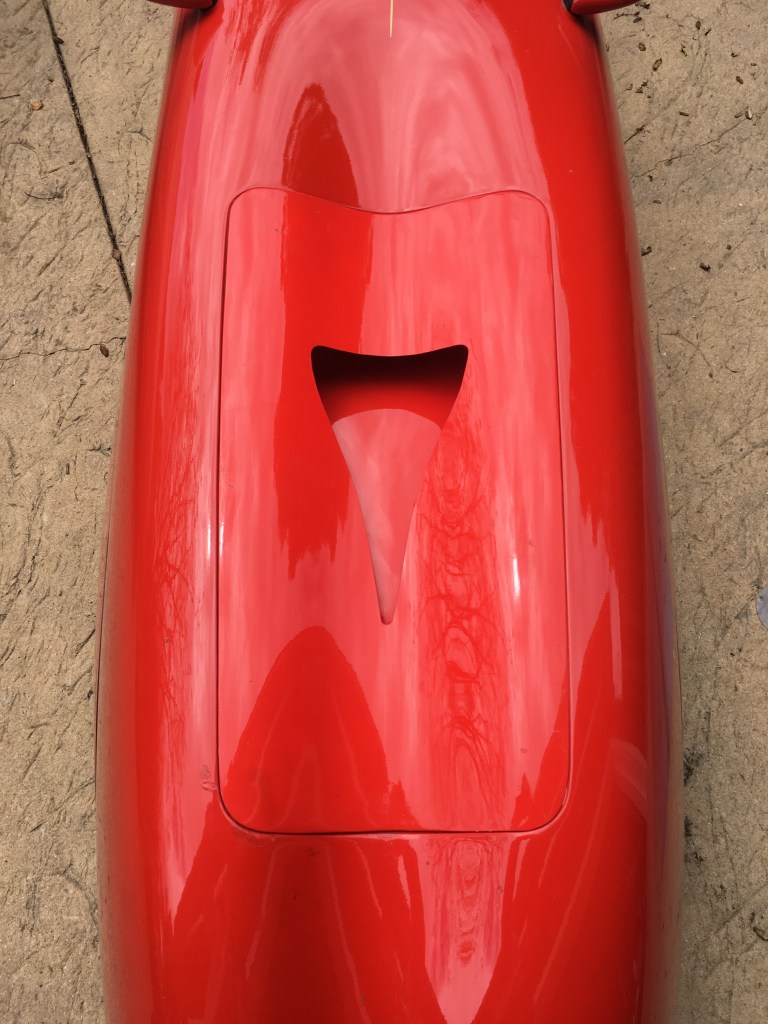
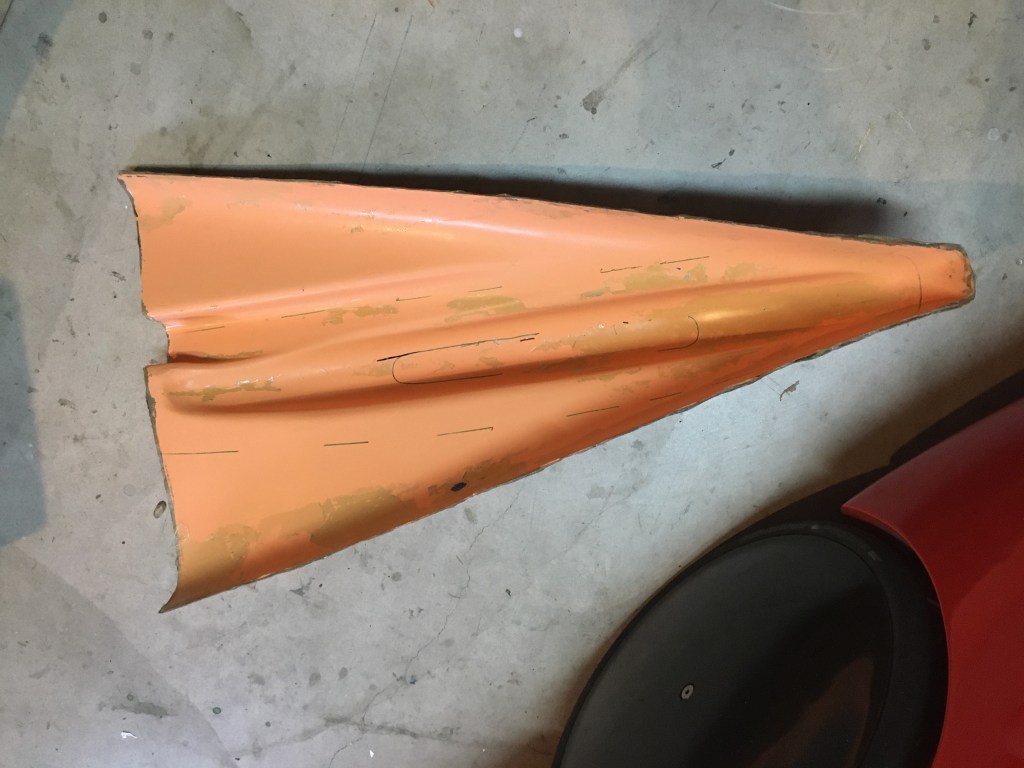
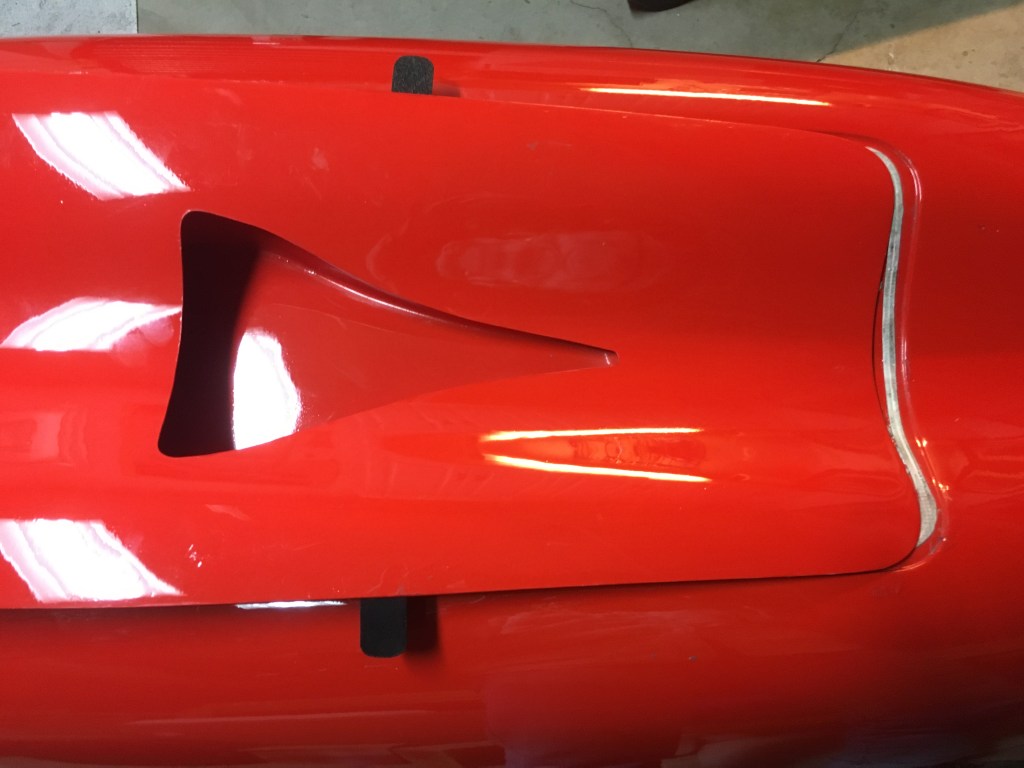
To mount the panel, I came up with a simple system of flexible tabs attached to the panel that would catch under the lip of the body. The tabs are attached to the panel using six carbon fiber slotted anchors that are epoxied to the panel.
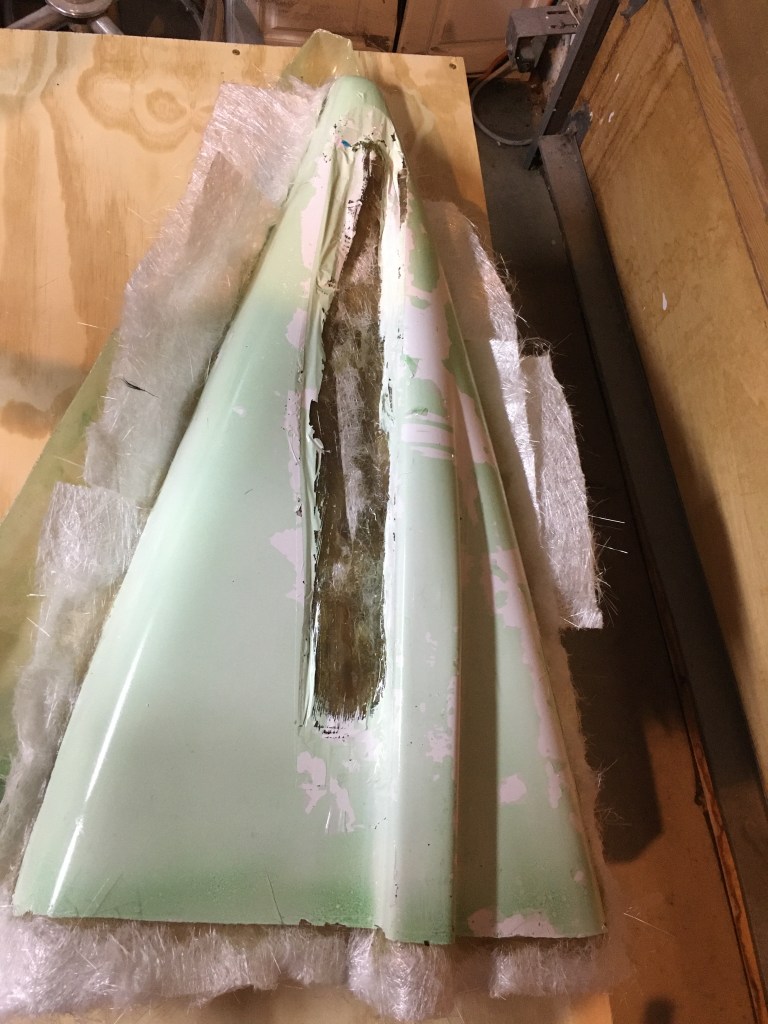
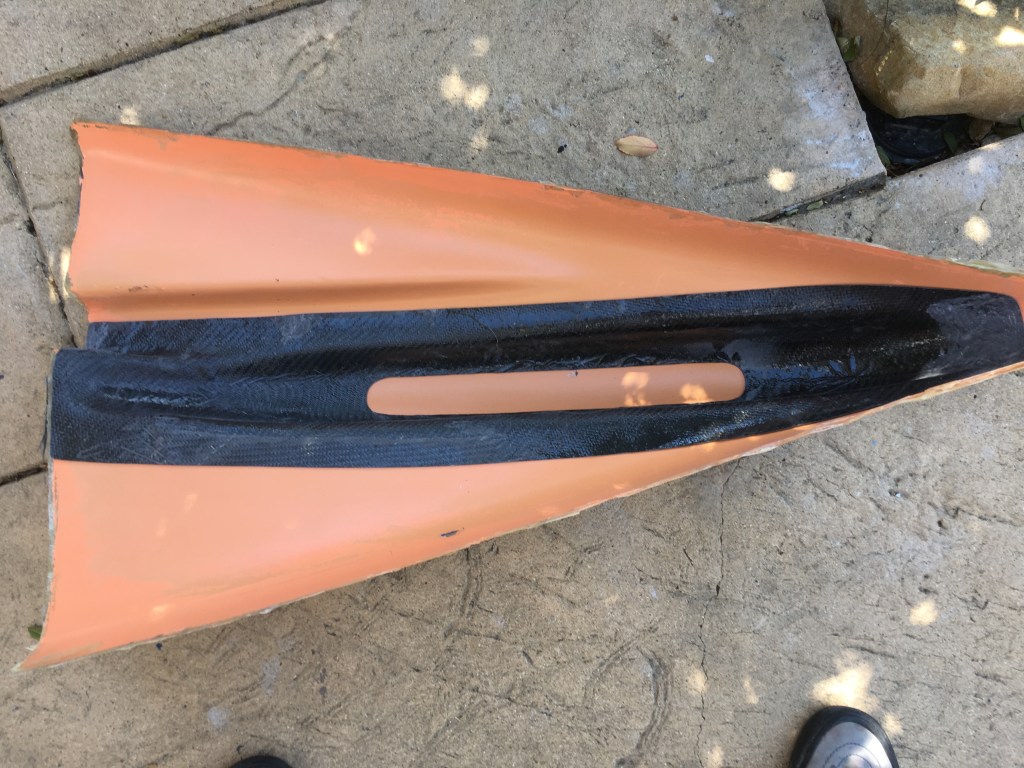
Here’s the underside of the panel with the NACA duct and tabs installed. Different materials were used for the tabs in different locations to provide the right flexibility to allow easy installation but with a firm mount. The tabs slide into the carbon fiber slotted anchors made with a male/female squish mold. All of the tabs except the 2 rear tabs stay with the panel during installation. They’re just tucked in after the panel is in place. The 2 rear tabs are inserted after the panel is in place. It takes a few seconds to install or remove the panel. No modifications to the DF body are required.

This is the 3D printed squish mold used to produce the carbon fiber slotted anchors.


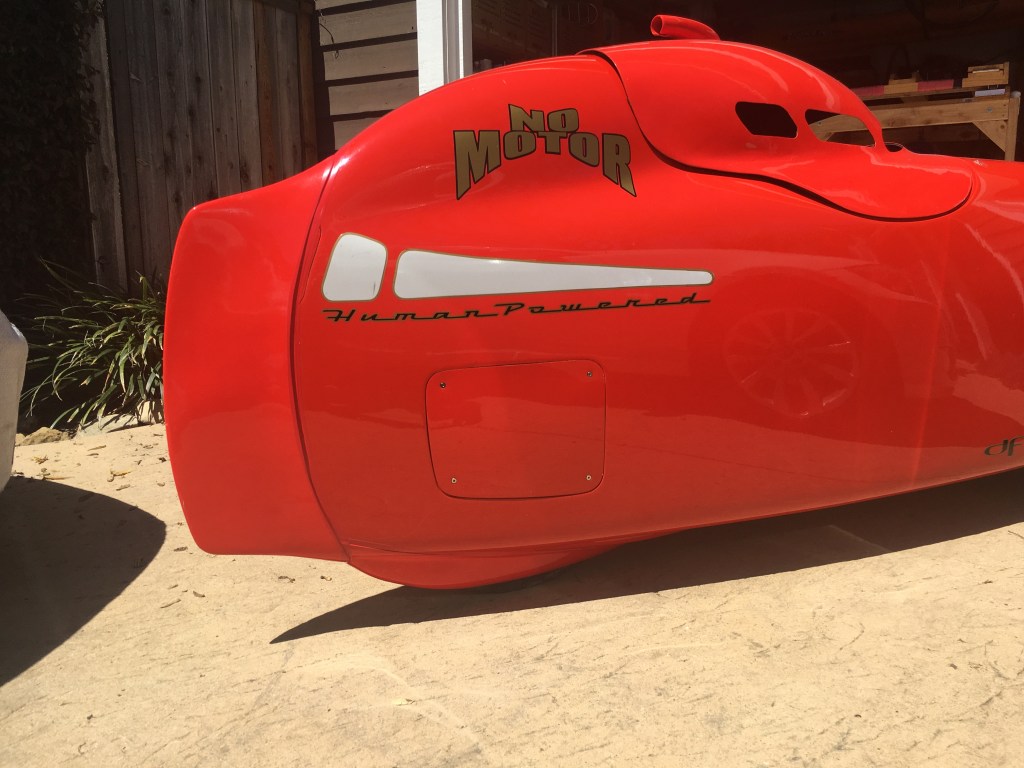
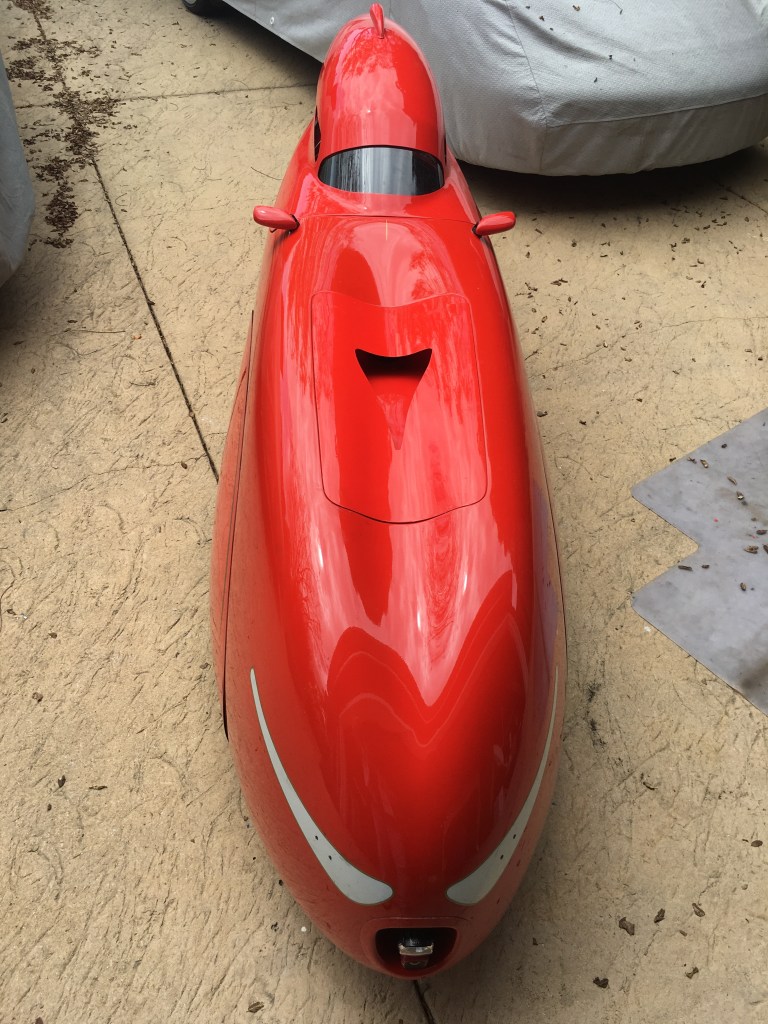
Full view of the DFXL with ducted, srcrewless access panel.
Update
After jumping through all of those hoops described above, I started reading about people using magnets. I like that idea better so I came up with my own approach. I wanted to make it so that no permanent modifications to the DF are necessary. It’s pretty simple.
First I cut some 1″ wide strips out of .030″ Lexan and mounted them across the existing threaded panel mounts. I attached them to these mounts using the stock 4mm screws – screwed in from underneath. I used Gorilla tape to attach magnets on the underside of these strips. Since these strips are flexible, they can flex up to allow the magnets to attach to the magnets mounted on the front cover. Here are the magnet strips mounted on the DF:

Matching magnets were glued to the underside of the access panel using E6000 cement.

Vented and non-vented “screwless” panels