Milan Shade Cap – Splittable and Stowable

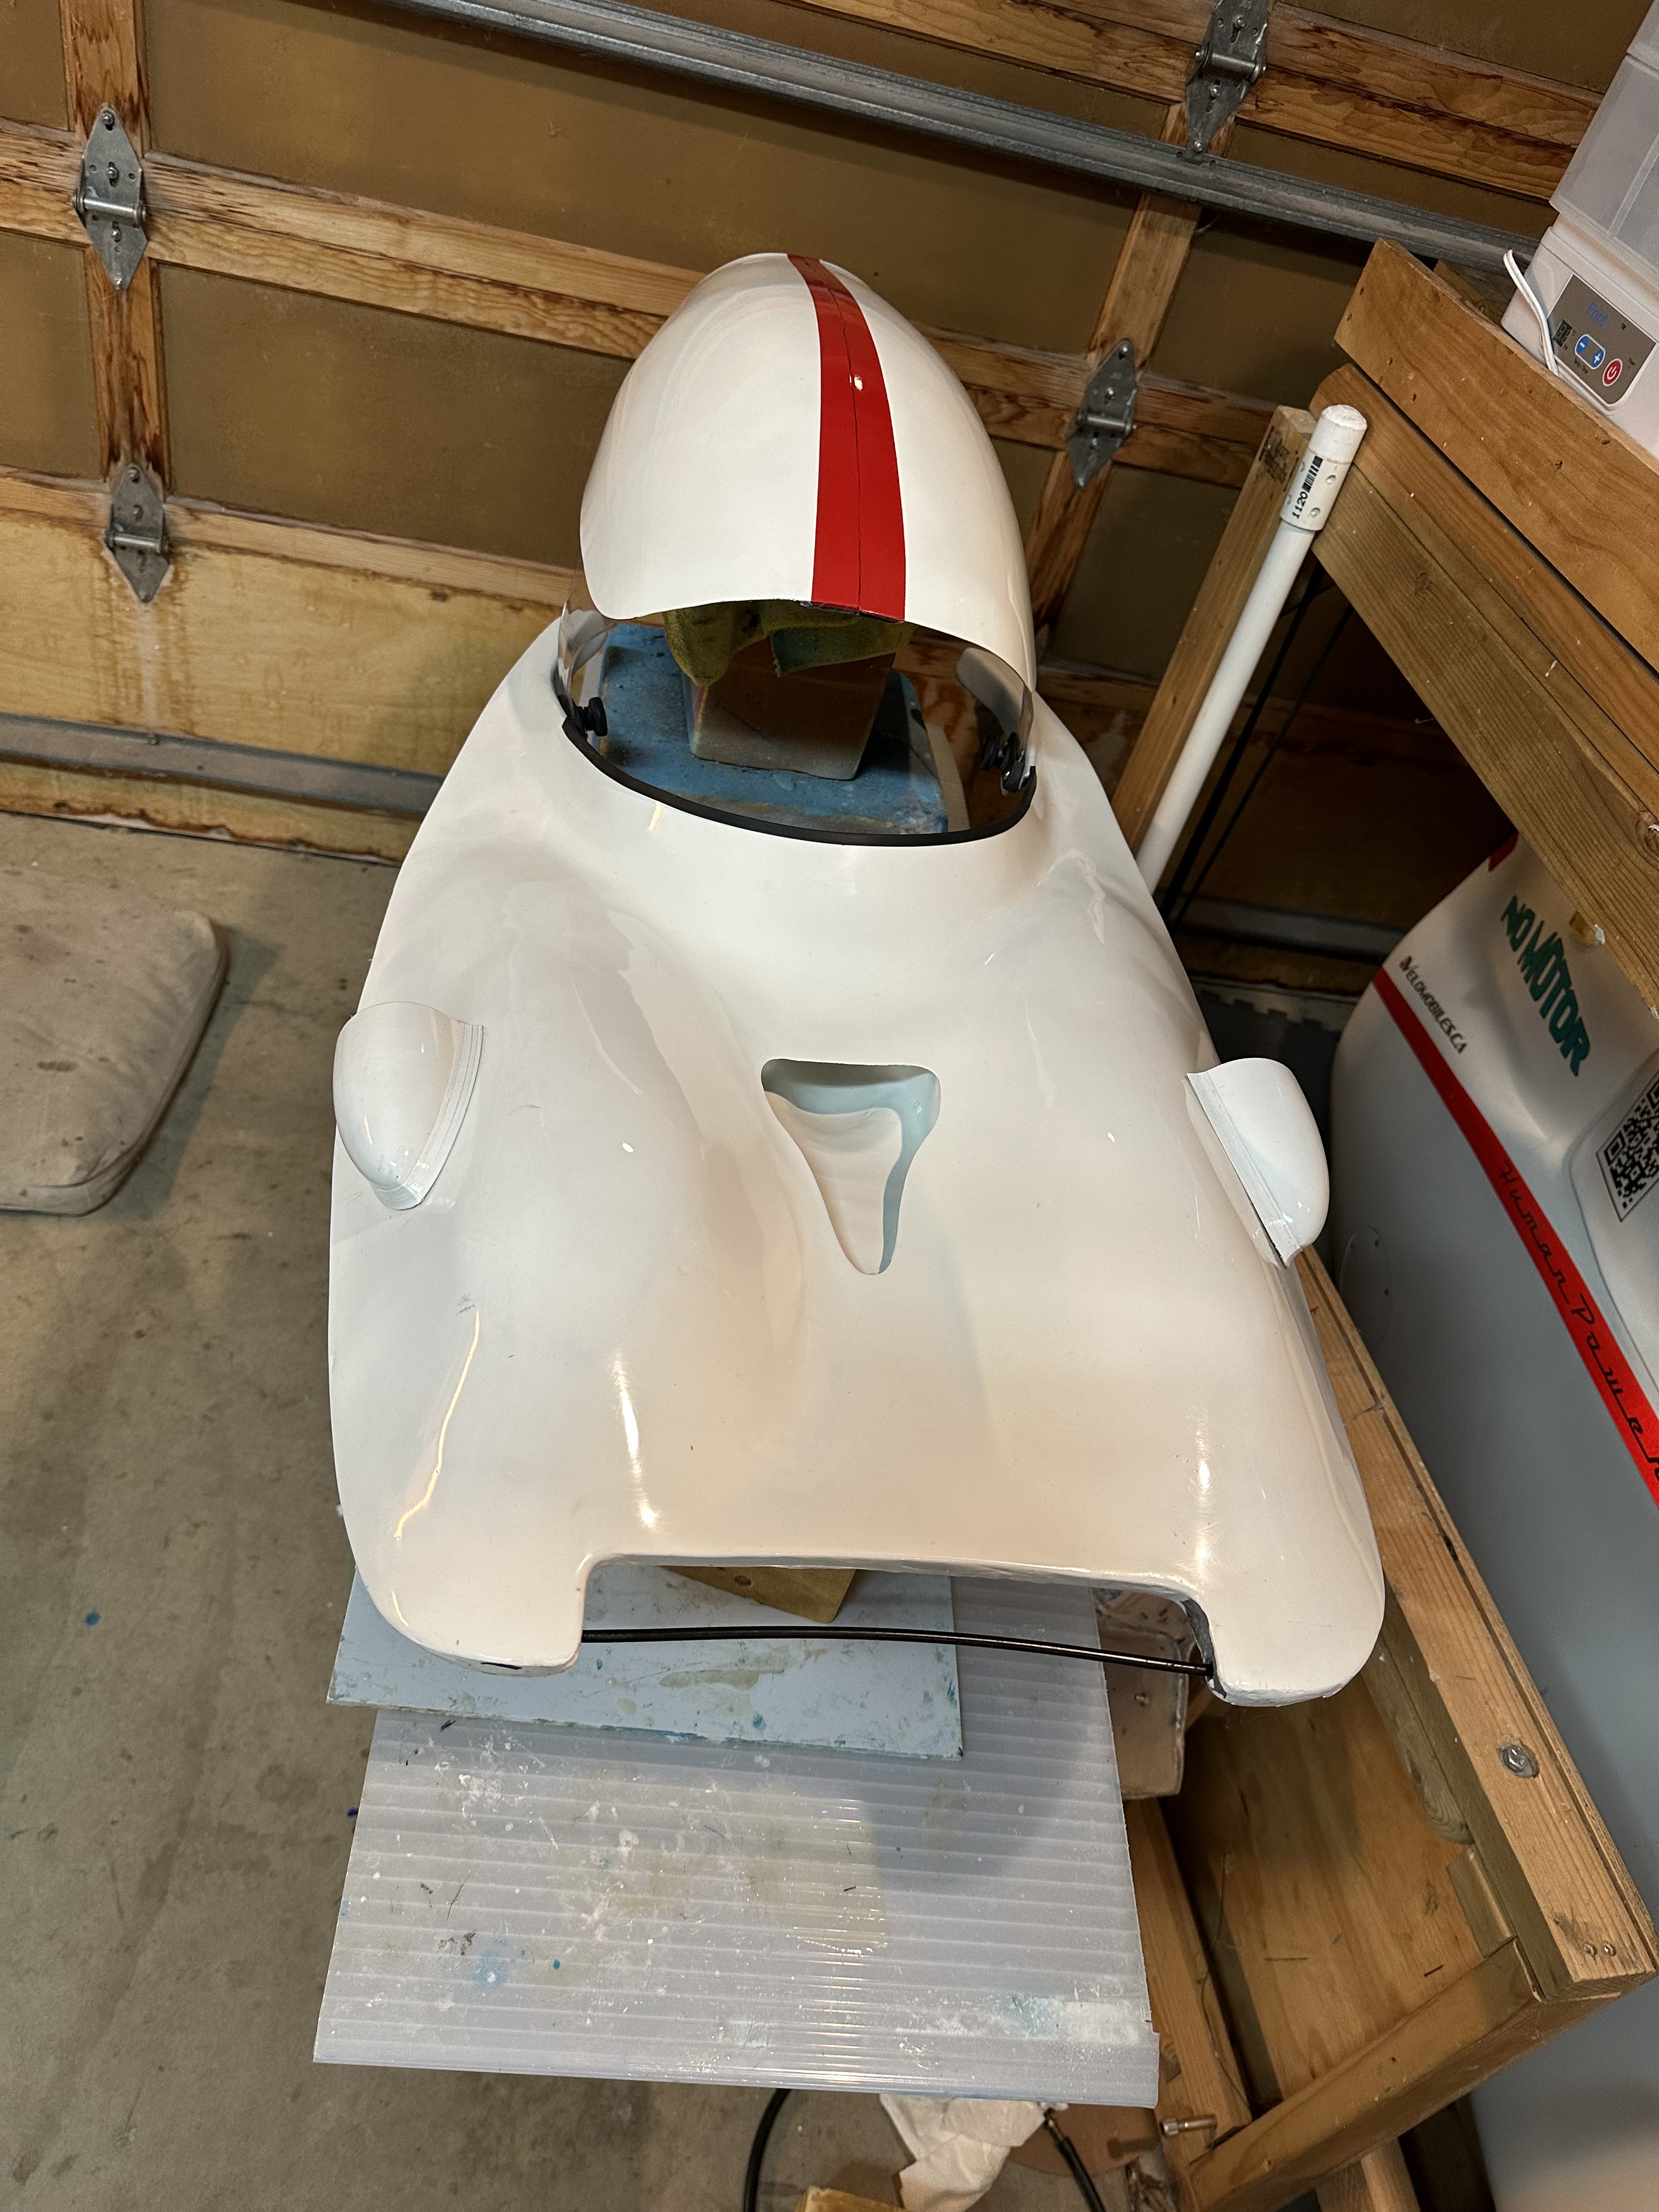
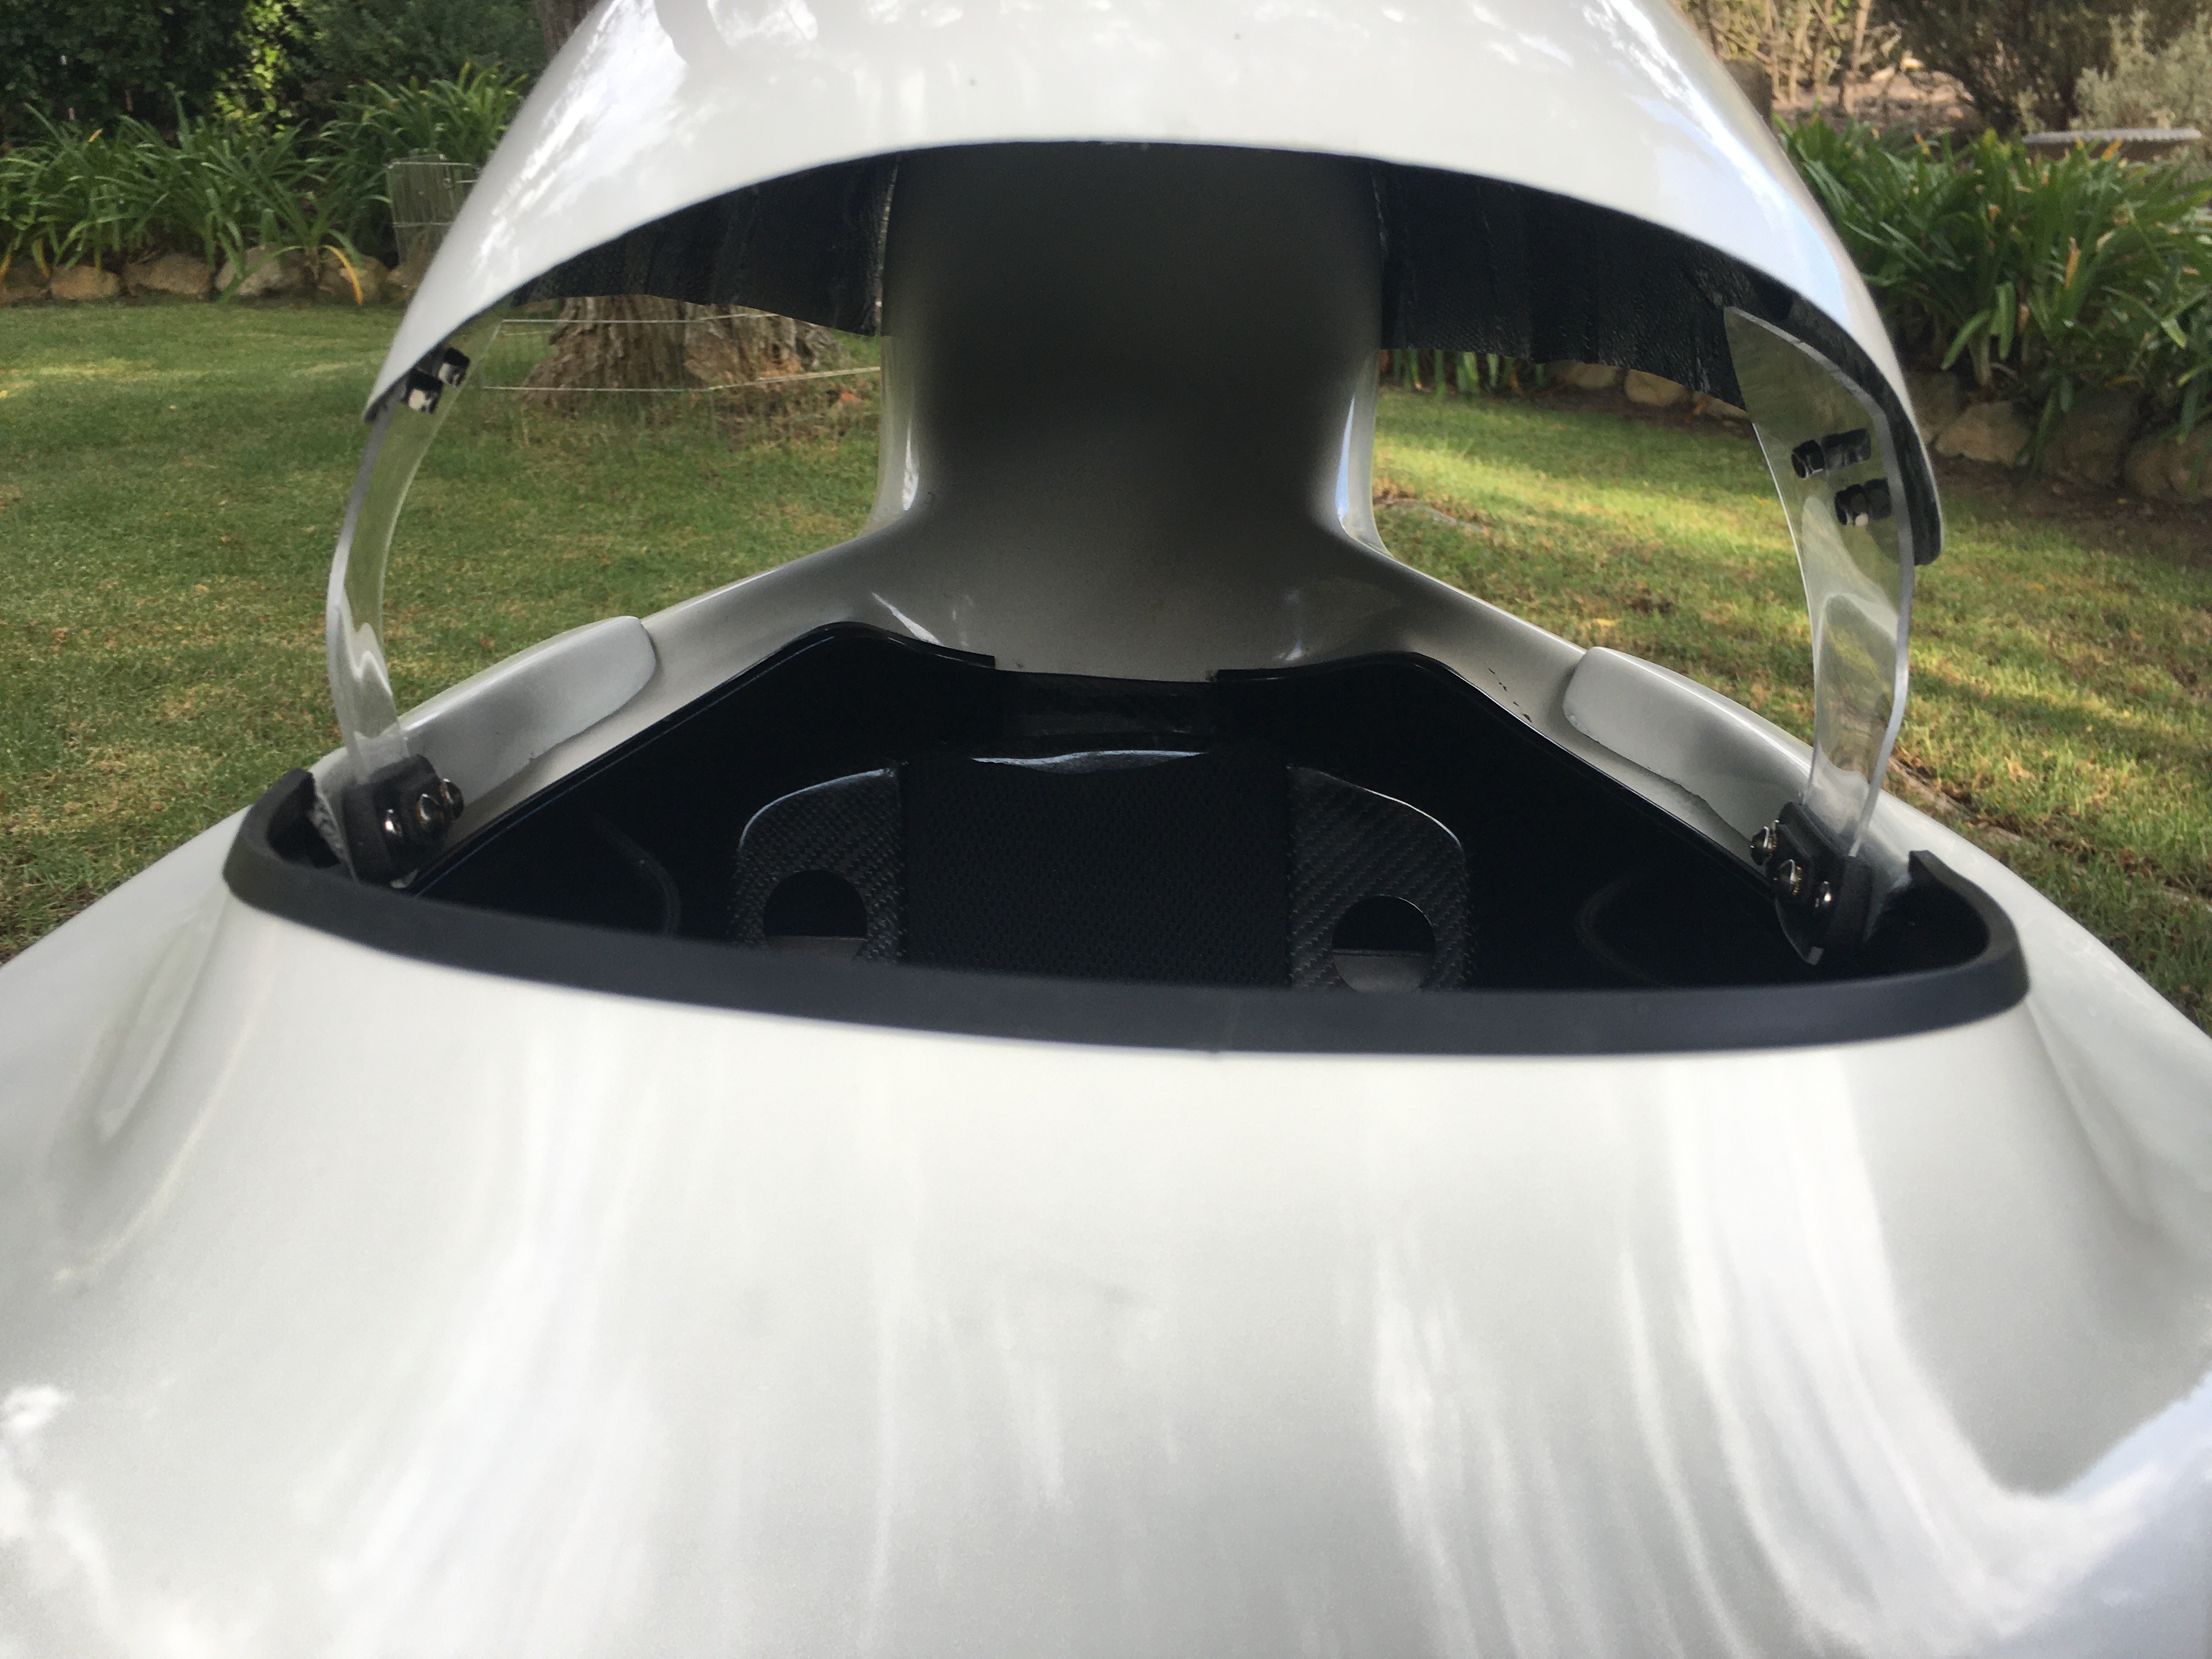
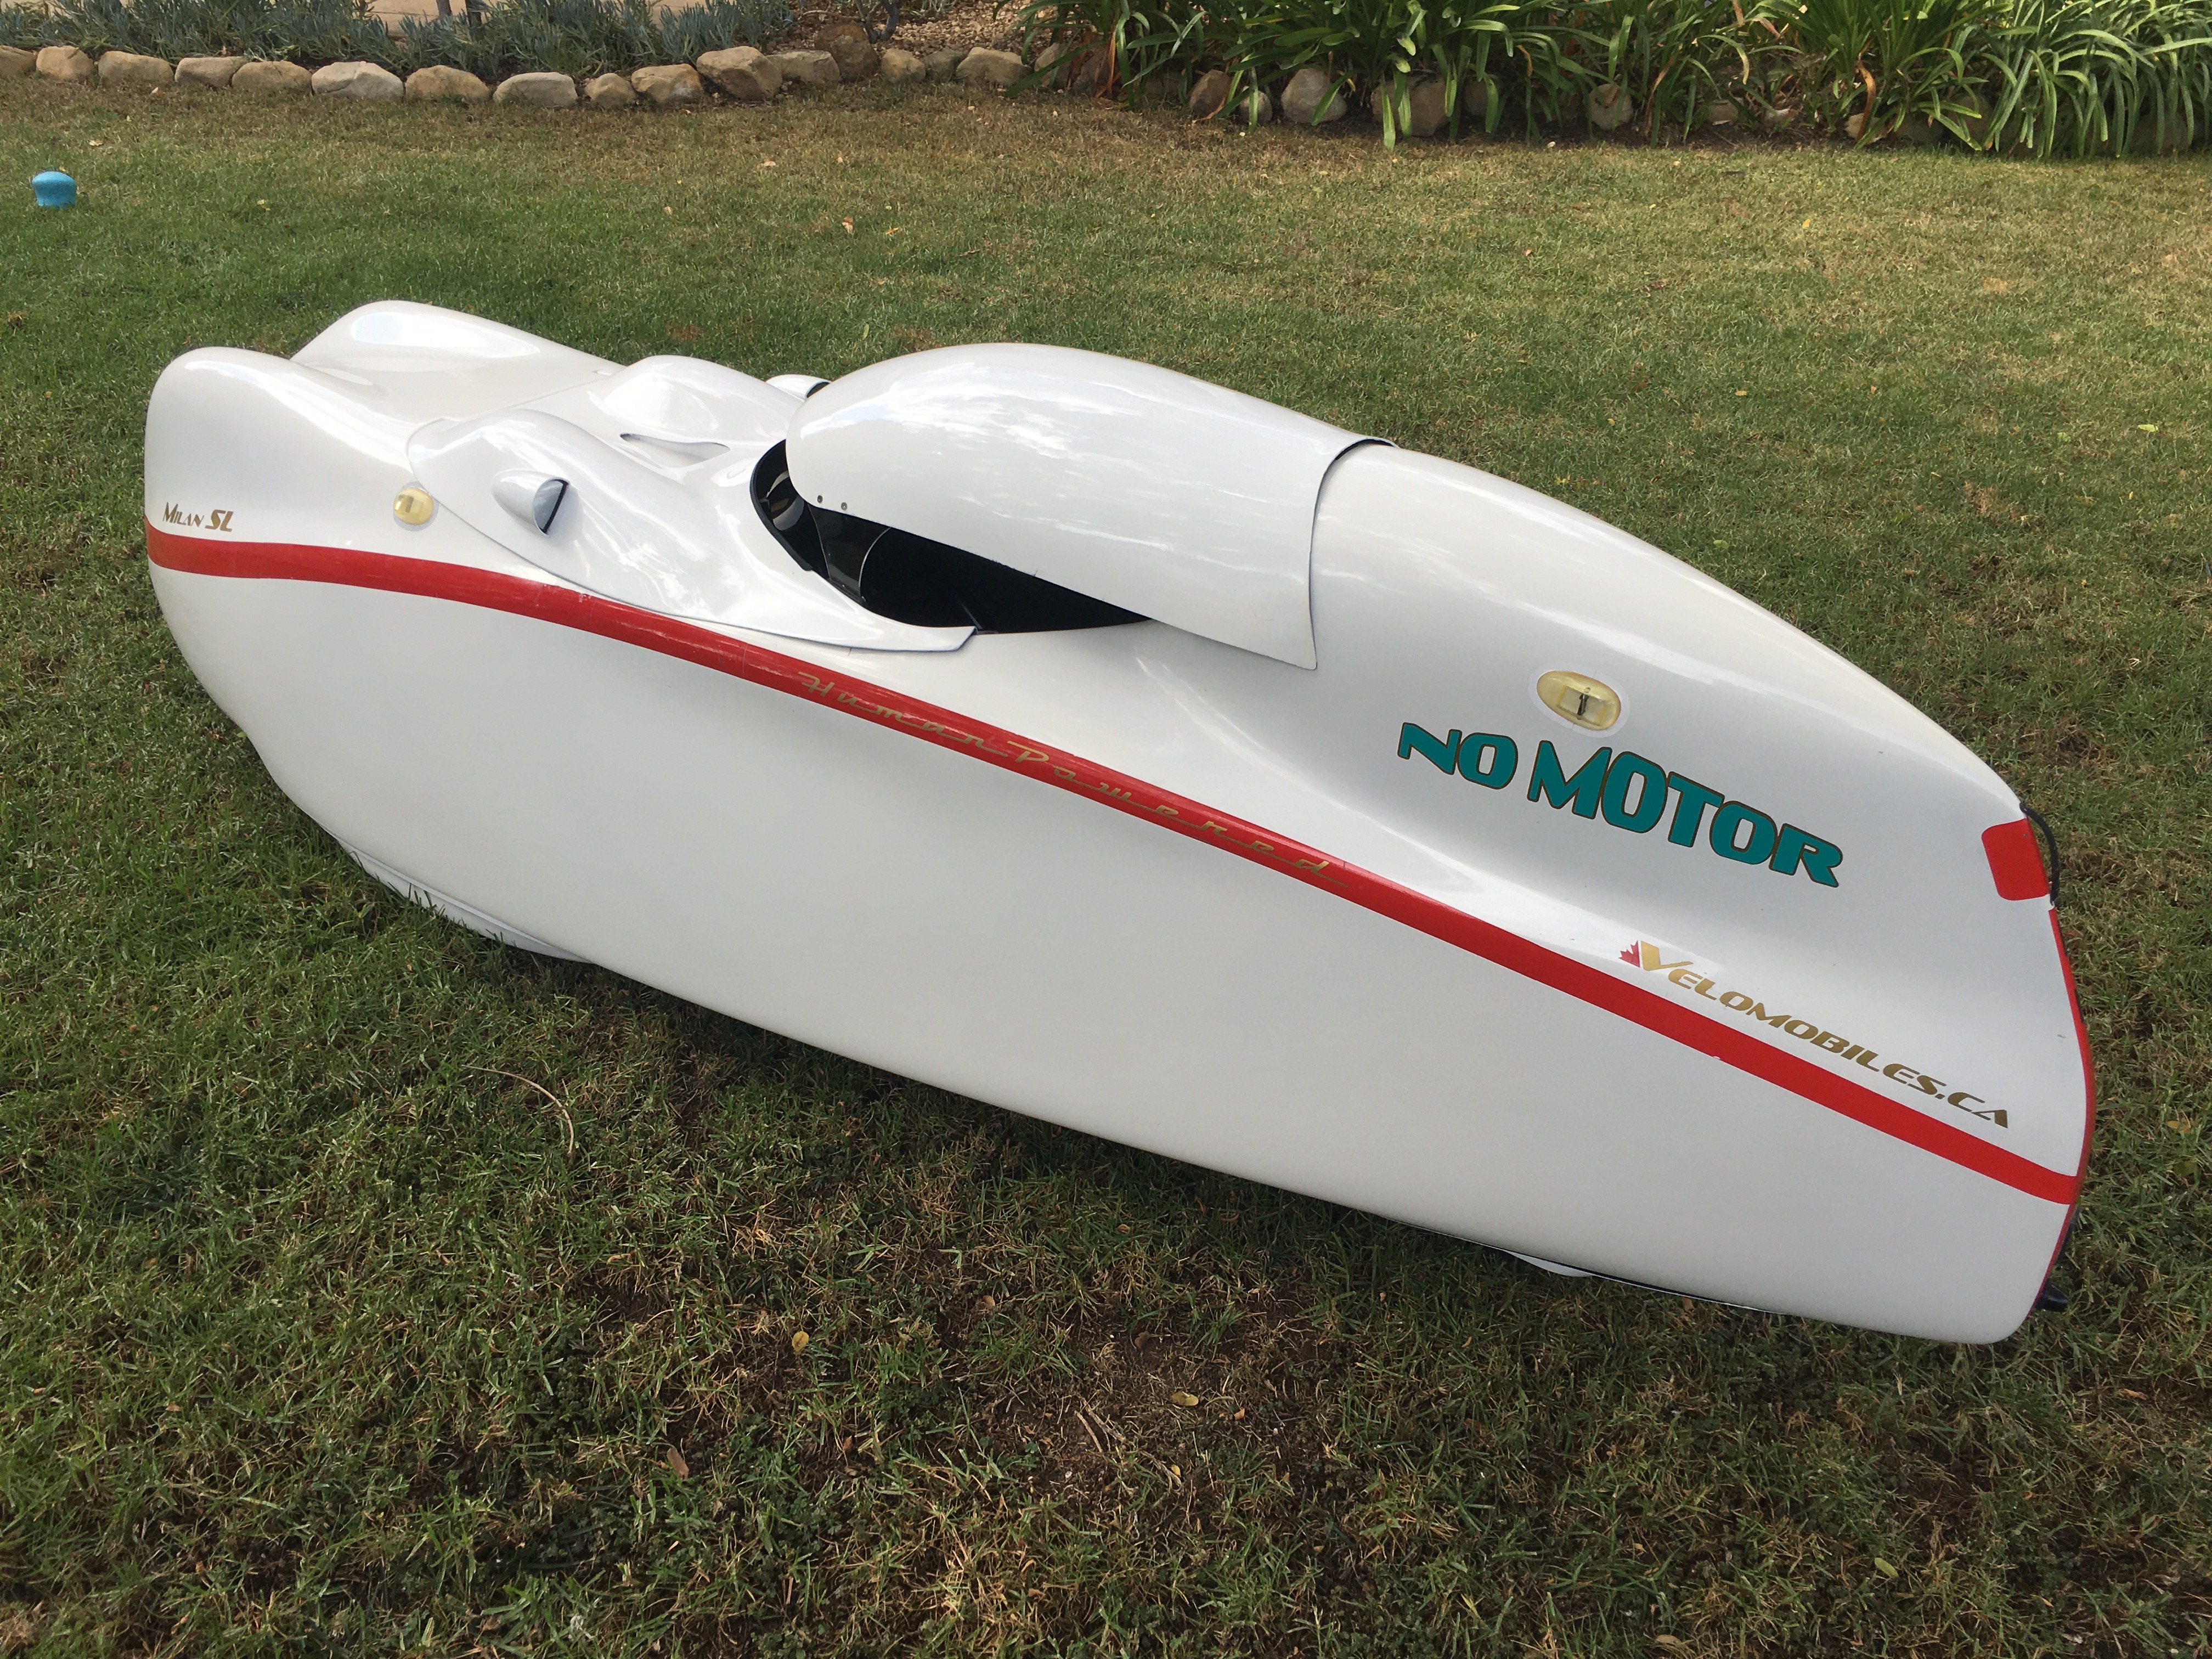
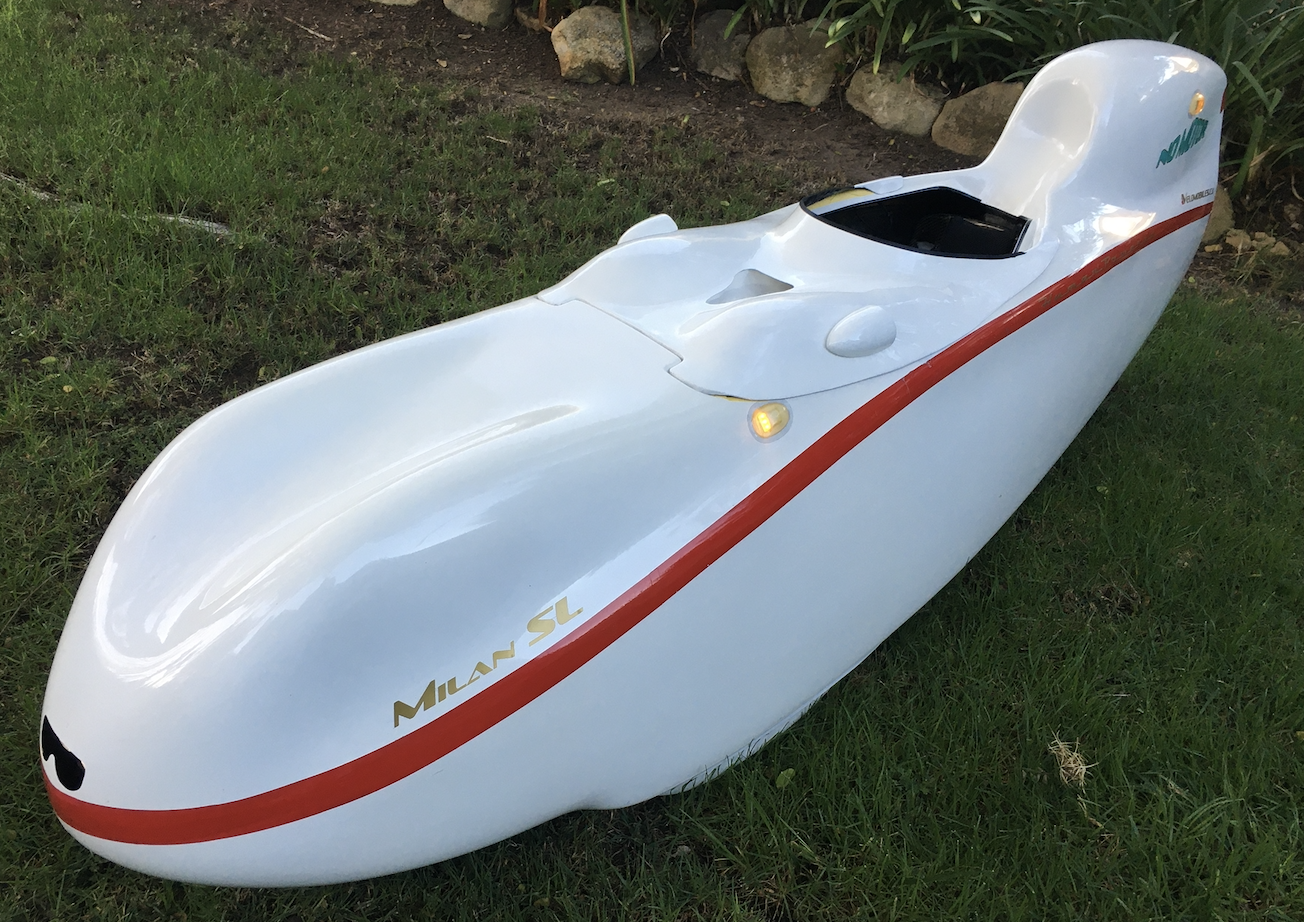
I’m still having fun building parts for the Milan SL. My last piece was the head out lid and shade cap. After building these pieces, I realized that I should be able to stow the cap inside the Milan. The single piece cap assembled with its pillars doesn’t fit in the available space in the Milan. Stealing some ideas from Wim Schermer’s splittable Quest hood, I came up with a quick way to remove the pillars and split the cap into 2 pieces without tools.

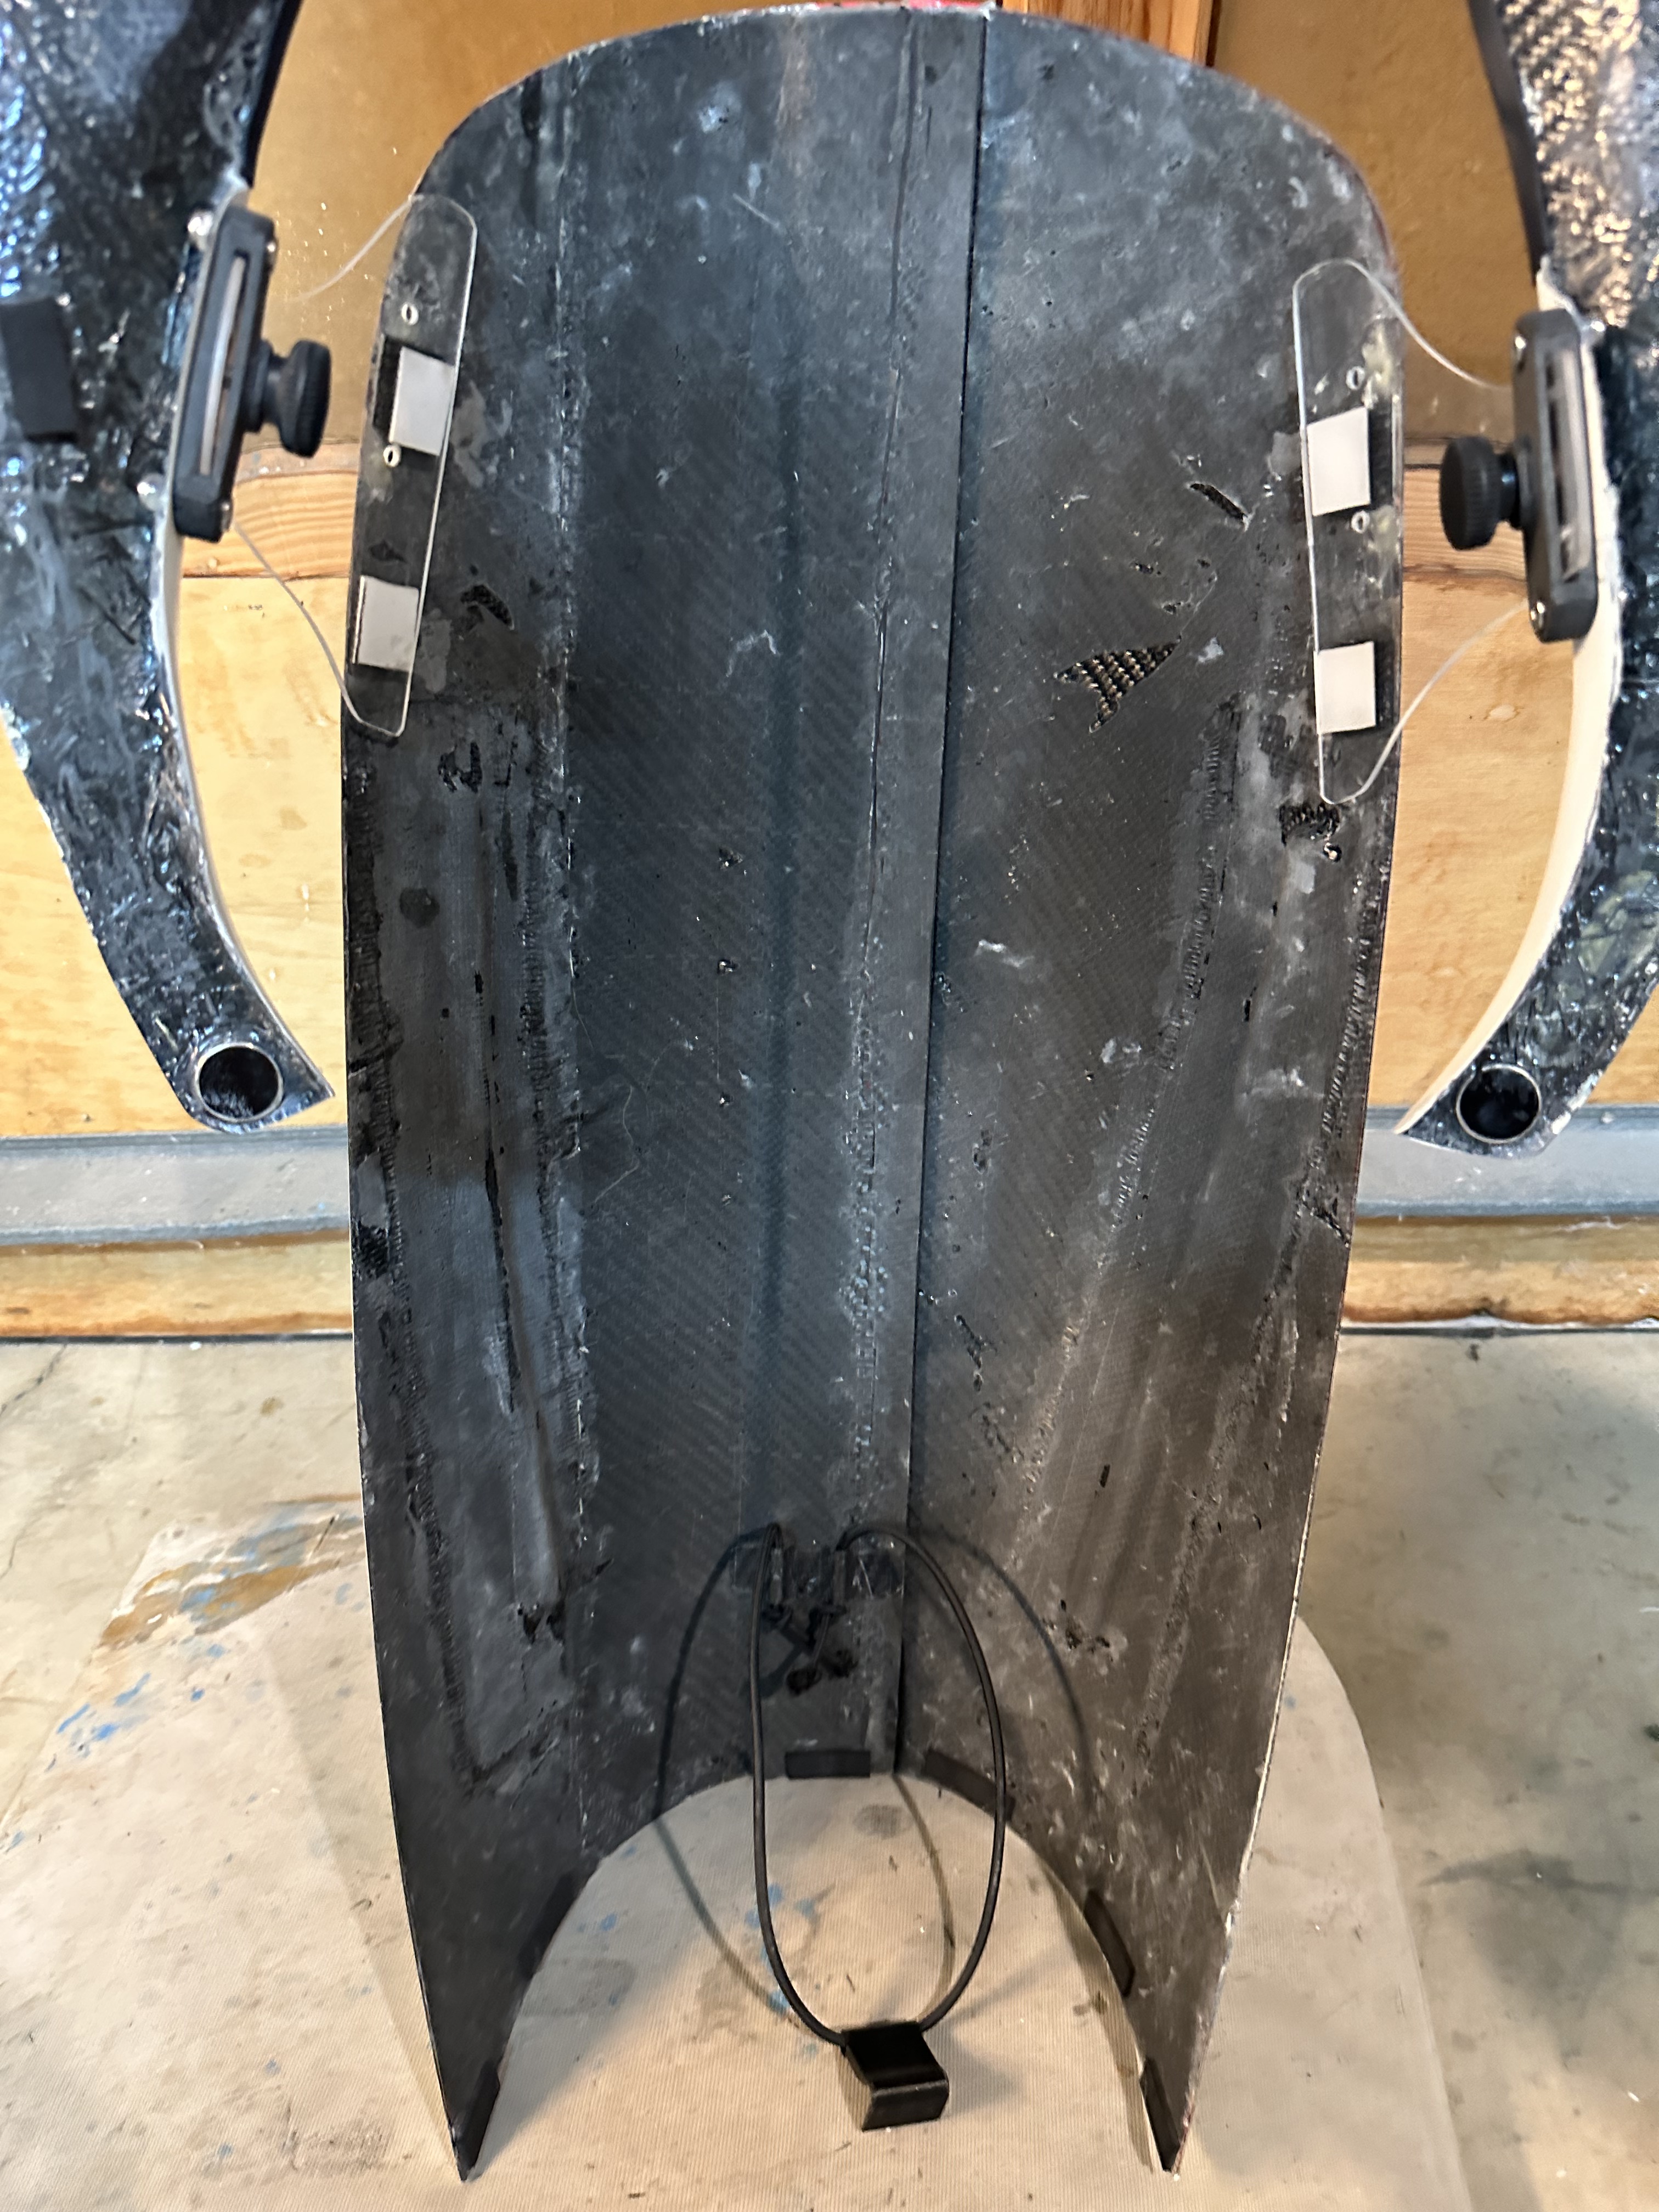
Here is the unpainted hood – split down the middle. At this stage, it still had the pillars mounted with screws.

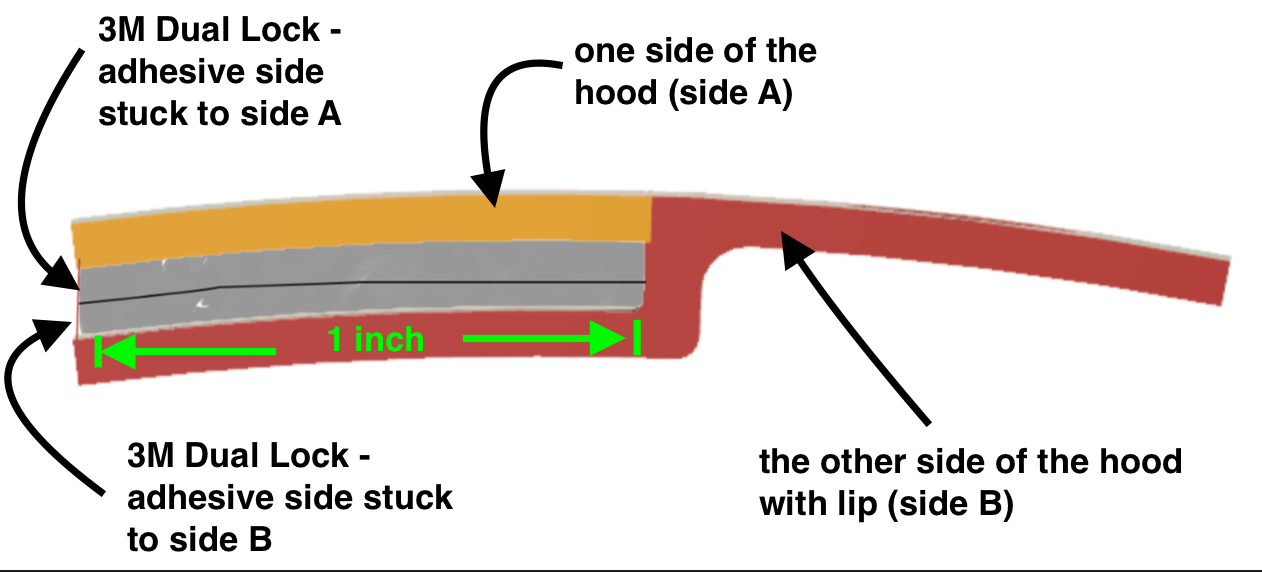
One of the problems I had to solve was to come up with a quick way to join the halves without using tools. I settled on using 3M Dual Lock. The idea was to fabricate a flange or lip on the underside of one half of the cap, for the full length of the split. The lip would have enough depth to allow 2 thicknesses of Dual Lock. Here’s a cross section to show what I mean.

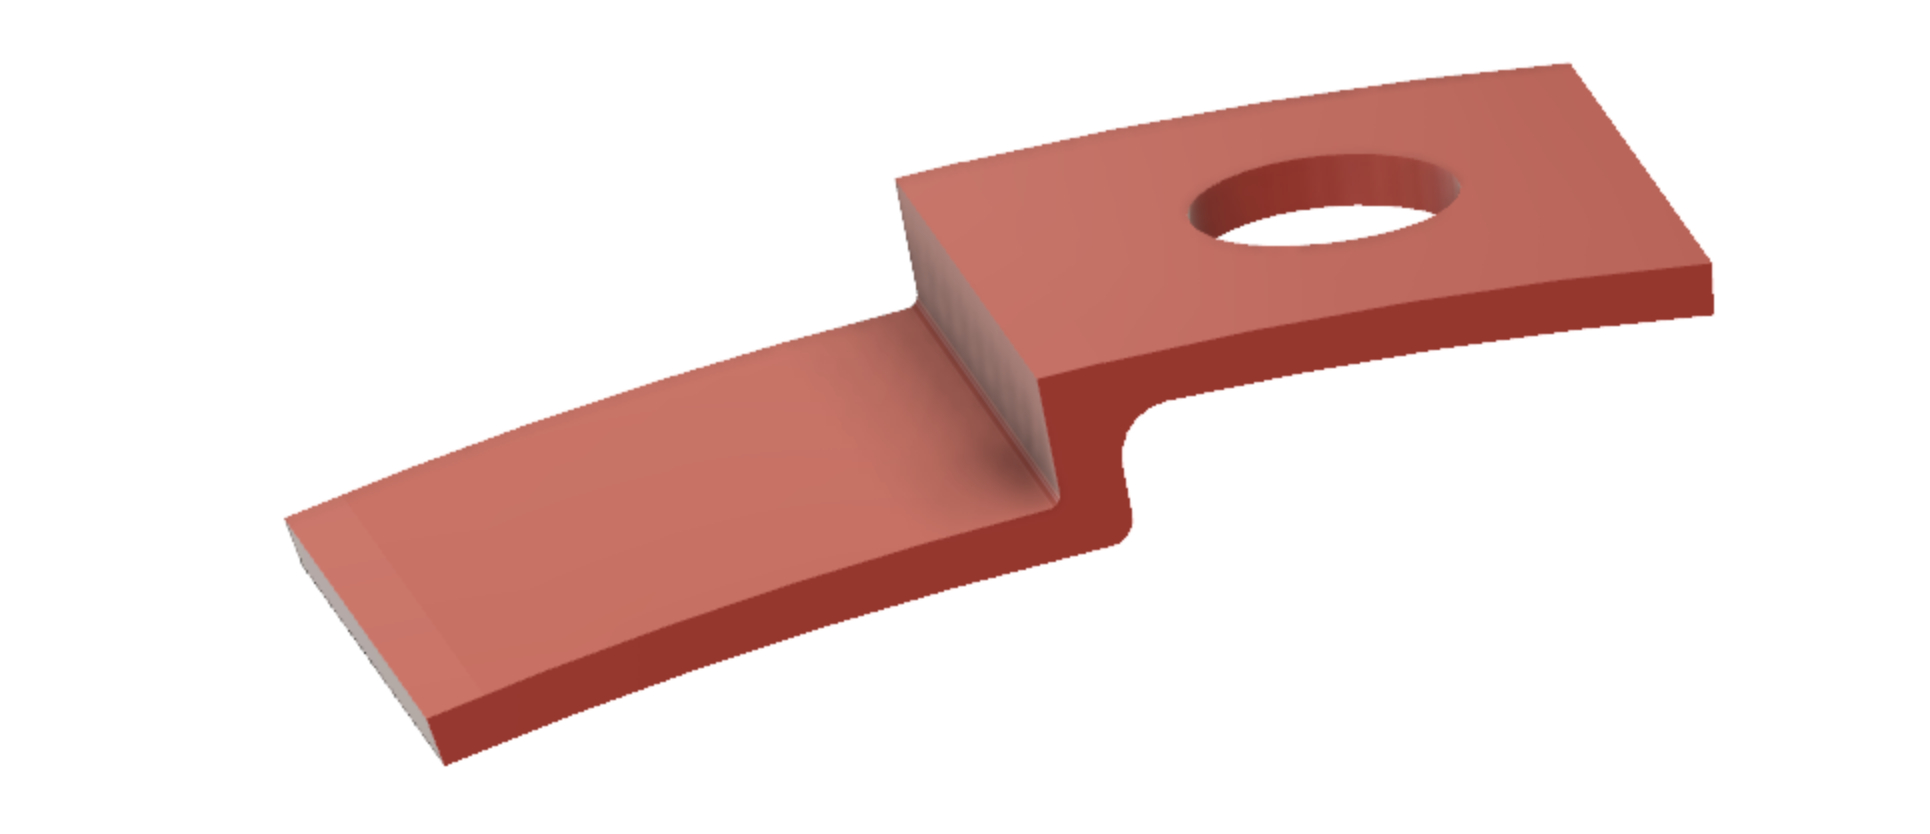
Laying up the flange didn’t sound like a lot of fun so I came up with an easier but less optimal way to accomplish the same thing by 3D printing something similar. Rather that printing a flange for the whole length of the split and trying to get the curvature right. I decided to print some 1″ long sections of flange, using carbon fiber/PETG filament, and epoxy them on one half of the cap along the split. Here’s the design of the piece. Also shown is the underside of the cap.

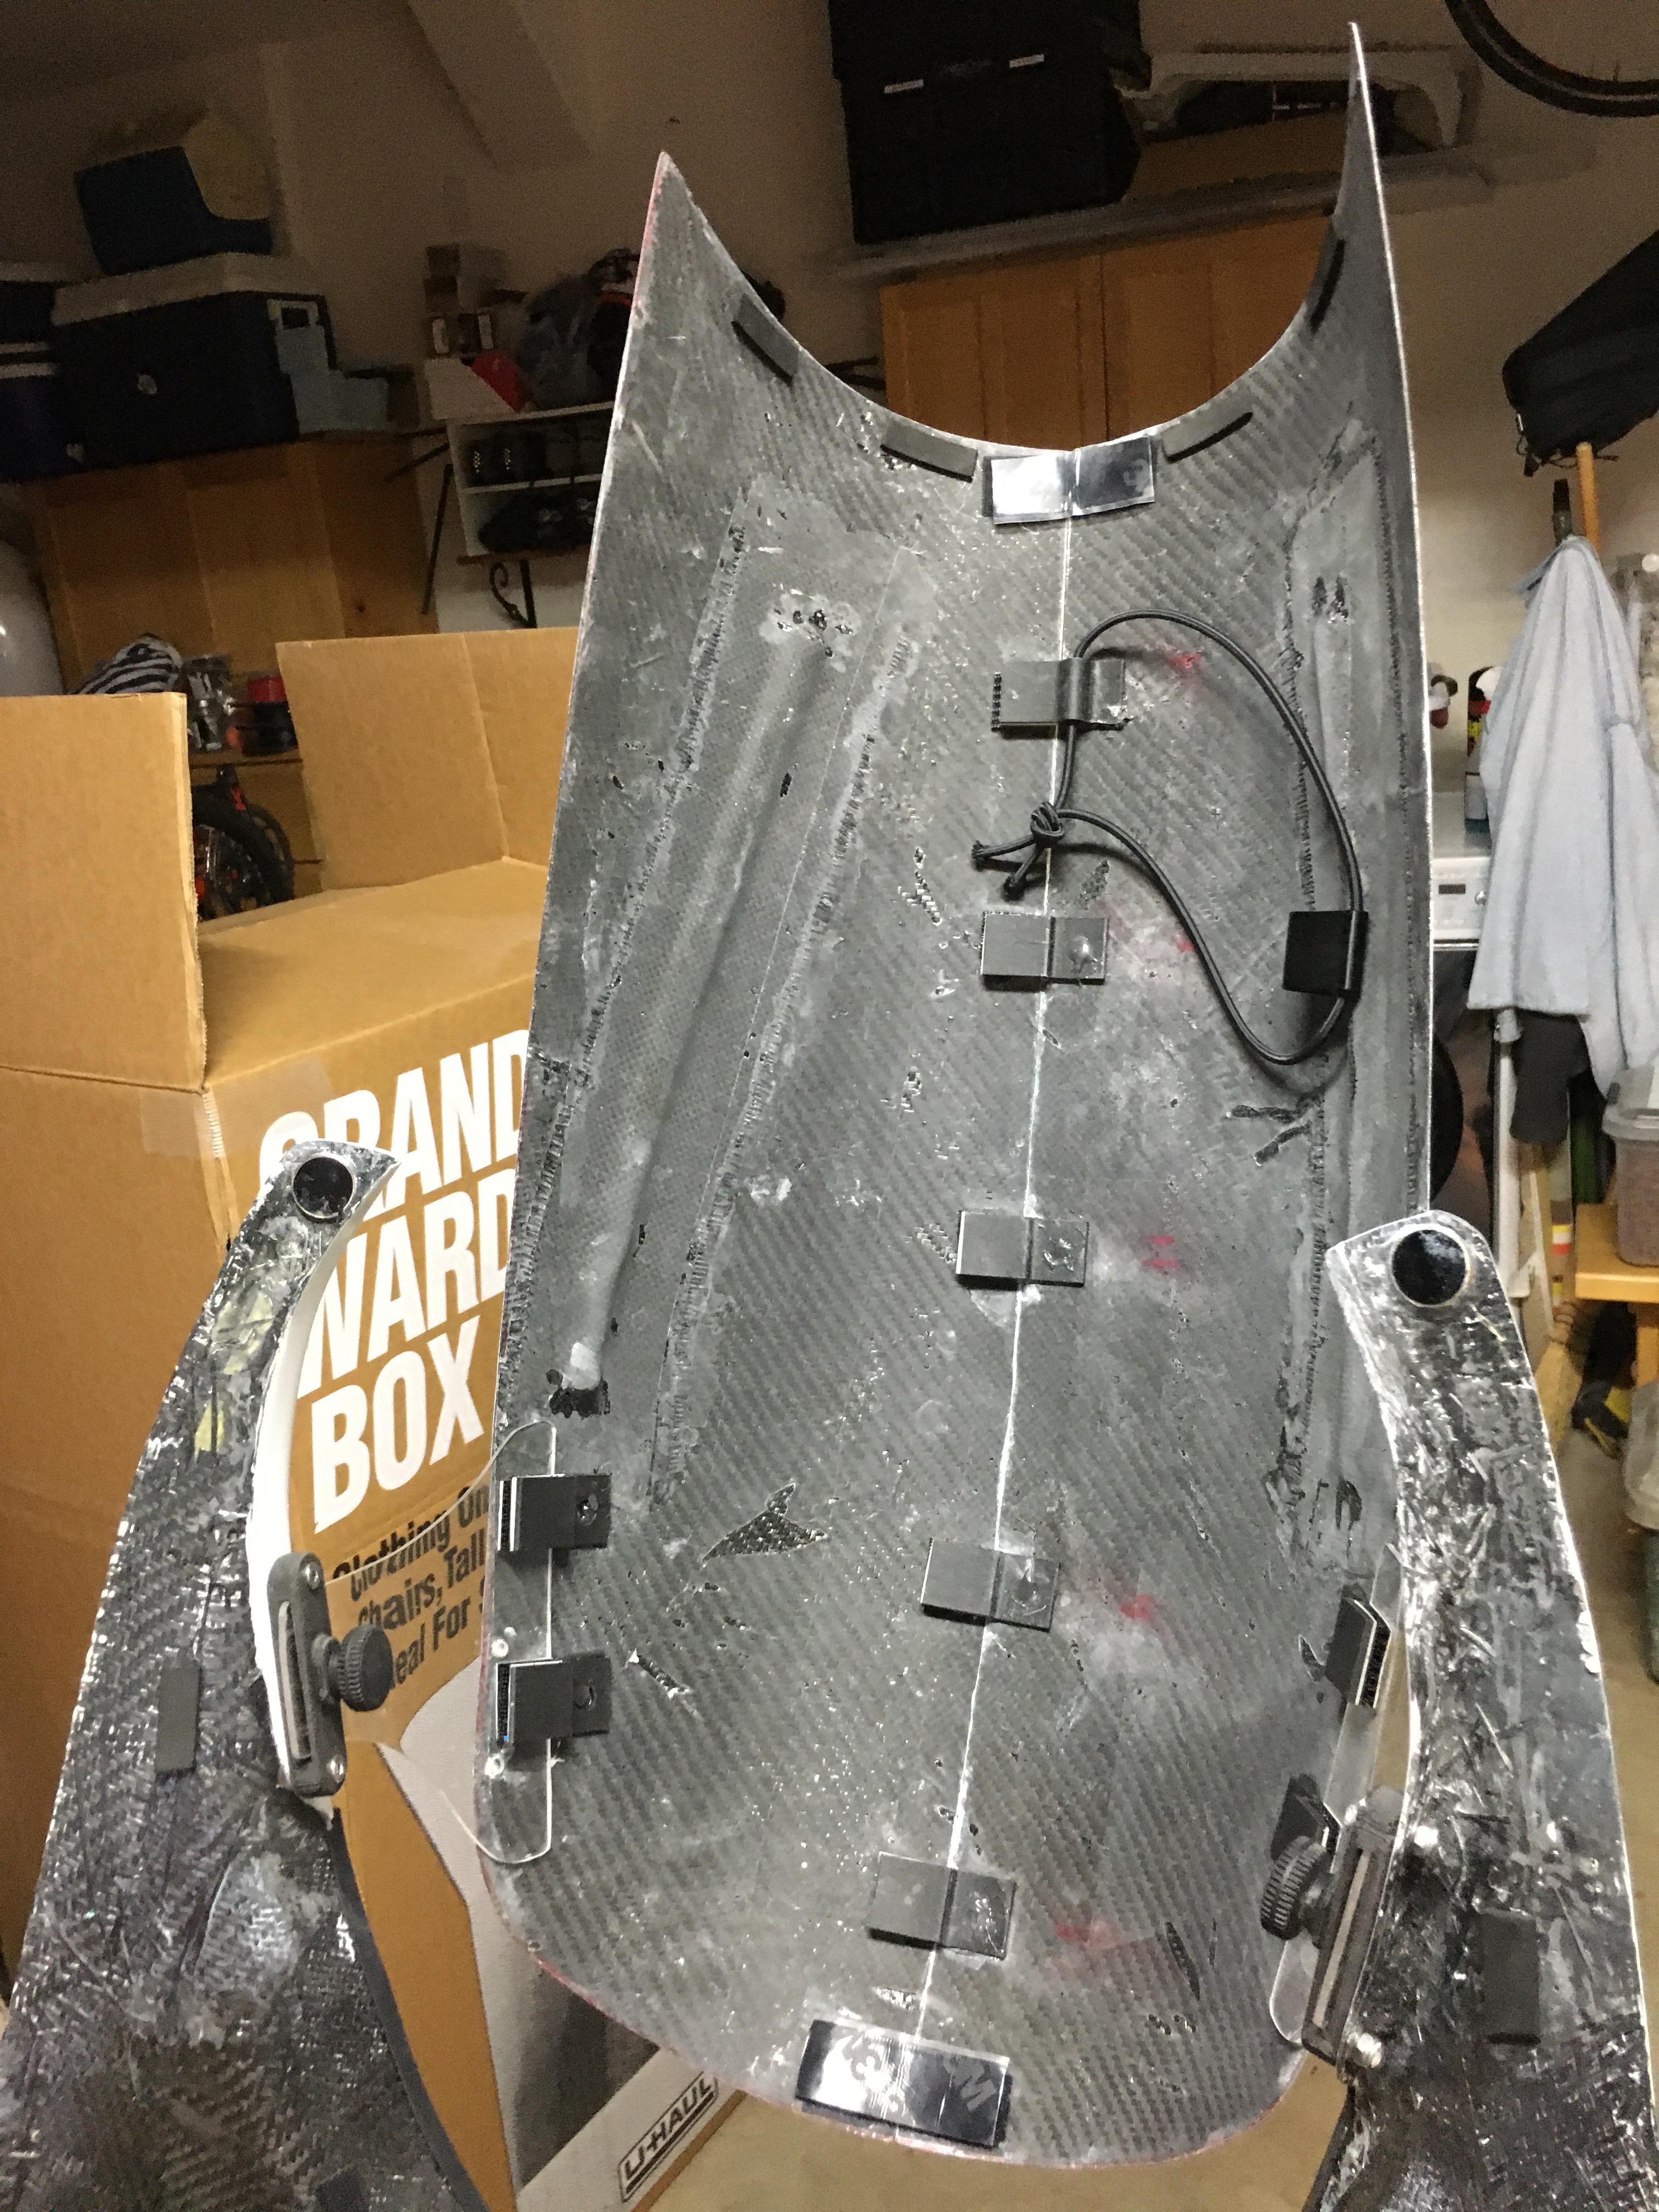
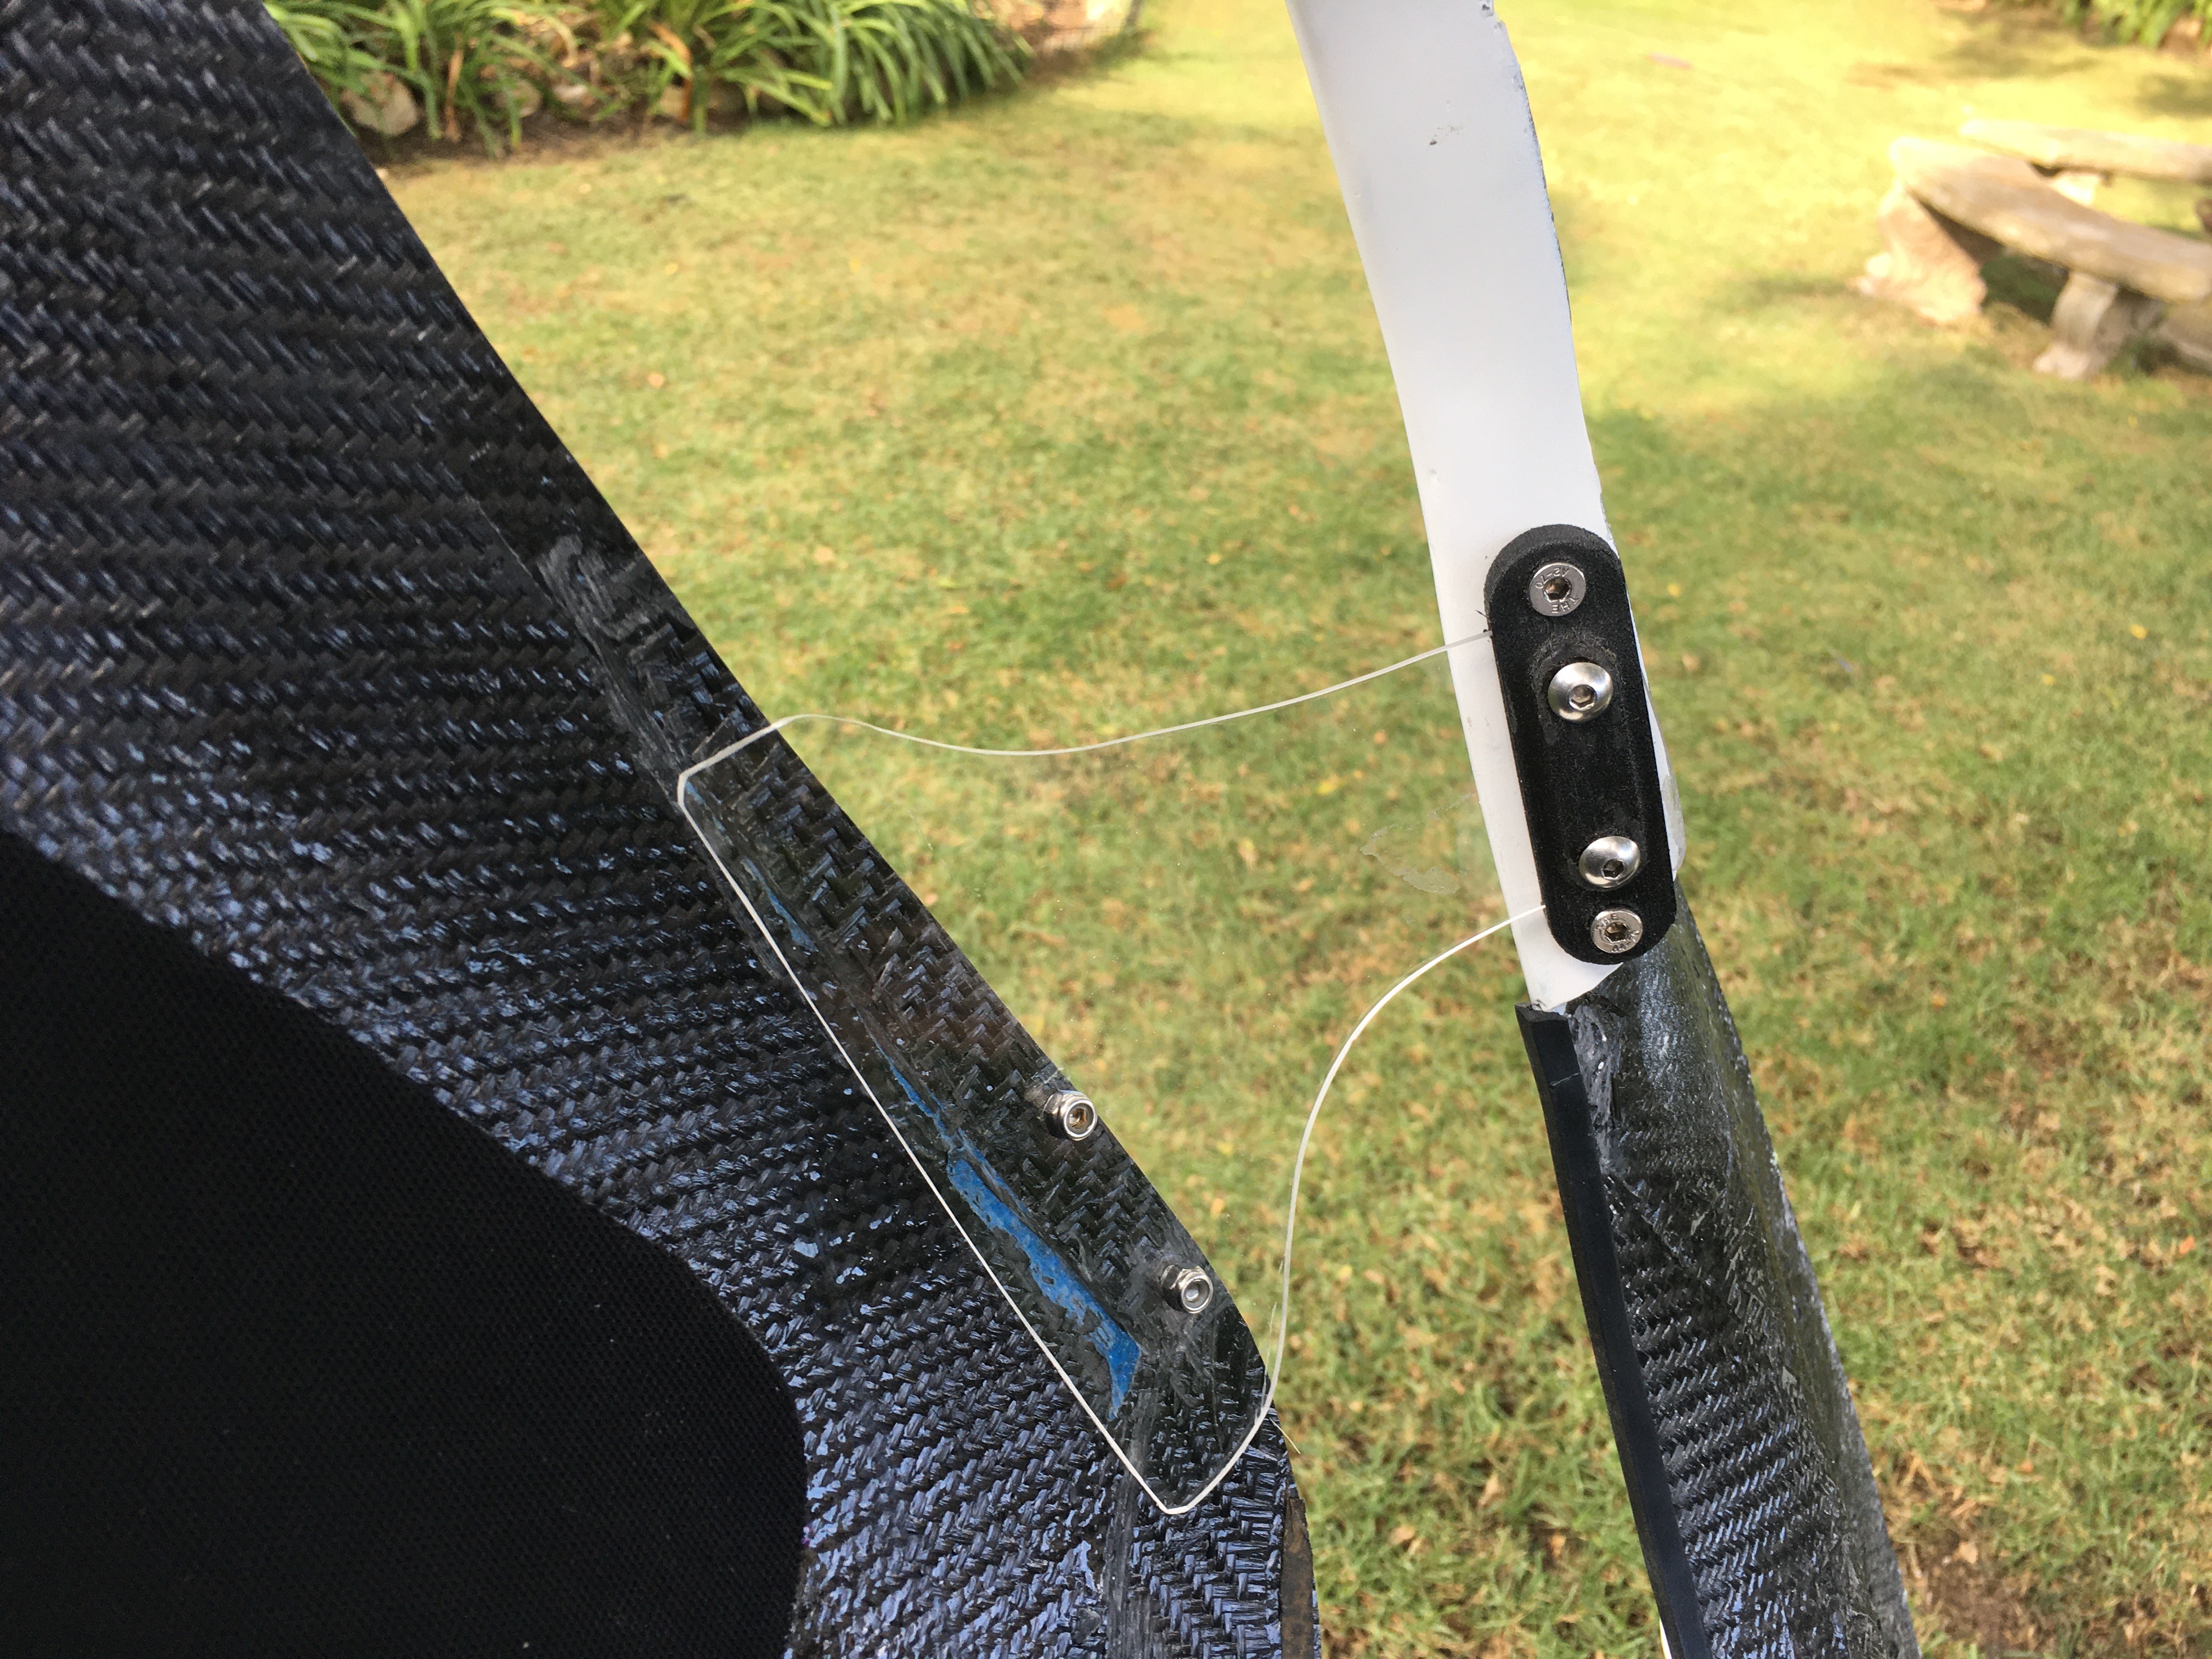
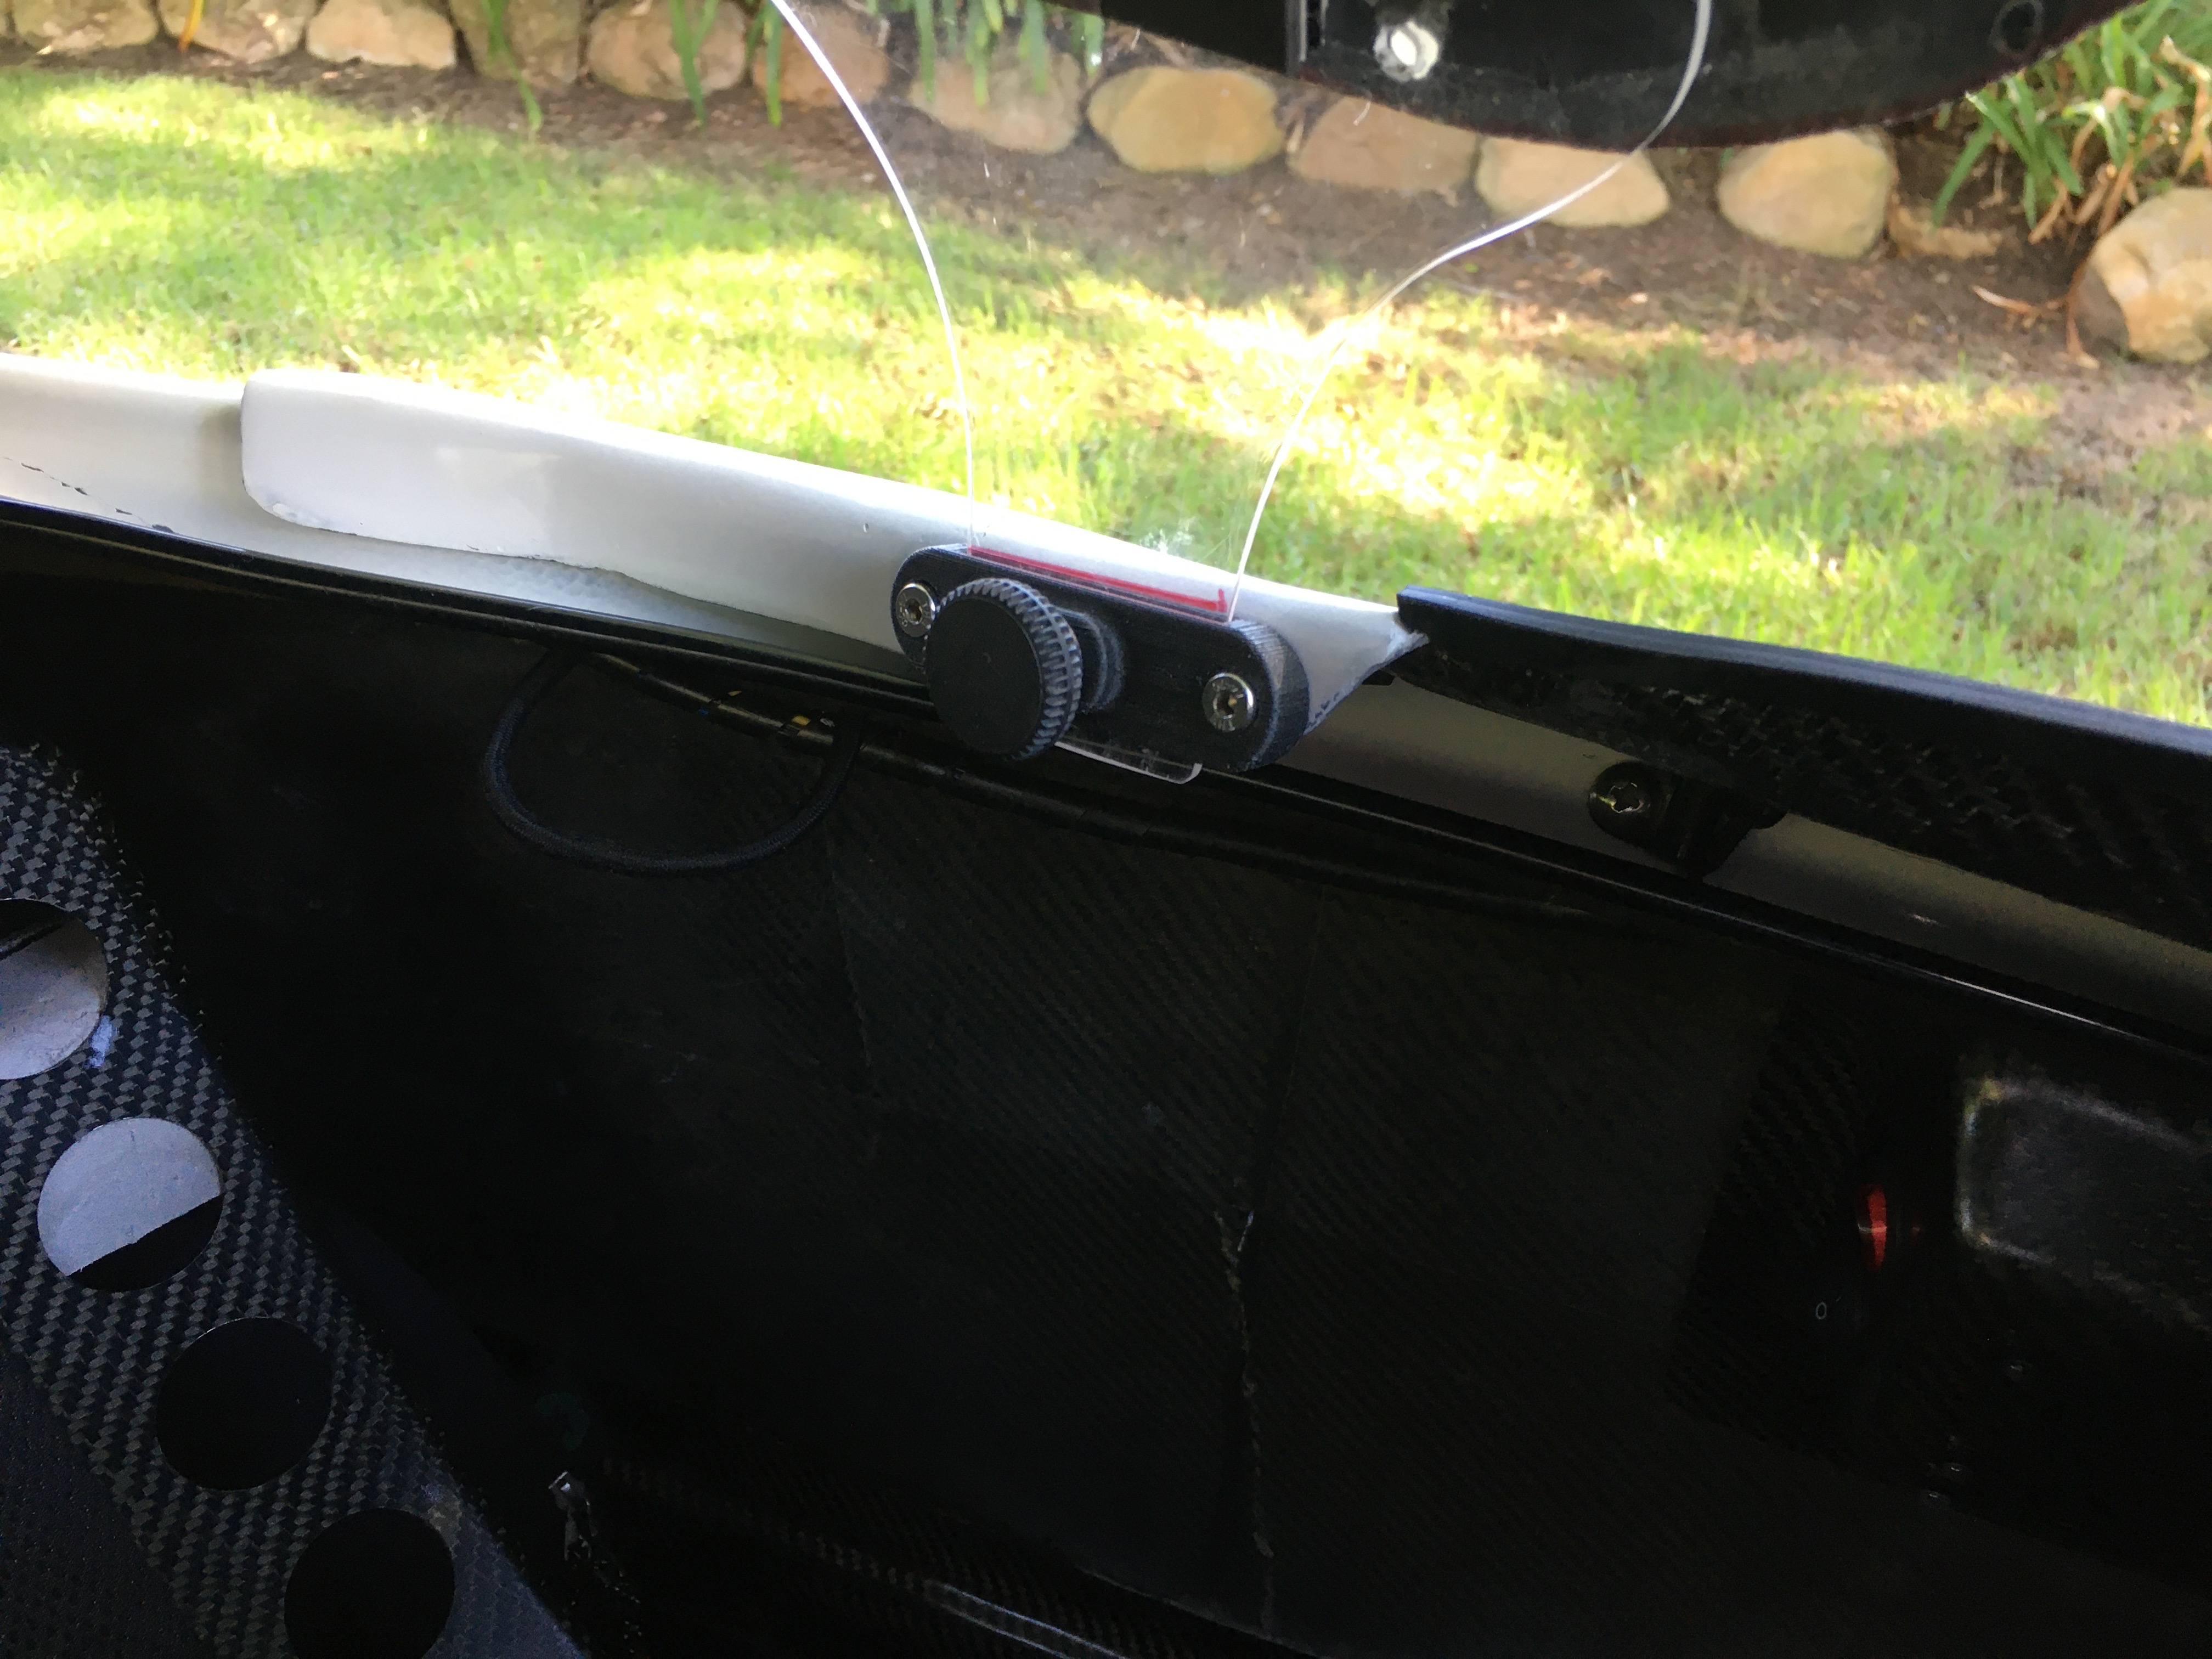
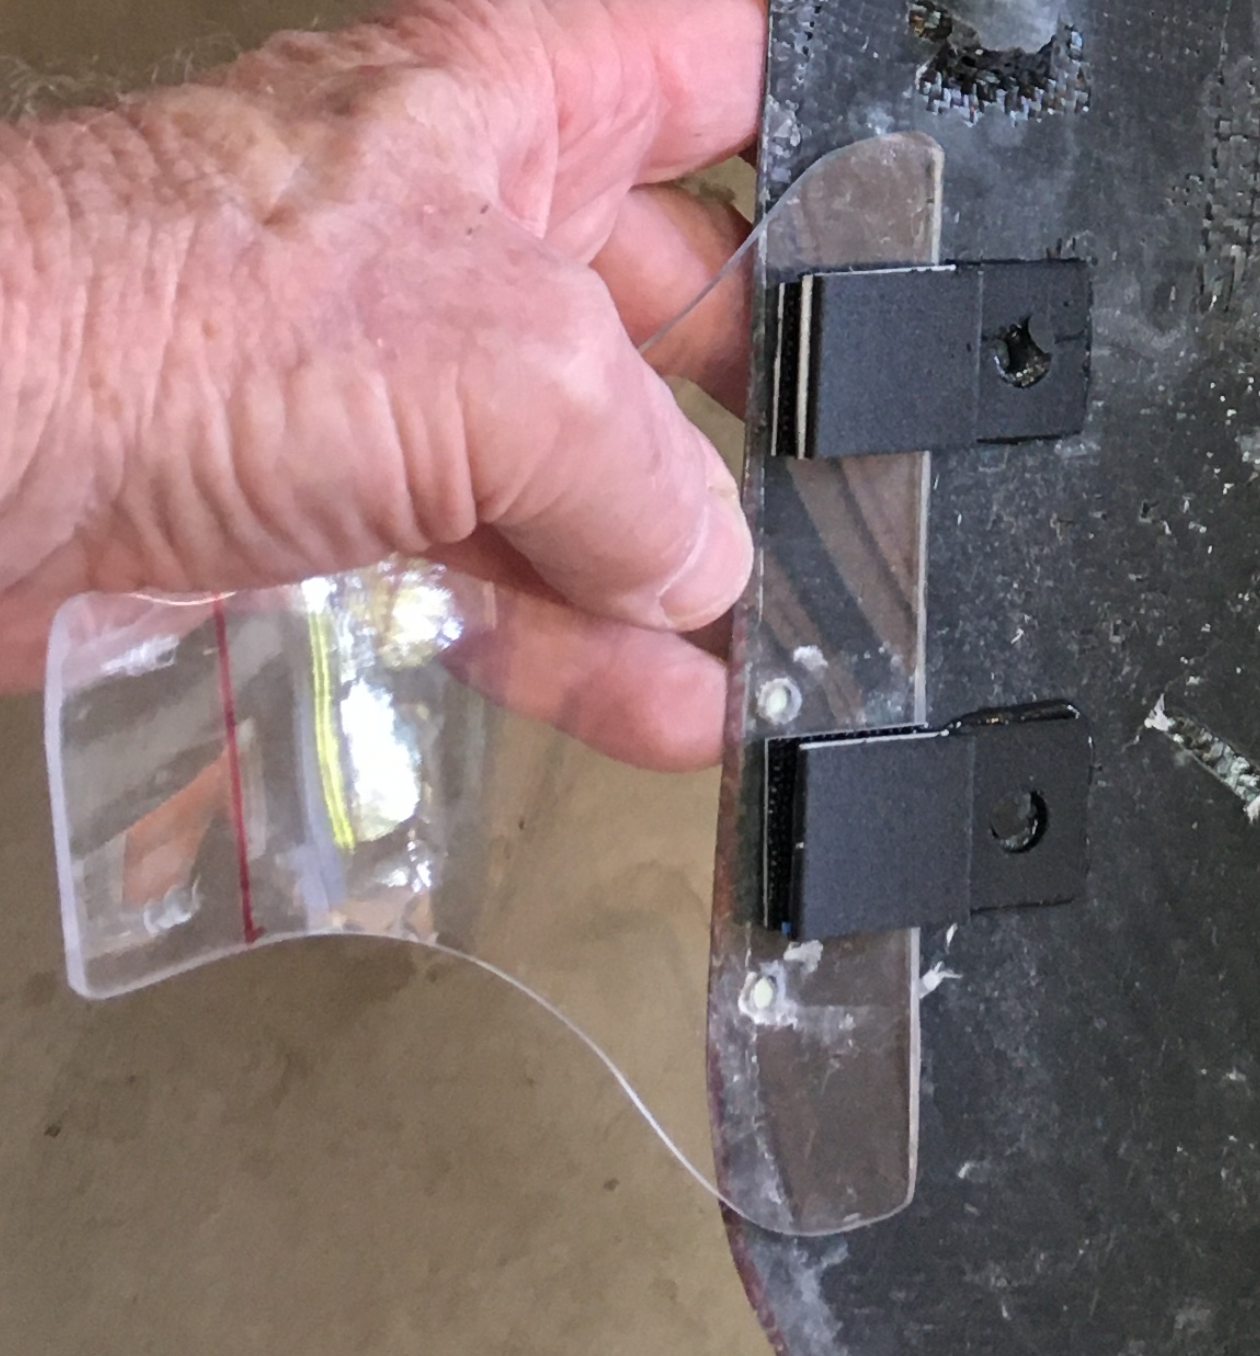
The next item to address was getting rid of the screws holding the pillars to the cap. I ended up using a slightly re-designed flange piece to attach the pillars using Dual Lock. Lastly, I wanted to get rid or the 2 allen screws on the clamps holding the lower pillars to the lid. I redesigned the clamp to use only a single M6 thumb screw. Here are some photos…

There’s a problem with the approach I’ve taken though. The split is not entirely sealed against the elements since there lip doesn’t run the whole length of the cap. If, over time, I find that this splittable cap is worth keeping, I’ll replace the one inch flange pieces with a full length carbon fiber flange.

Removable Shade Cap for the Milan

After finishing the head out lid for the Milan SL, I thought about those sunny days that I need the added air flow of the lid, but also want some shade. I looked back at the shade cap that I made for my WAW. It worked well and I liked the way that it looked. So I decided that I should make a similar removable shade cap to use with the head out lid of the Milan.

Here’s my WAW shade cap from a few years ago. The WAW has some nice clamps installed on the inside of the lid near the cockpit edge. These were great for mounting the clear plexiglas posts shown below. It only took a few seconds to loosen the clamps to remove the cap.

WAW Shade Cap

I already had a scrap piece of a hood from my Milan’s one piece hood mold. I just needed to come up with the plexiglas posts and some clamps similar to those used in the WAW.

Here is the Milan shade cap. Notice in the head on view below, how much open space there is for air to pass through.

Here’s the clamp that I designed to mount the clear plexiglass posts. I printed them with carbon fiber / nylon filament and embedded metal M5 threaded inserts.

By the way… I’m aware that the Milan’s aerodynamics are most likely compromised with this cap, but its only purpose to keep me comfortable on warm days.

A Dedicated Head Out Lid for the Milan

The stock Milan opening is enclosed by 2 pieces – the lid which covers most of the opening and a small hood which attaches to the lid.

It’s nice to be able to ride without the hood on hot days. To do so, you remove the hood from the lid and ride with just the lid.

The problem that I have with riding head out with this setup is that the opening in the lid is so small that the front of the opening feels like it’s right in my face. So I decided to make my own lid to be used exclusively for head out riding. It provides a larger opening for a less confined feeling.

To build the lid, I started by laying up a hood from my own Milan race hood mold. I cut away the overhead portion of the hood, leaving a larger opening than the stock lid’s opening. There is also more of a lip on the front edge of the opening, forming a bit of a windscreen. Notice that I’ve added the same NACA duct and mirror covers as I used on my full hood.

The lid is held in place by the usual Milan cable housing hinge at the front. Also at the front is a single bungee that extends from the bridge up to a hook on the underside of the lid. Magnets are attached at the back 2 corners of the lid to mate up with magnets taped to the inside of the body shell.

Driving Impressions

I’m used to riding with the full hood, so riding head out is quite different. A lot more air flows past my face and around my neck and shoulders. That is the point of building this lid so this is a good thing. Vision out front and to the sides is excellent. The amount of air flowing through the NACA duct is not as noticeable with the open lid as it is with the full hood. I think that it probably isn’t worth the effort to add the NACA duct in any future lids that I may make.

As for performance… I didn’t take any time to do any actual testing. I’m not able to feel a slow down due to adverse change in the aerodynamics, but I’ll assume that the lid will slow me down a bit. Overall, I’m pleased with the effort. The fit of the lid is decent and the added airflow will be appreciated on warm days.