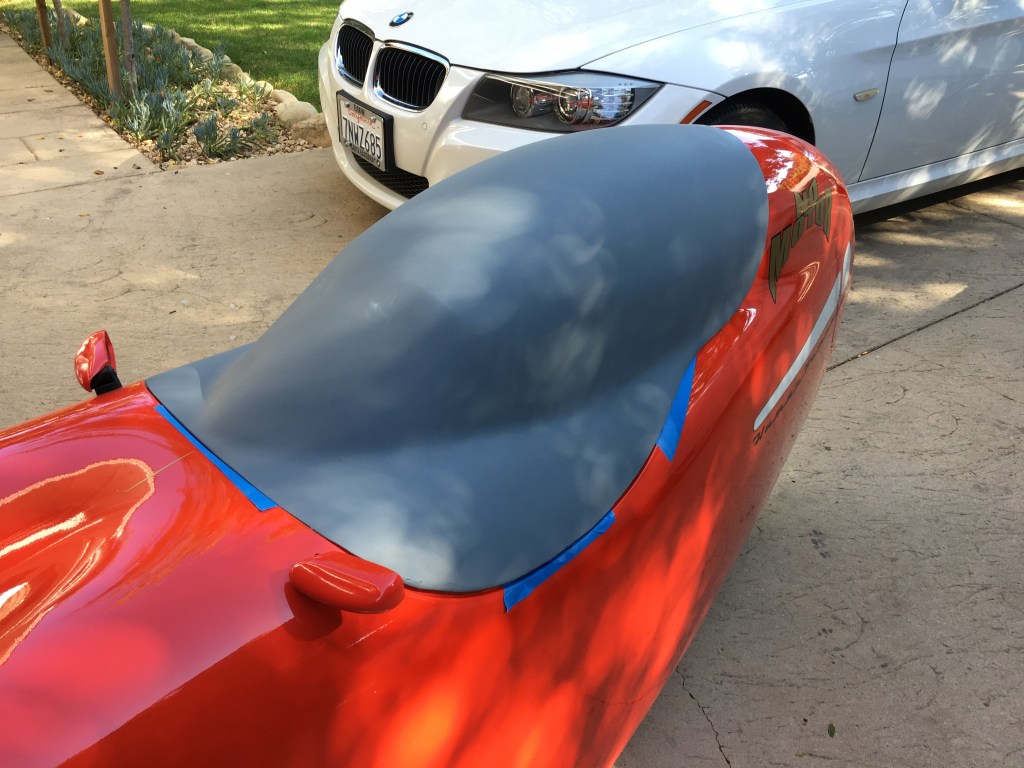
A while back, I decided to make a mold of the factory DF race hood. This would give me the ability to make copies that could be modified for various experiments. In building that mold, I misjudged the draft of the hood. I mistakenly thought that I could extract my factory part from a 2 piece mold, split longitudinally. It turned out that the shapes around the visor locked my hood into the mold. I spent the weekend trying to extract my hood from the mold. I was almost ready to toss in the towel and start cutting the mold apart to rescue the hood. But with a bit more persistence I managed pull the hood from the mold without cutting anything. After almost losing my factory hood to the mold, I realized that this mold was not usable.
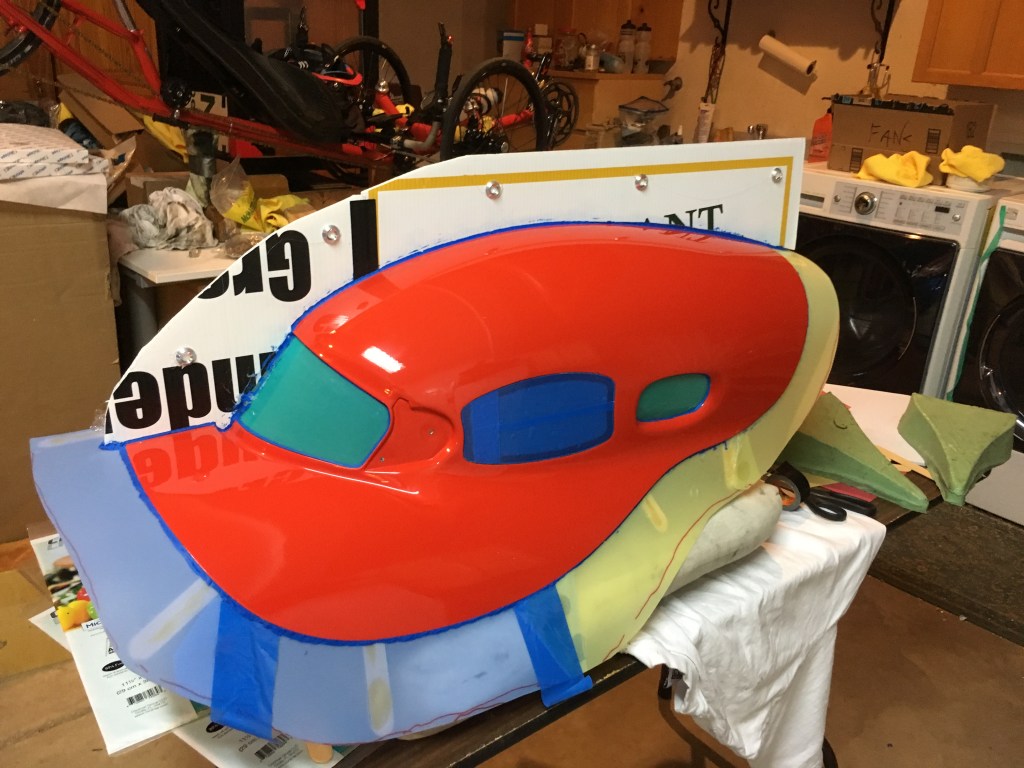
Hood prepared with flanges for making the 2 piece mold 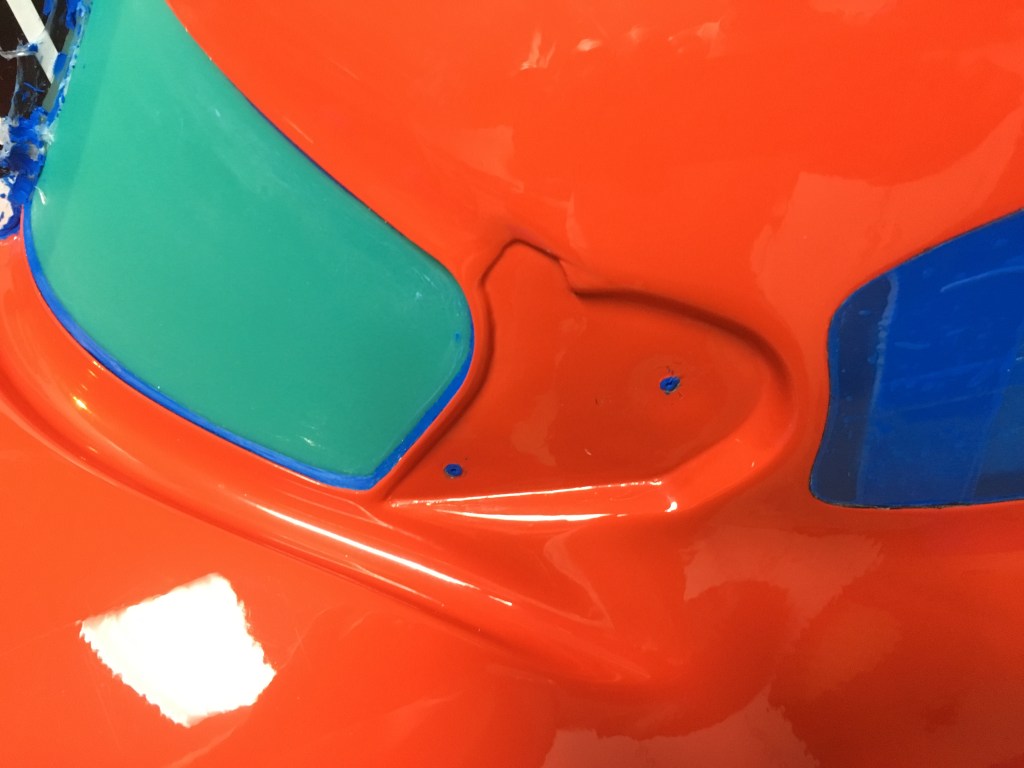
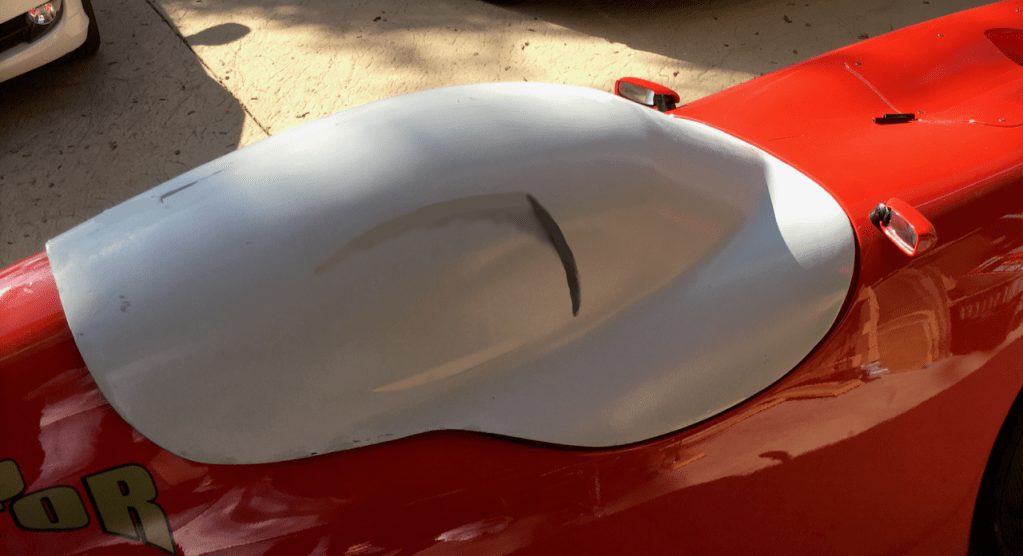
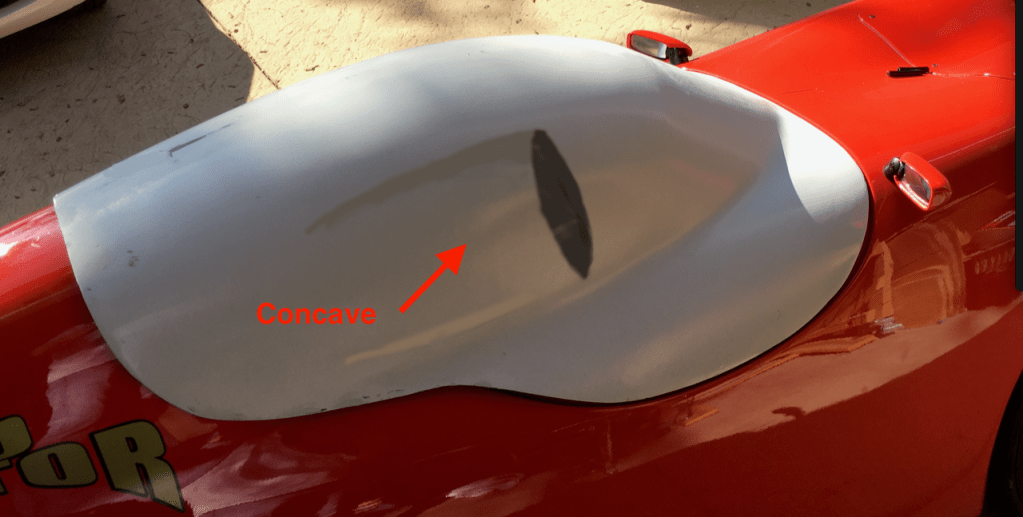
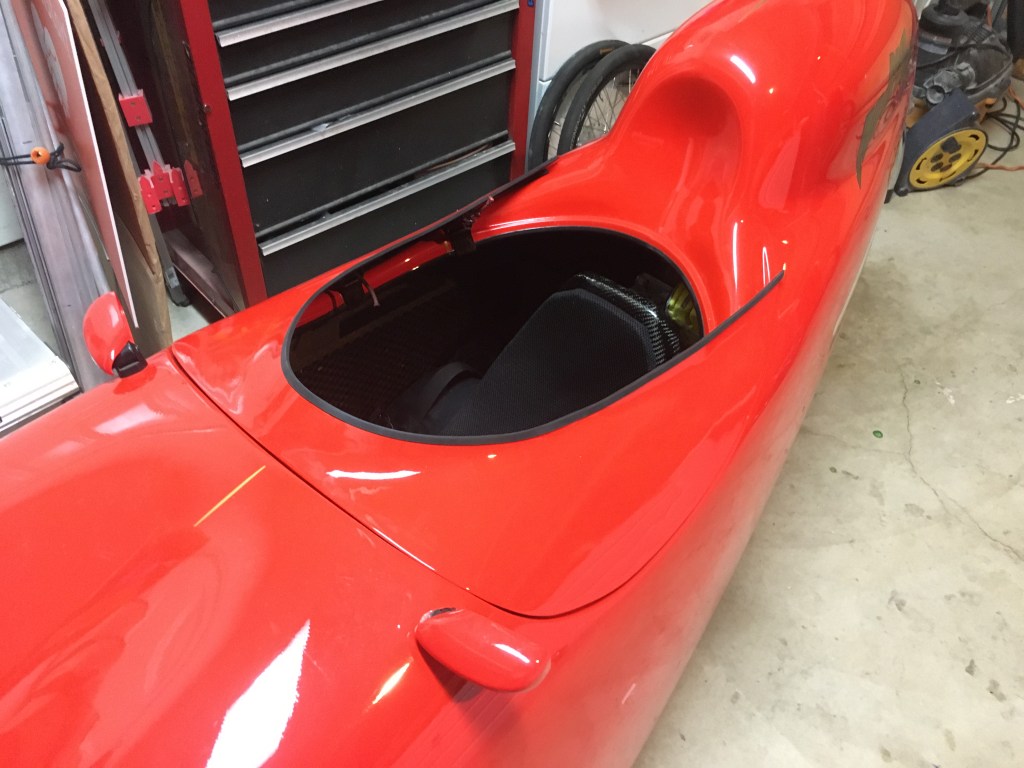
This is the area that turned out to lock my hood in my mold.
I set the mold aside and forgot about it for a few months. Then I began discussing with Peter Borenstadt (a regular competitor at Battle Mountain) how one could make a more aerodynamic hood for the DF. That got me thinking that I could modify my failed mold enough to yield a part that would be a good starting point for a buck for an “aero” hood.
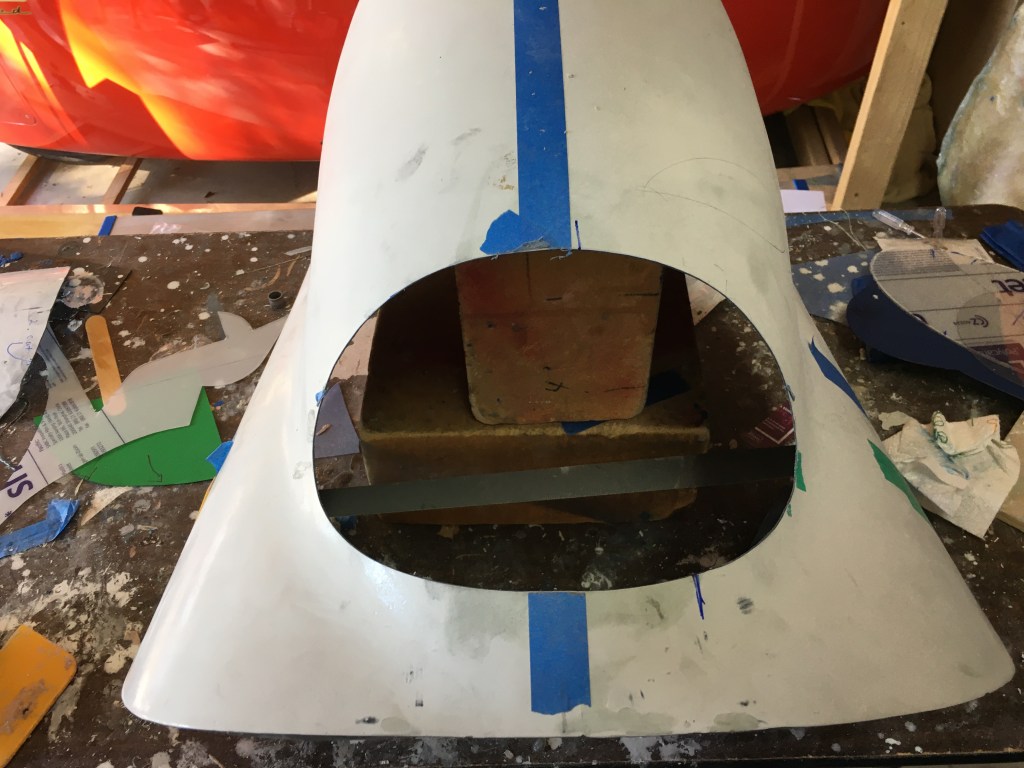
So I cut the offending sections out of the mold and filled in the openings to build a plain looking hood (without the indentations for the visor). I then formed a piece of plastic (and later aluminum sheet) to change the angle of the visor area to be more laid back.
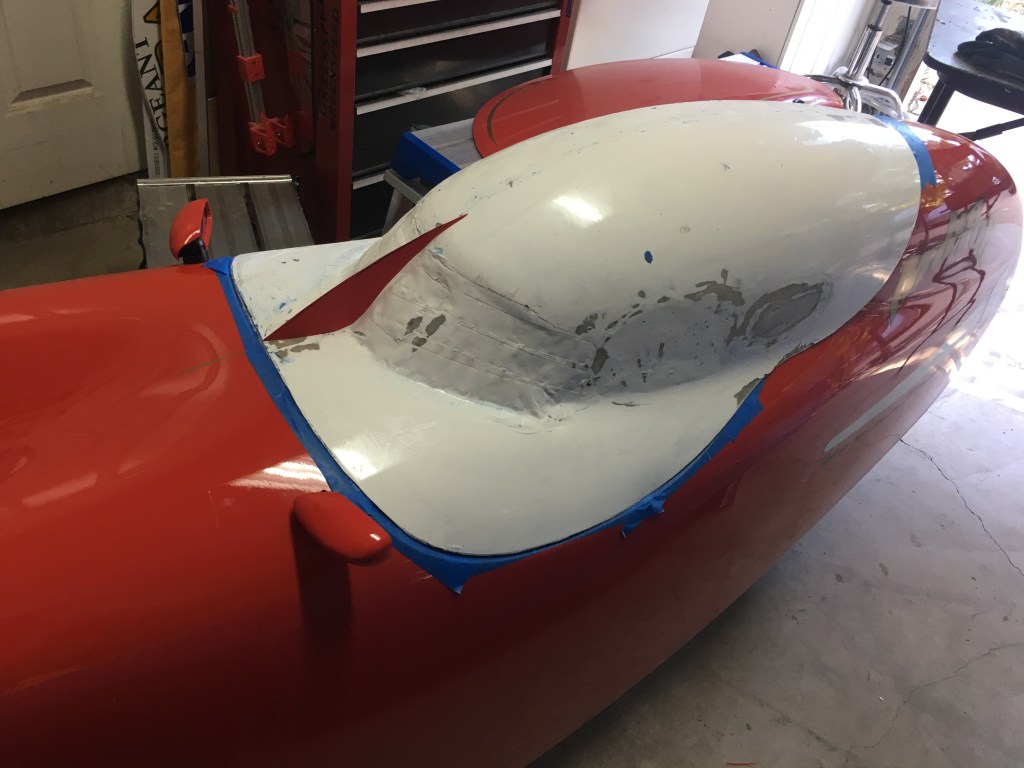
Very rough starting point for the buck 
Visor area modified to be more laid back
After a few rounds of bondo, sanding and primer, I ended up with this very blank buck. I was able to build a 2 piece mold from this buck, split longitudinally, since the shape was so simple. With the mold completed, I could go crazy and make all kinds of variations of the aero hood.
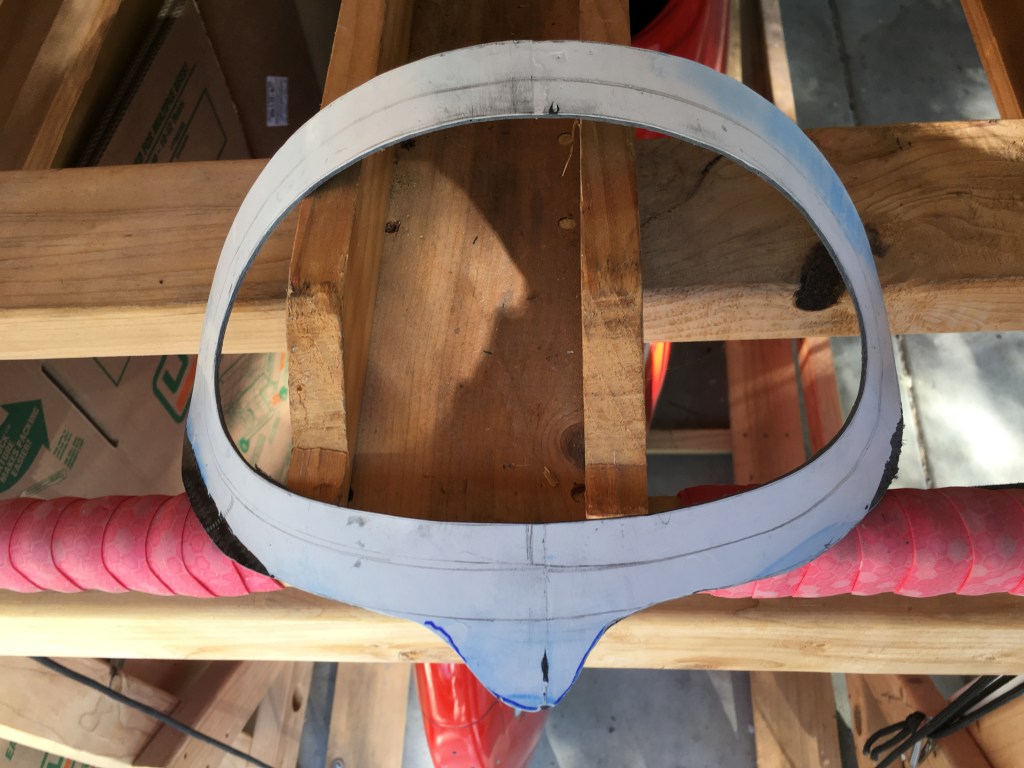
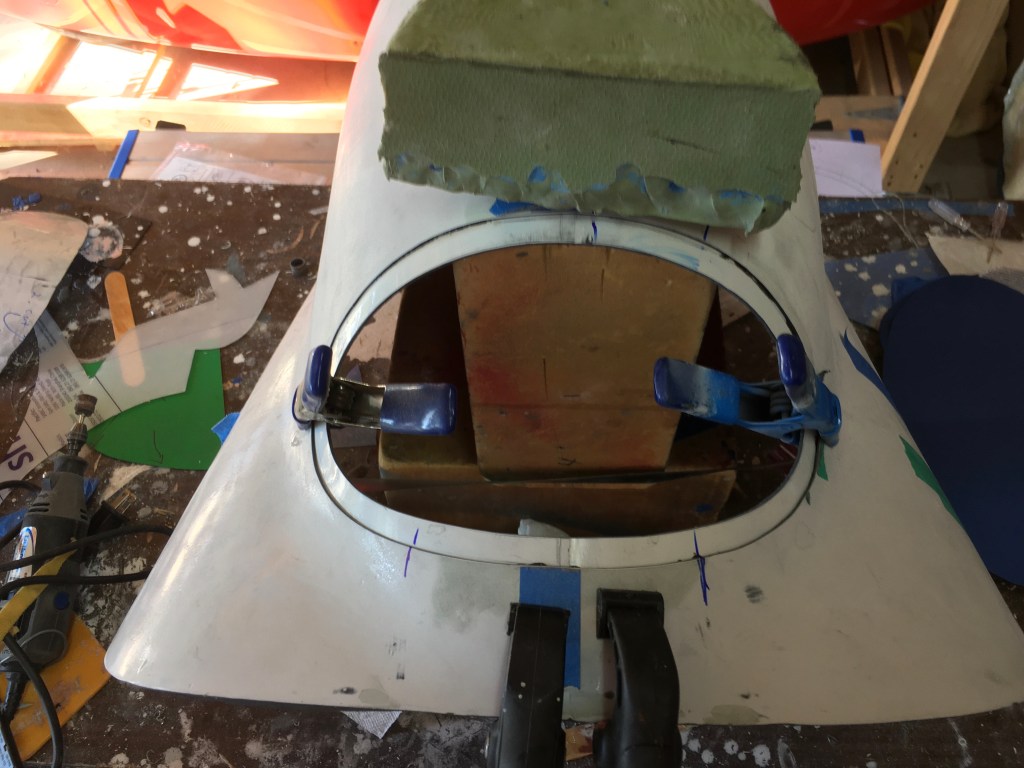
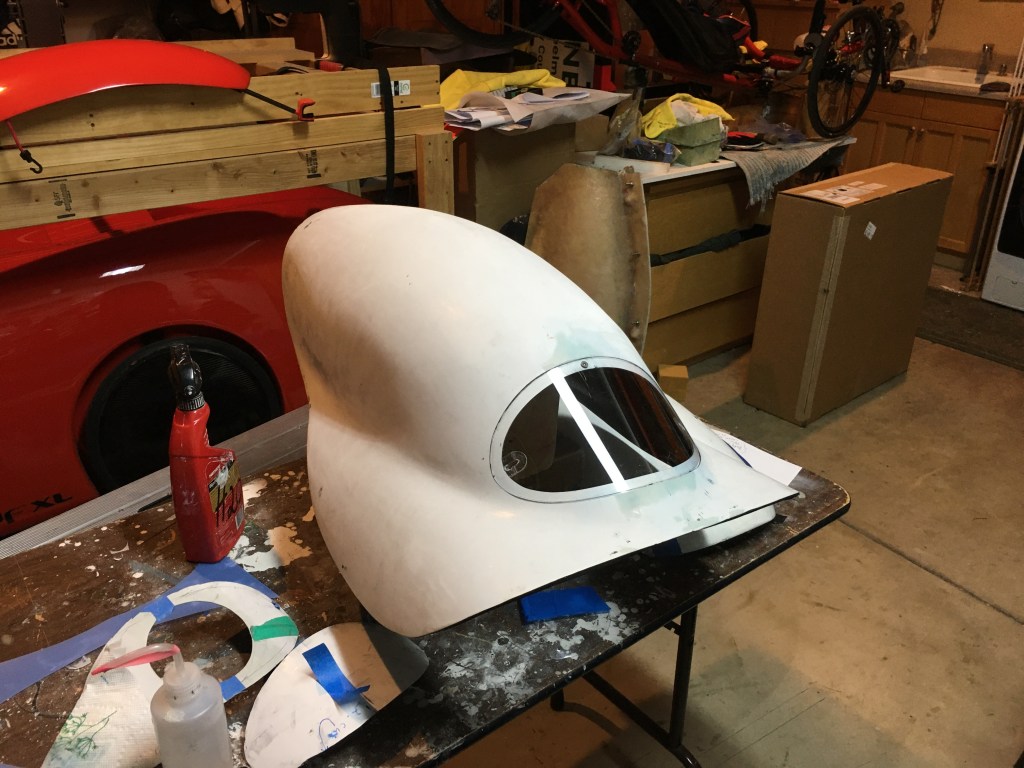
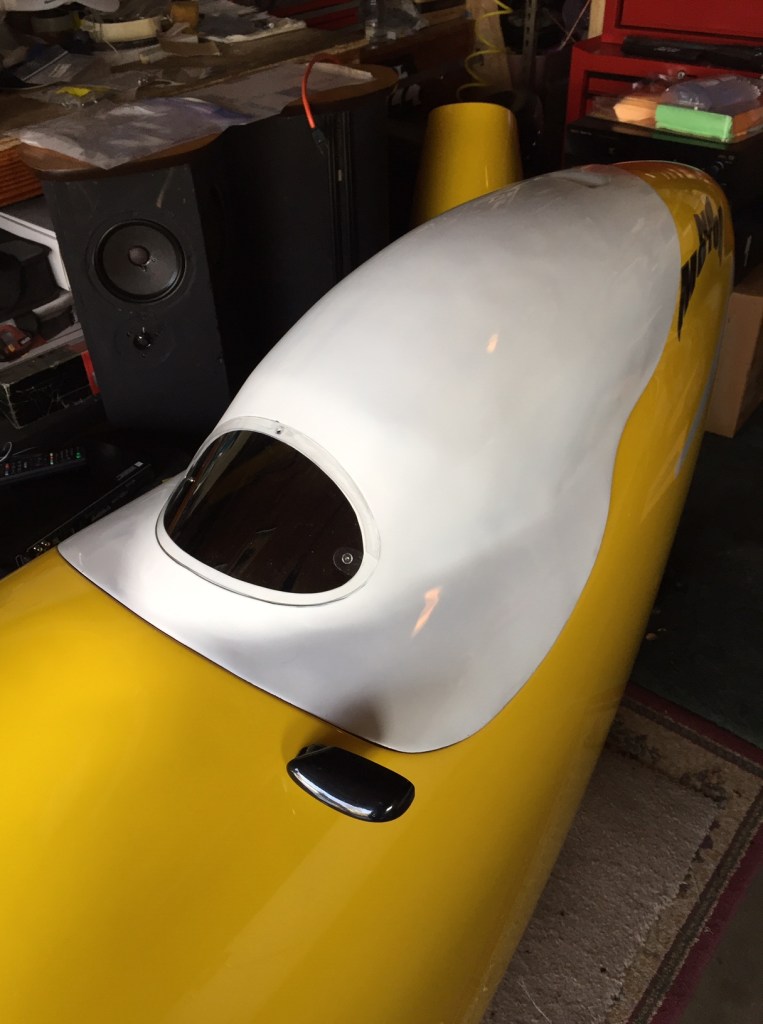
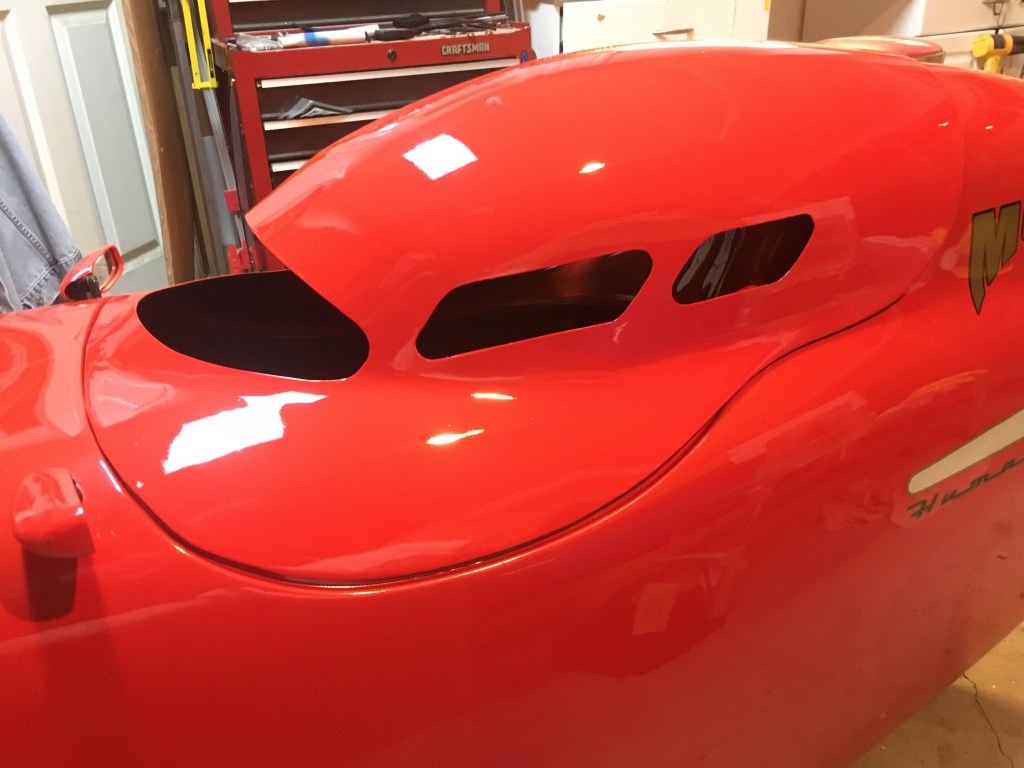
The first order of business was to make a test hood for Peter to play with. I thought that it would be nice to have a flush mounted visor. Here you can see how I came up with the inset surface to mount the visor.
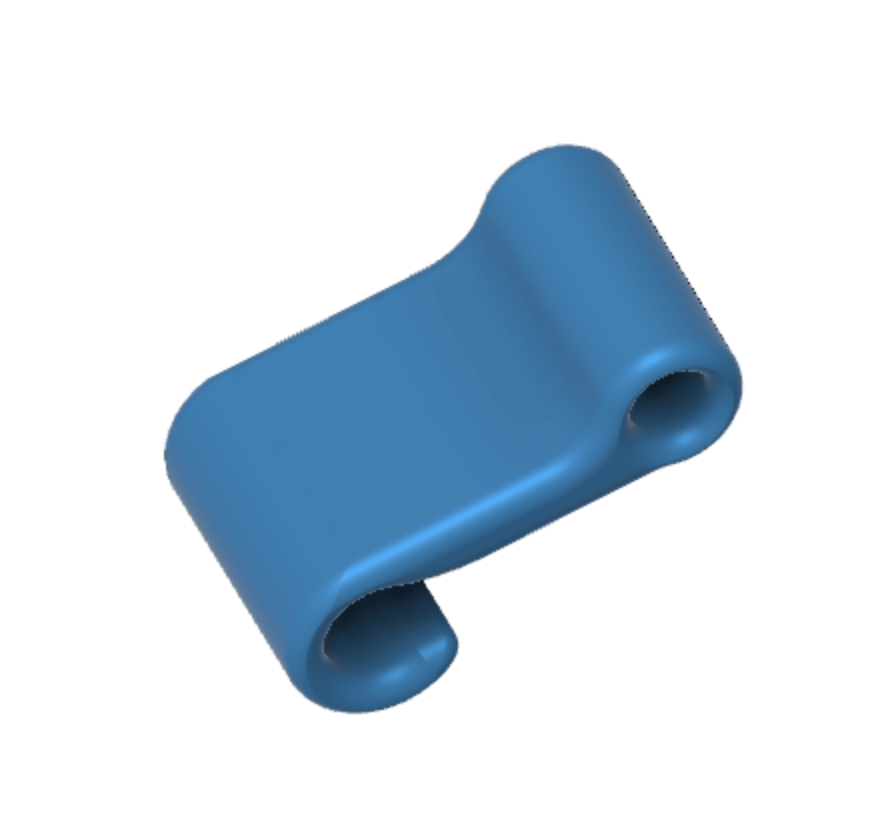
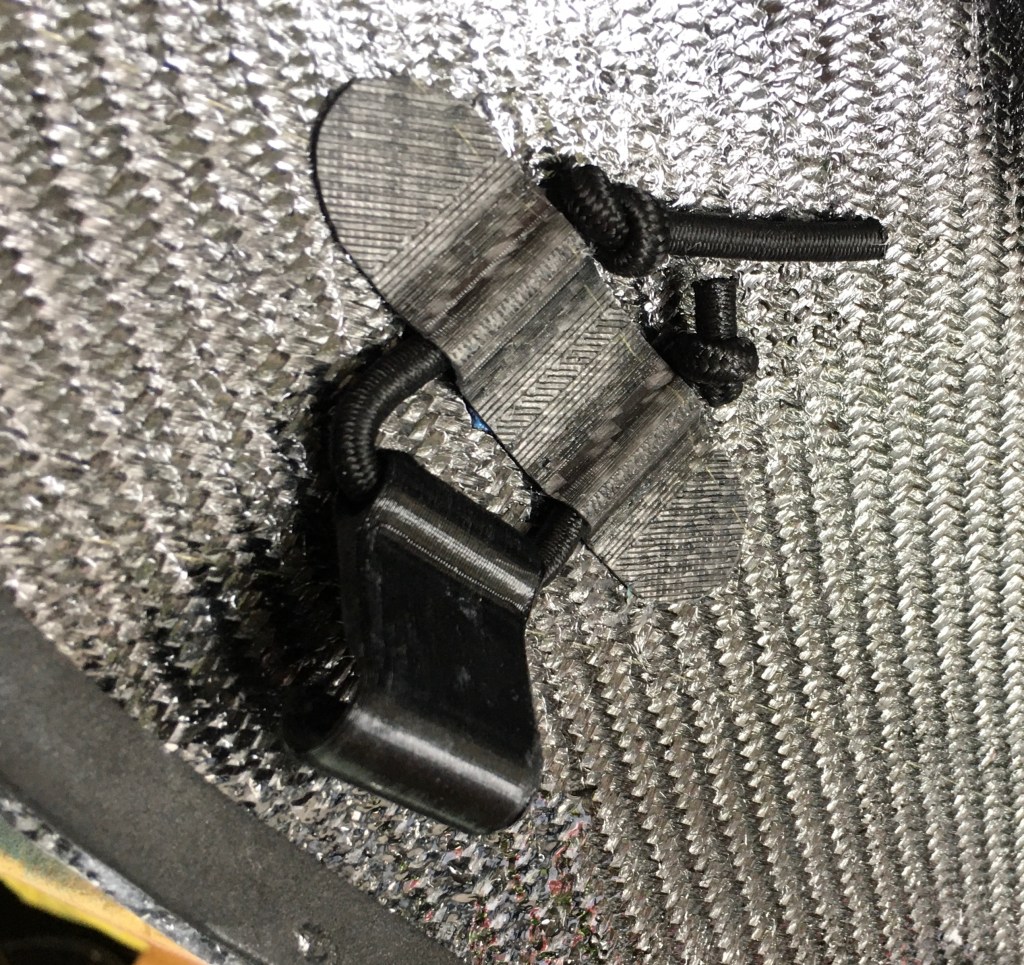
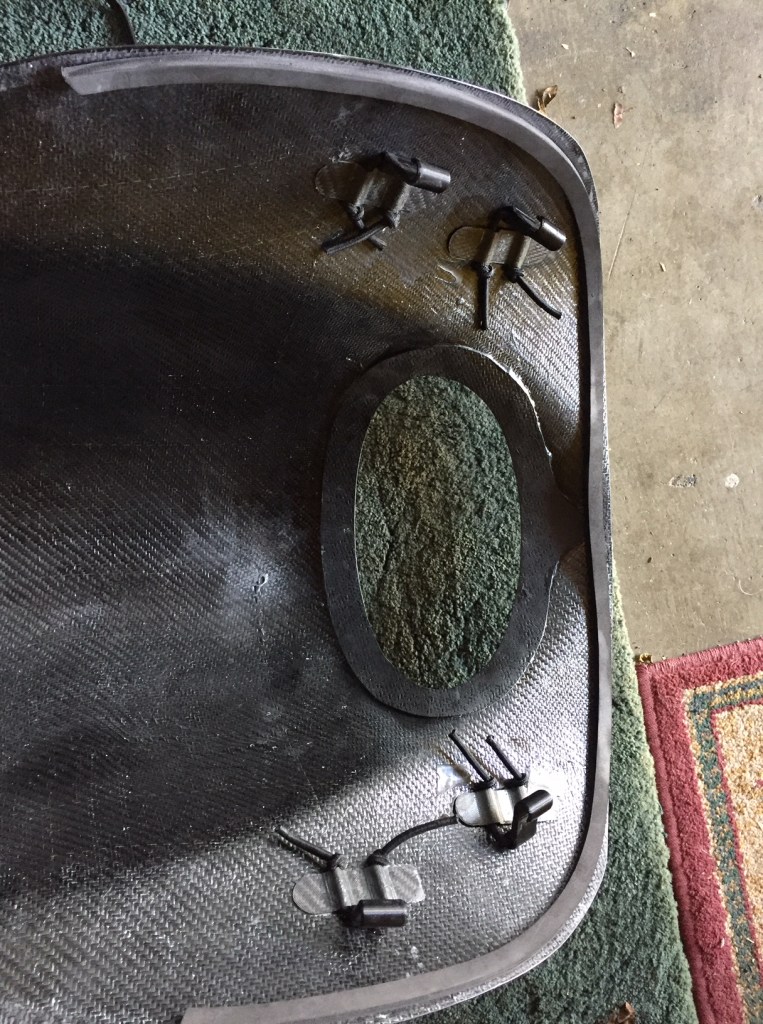
To hold the hood in place, I copied the factory bungee tie down idea. I 3D printed a squish mold to form the carbon fiber strips to hold the bungees. I 3D printed the hooks that clip on to the cockpit rim.
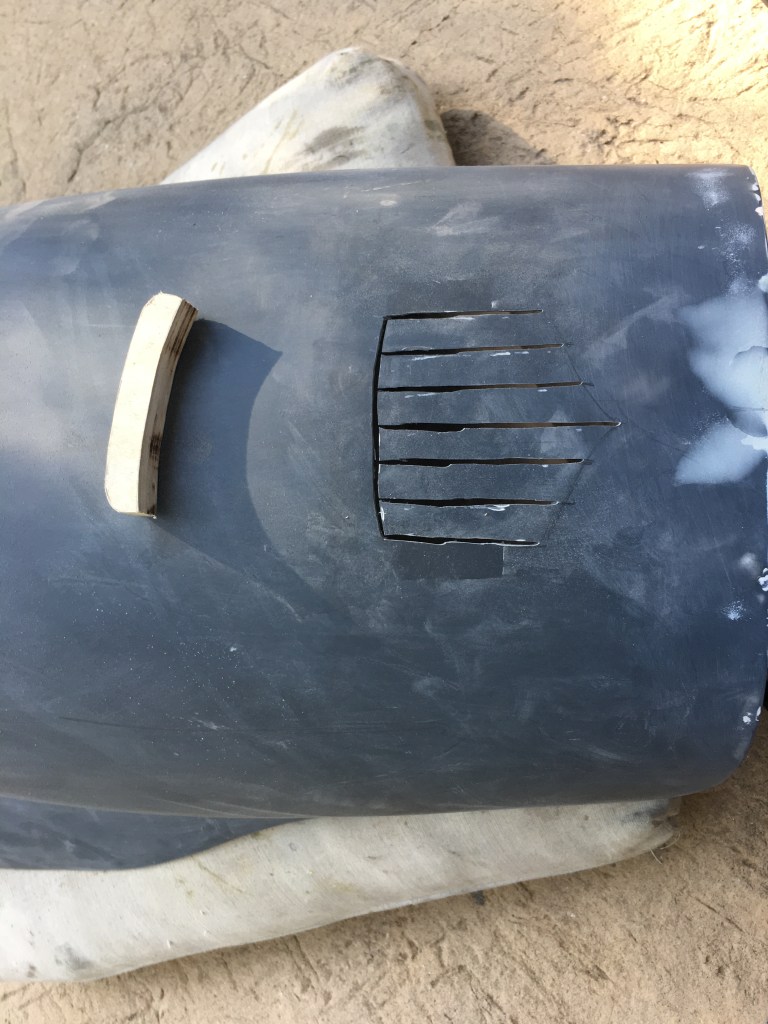
Peter and I discussed the most efficient ways to extract air from the cockpit, considering that I had closed off all openings of the hood. Initially, I thought that some extractor ducts on the sides or top would be a good idea. Here are some photoshopped ideas.
Peter took a look at my ideas and explained that in his testing, the best extraction (with the least drag) occurred with a small opening (only a few inches wide) on the top as far back as possible.
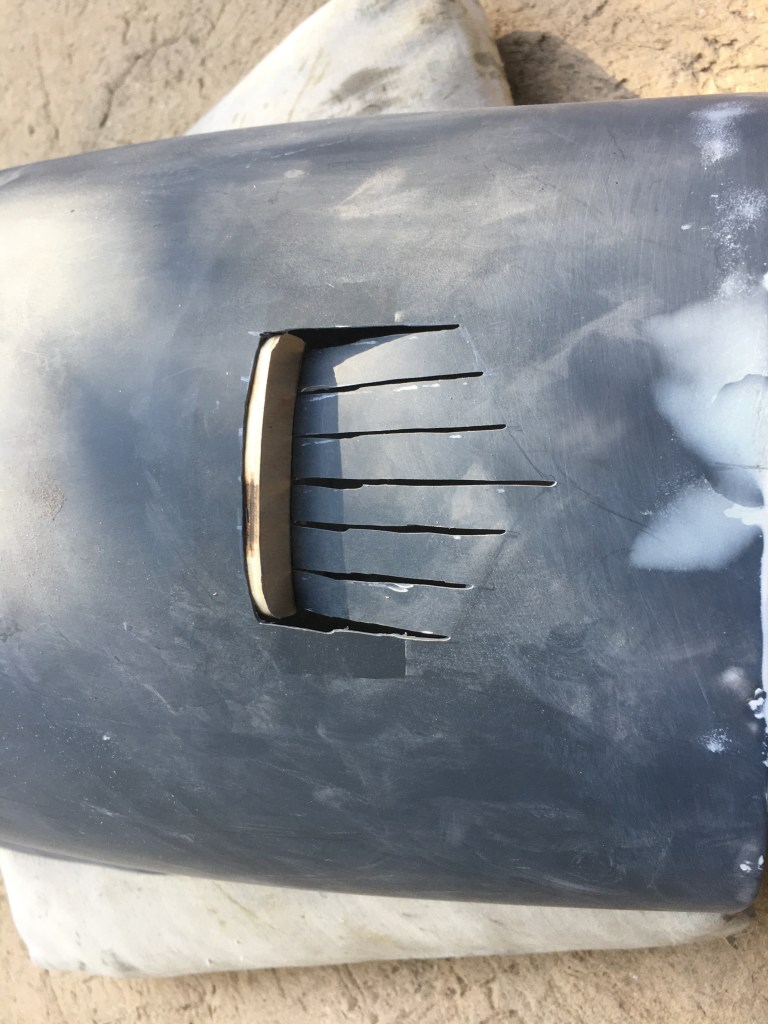
Here’s what we came up with for the vent.
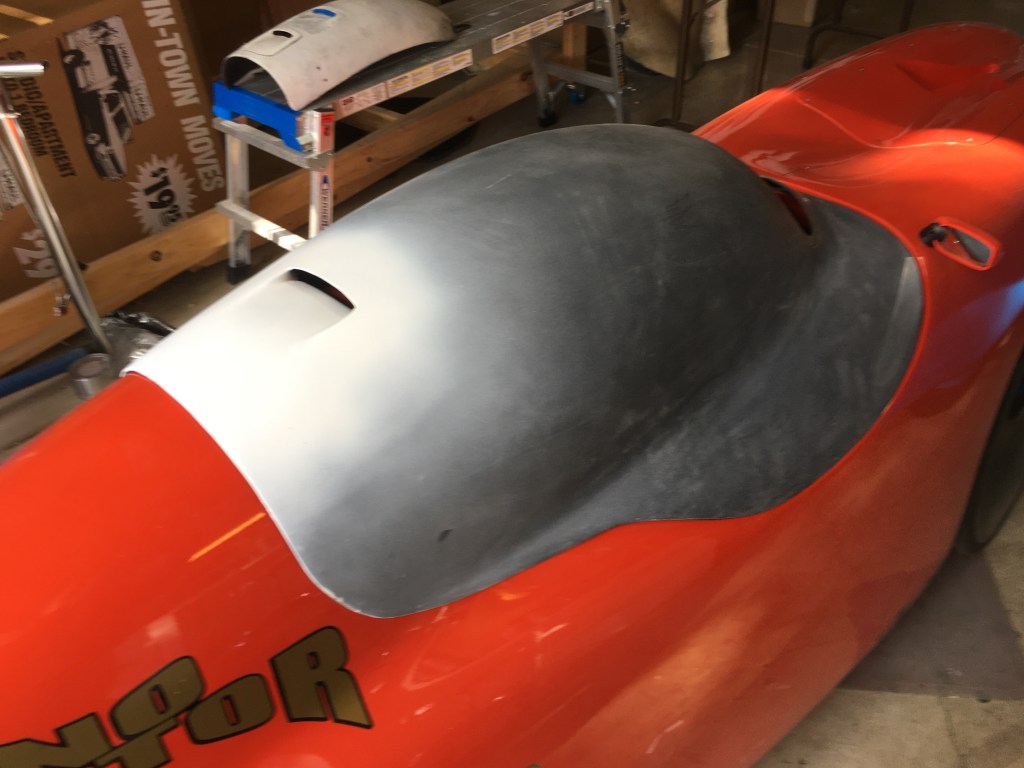
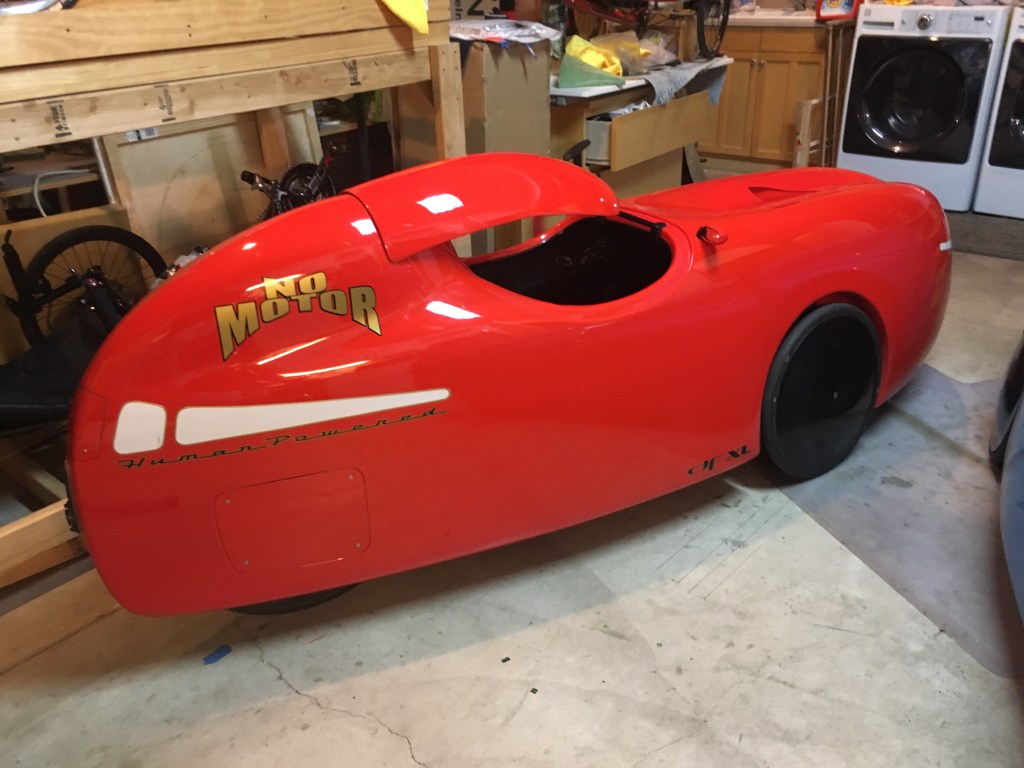
Here’s the first hood prior to being shipped to Peter. Since this is basically a throw away piece, I didn’t bother to match Peter’s DF’s yellow color. He may end up adding some cuts and holes that we will incorporate into future hoods.
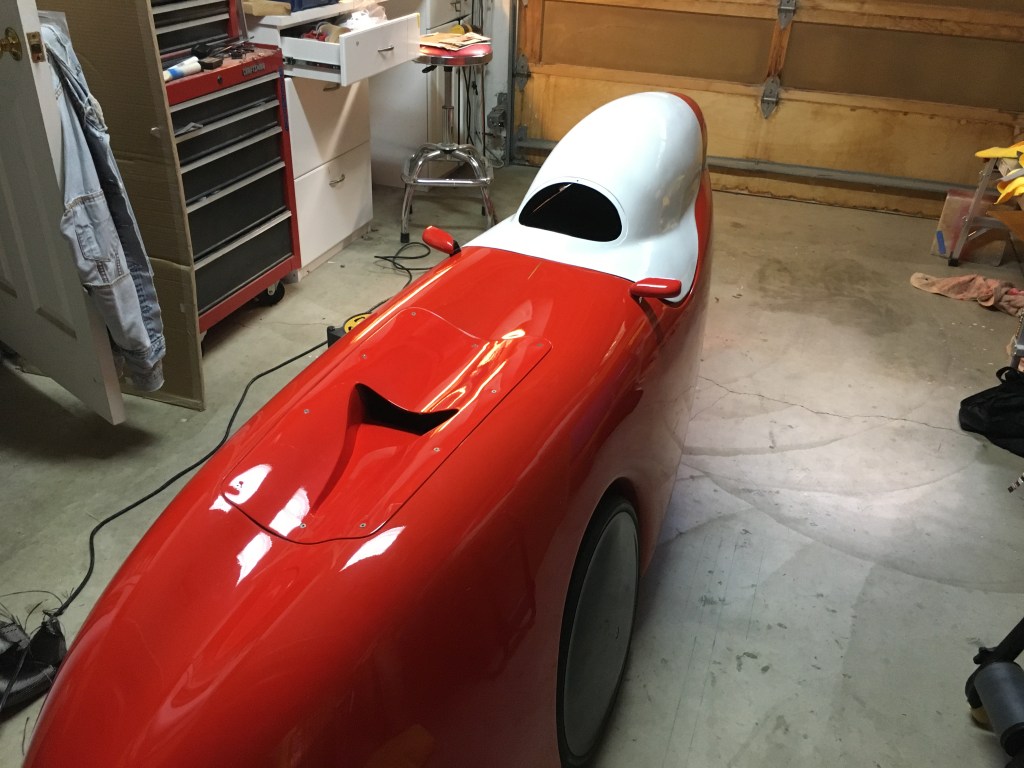
Here’s the hood mounted on Peter’s DF. Peter did an excellent job of refining the fit.
Peter’s tests so far show the hood to offer only a modest improvement in speed. Here are Peter’s comments:
I did three runs with each top in fairly quick succession. The temperature and wind were very similar. The road is about a two mile shallow downhill going along the bottom of a canyon, with large trees on both sides. The canopy covers the top along most of the test section. All the runs were consistent and the racing top was consistently faster.
The vent works excellently. Starting at about 16-17 mph there was a nice stream of fresh air coming up from boom vent into the head area. Flowing by my face and around my head. I sat at the start for a few minutes to see if it fogs up easily and it did only slightly around the bottom visor edge. Fog instantly disappeared as soon as I started moving. It was cool and humid, so it was a good test. Interestingly, the ride seemed more stable at speeds over 40. It was just a small difference. Overall, I’m pretty happy with the results. When it is taped on, it should be even faster. I think I’ll be able to tape the visor as well, since the vent is working so well. I may reduce the front intake to a bare minimum, or close it off and make a small hole in the bottom center of the visor.
So here re the speeds:
STD roof, closed visor:
44.5, 44.2, 44.6
Racing roof:
45.1, 44.8, 45.2
Average for stock roof:
44.43
For racing roof:
45.03
Difference +0.6 mph for racing roof. About +1.35% speed increase.
At higher speeds it should be more effective. At 55 mph it should be closer to 1 mph more.
The noise level was very similar to the stock roof.
Moving on to some other experimental pieces… I saw photos online of a product that ICB was prototyping as a partial hood to provide shade. It was similar in concept to the Flevo Roof that many riders add to their velomobiles – only a bit more stylish. Anything to reduce my exposure to the sun sounded worthwhile. So looking at the photos, I copied ICB’s idea and built a “Sun Cap”. Here’s what I came up with.
While this did a decent job of providing some sun protection, I thought that it could have been more aerodynamic and could have provided more sun protection.
This lead to my next experiment. I thought that I could make a hood that had plenty of openings for air flow yet provide more shade and perhaps be a bit more aerodynamic than the Sun Cap. It wouldn’t be as enclosed as the factory hood. It would have more openings so that it could provide enough air for use on warmer days. So here’s my “Shade Hood”. I’ve ridden it on days where the temperature was in the mid 70s. It seems to move enough air to keep me comfortable. It definitely provides more shade than the the small Sun Cap. Notice that it doesn’t accommodate the factory flip up visor so I came up with a simple, magnet-mounted visor that I can pop on and off from within the cockpit while riding.
Wide open “Shade Cap” 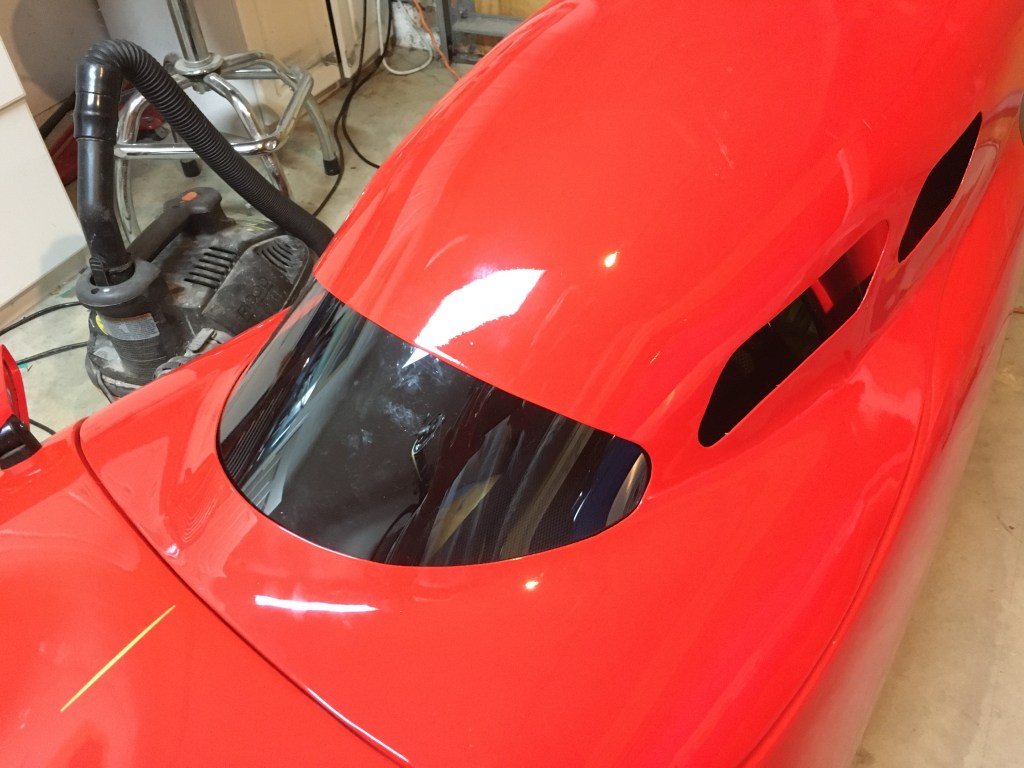
Magnet mounted visor
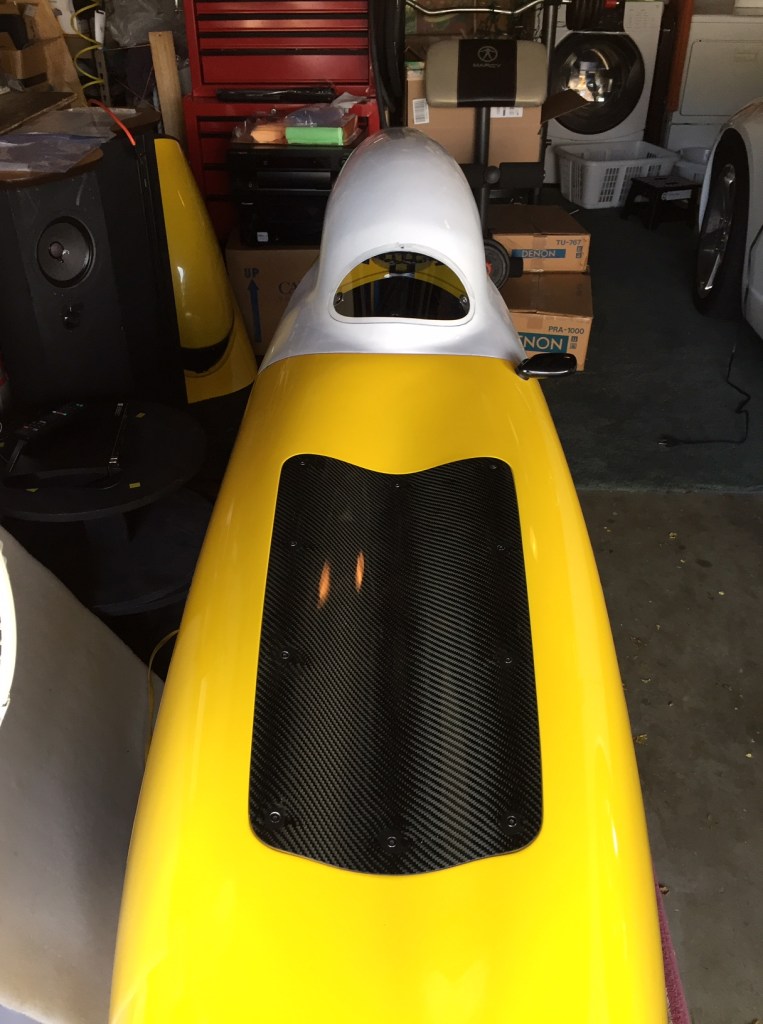
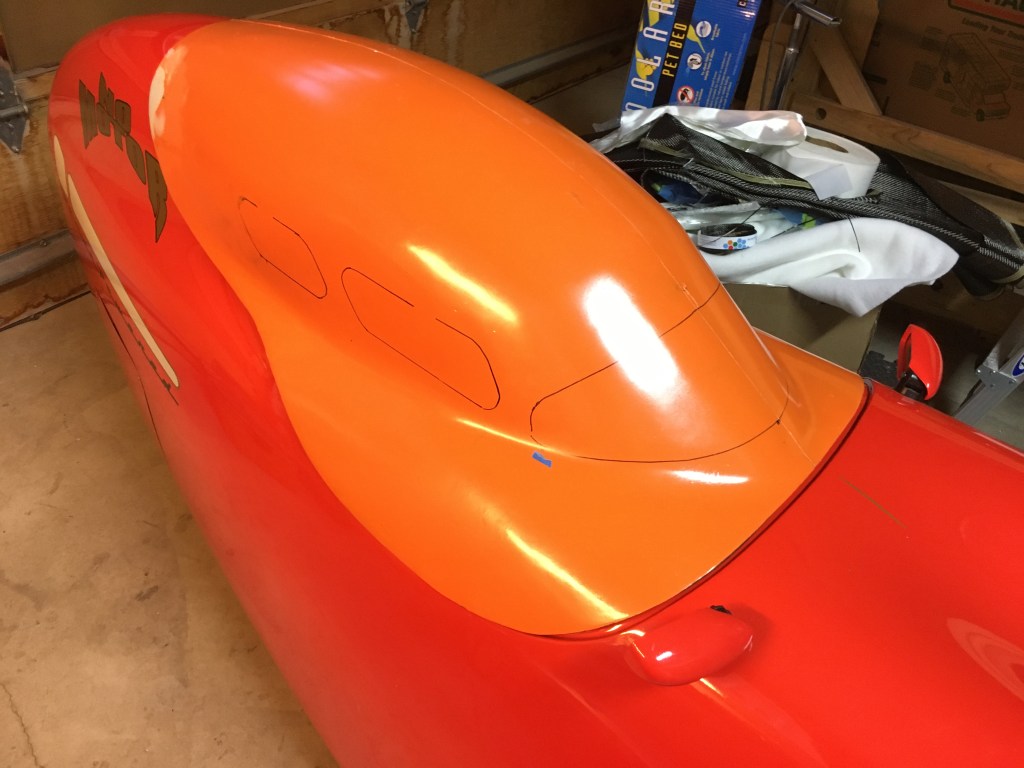
I’ve since popped out another blank hood. In the photo below you can see that I’ve outlined the cutouts of the Shade Hood for reference. I’m currently thinking of cutting it up to make something like one of these open top cockpit covers (without the NACA duct).
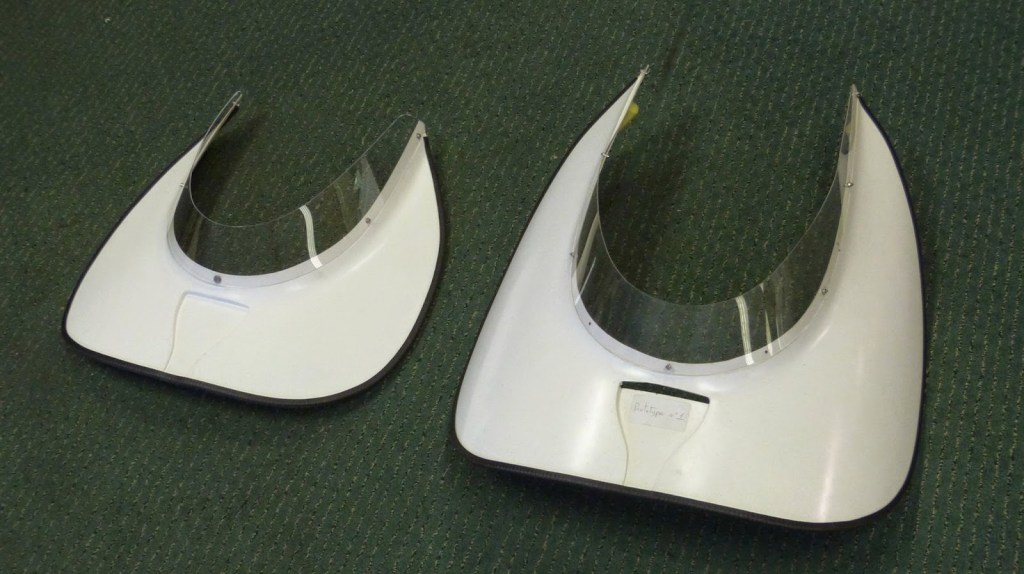
Update: I made cockpit cover similar to the white ones above, but I wasn’t happy with the clear visor. So I finished the sharp edges with a thin rubber strip. If you look closely, you can see that I had to add 2 more tie downs towards the back to get it to lie correctly against the body. (not ideal). To be honest, I’m not sure when I would choose to use this cockpit cover, but it was fun to make.
I think that I will make one last hood. I would like to have an aero hood similar to the one that I made for Peter with a flush mounted visor, no side openings and a small vent on the top. However, I think that I’ll go with a wider visor so that I can see my mirrors similar in shape to the Shade Hood’s visor above.
