
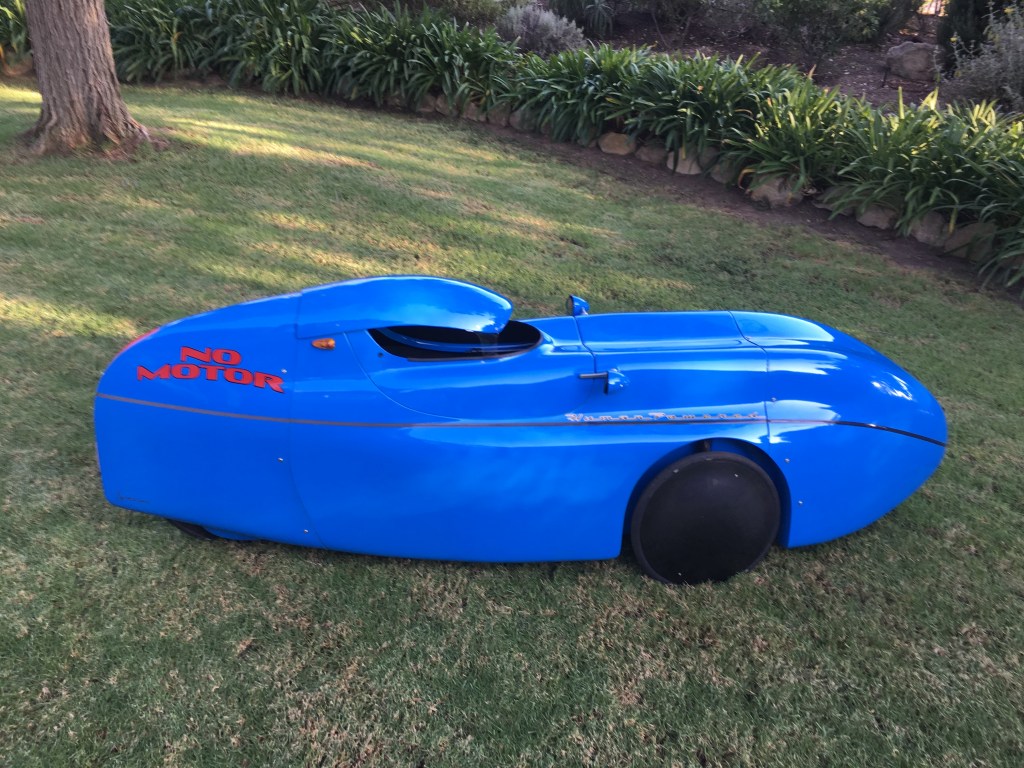
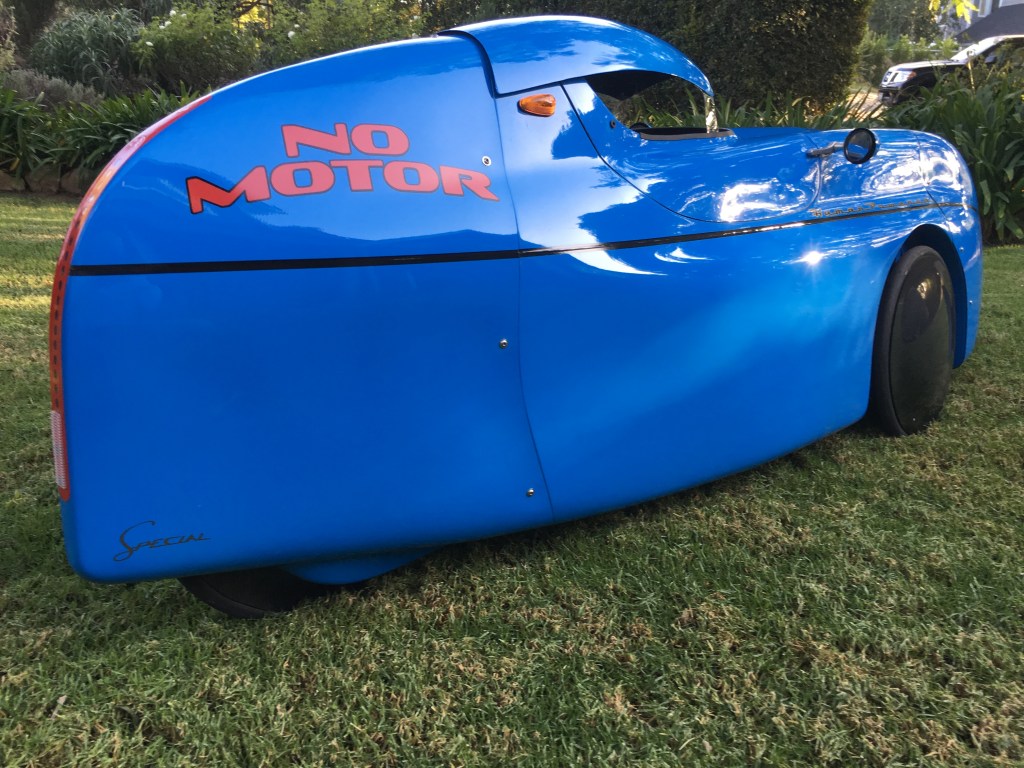
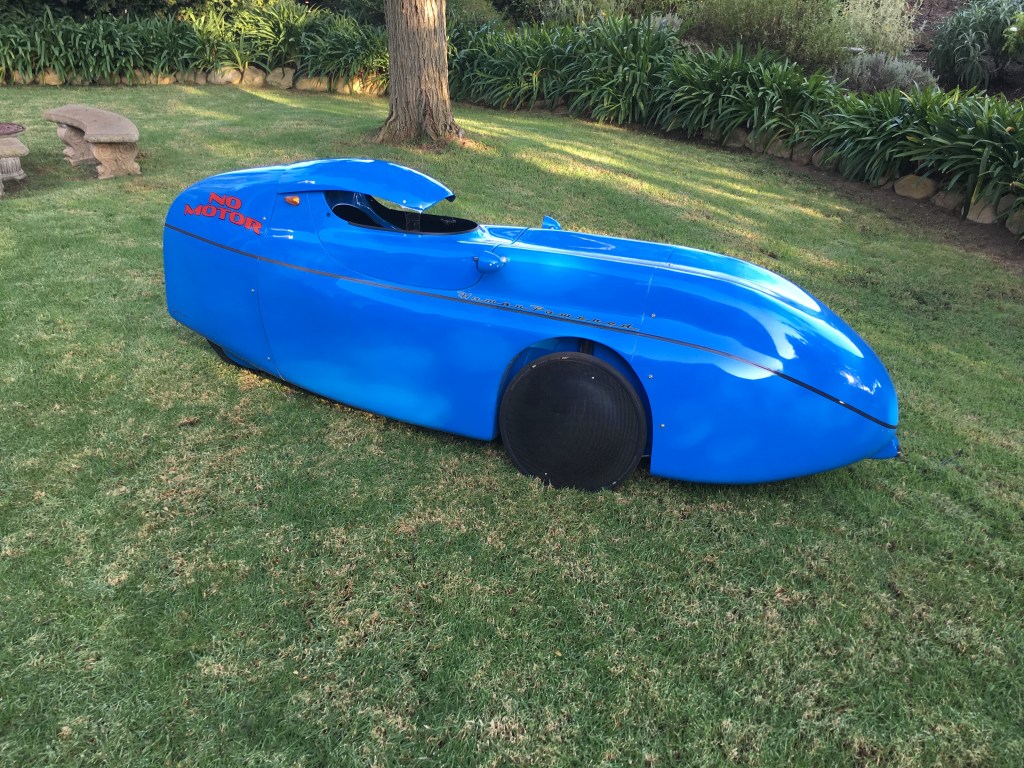
My next velomobile is the WAW. I had only seen and ridden a WAW once – after I had already ordered mine. We’ll see how the WAW compares to the DF XL. More info on the WAW will be added here.
As of July 18, 2020, the WAW now resides with its new owner in Texas.


Rear suspension kit added. I could have saved some money and labor if I had just ordered it with the rear suspension option.
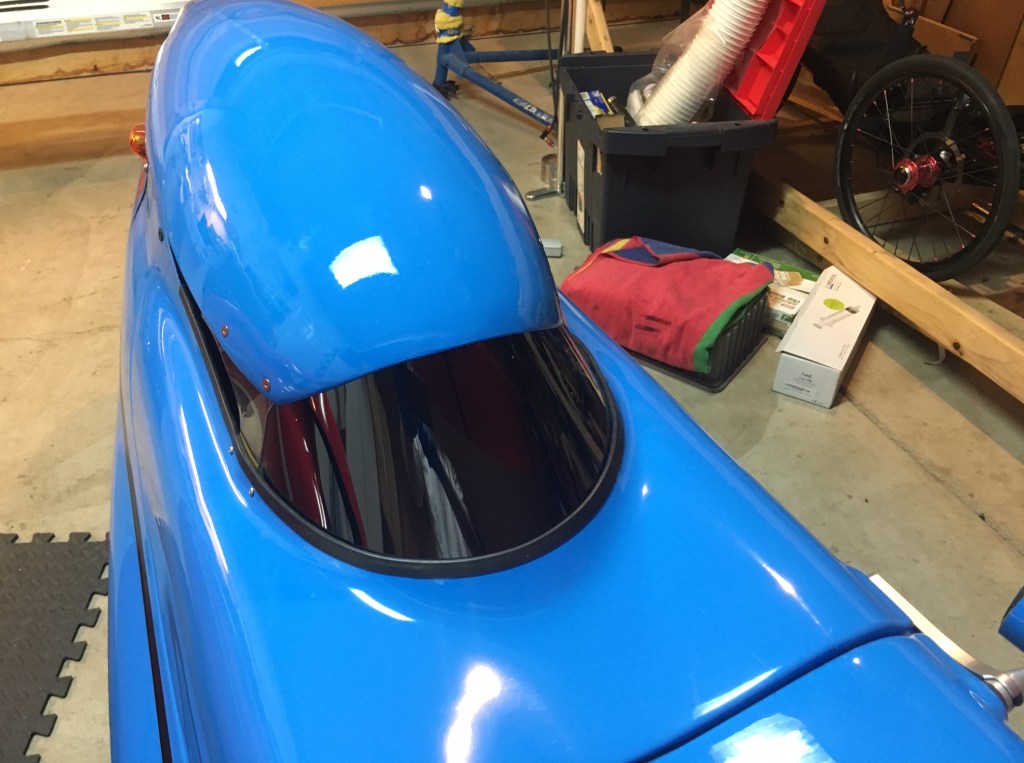
I’ve recently experimented with a home made sun cap. This is not meant to improve the aerodynamics. It’s supposed to provide shade while still allowing some cooling air flow without hurting the aerodynamics.

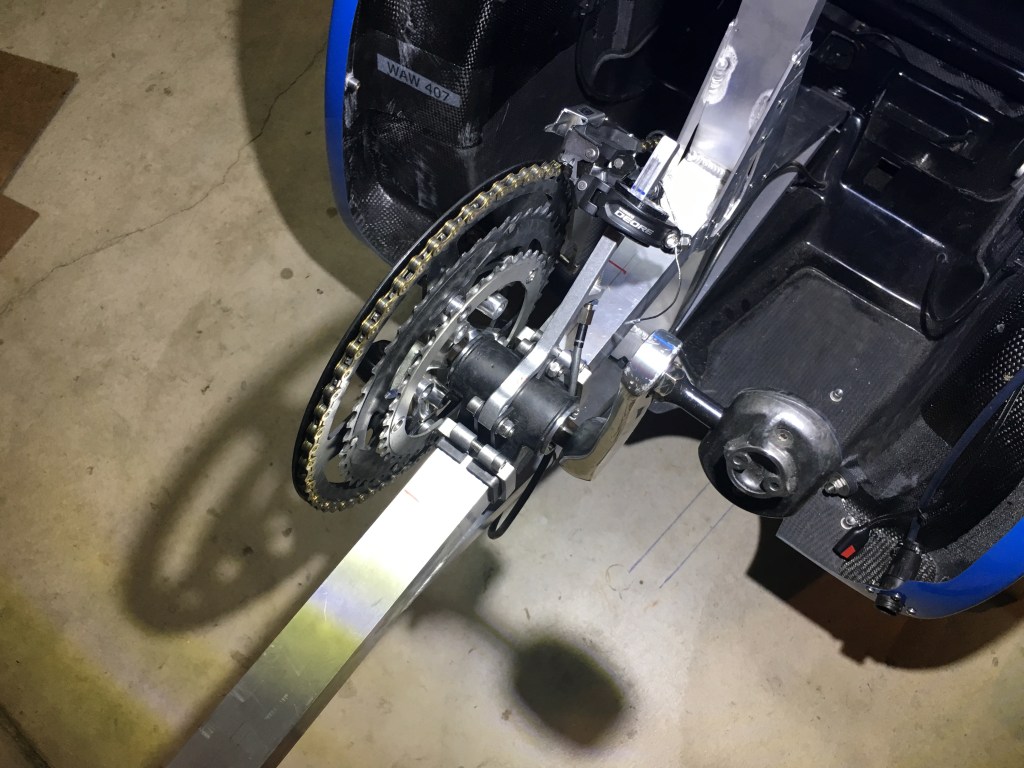
Bottom Bracket Update
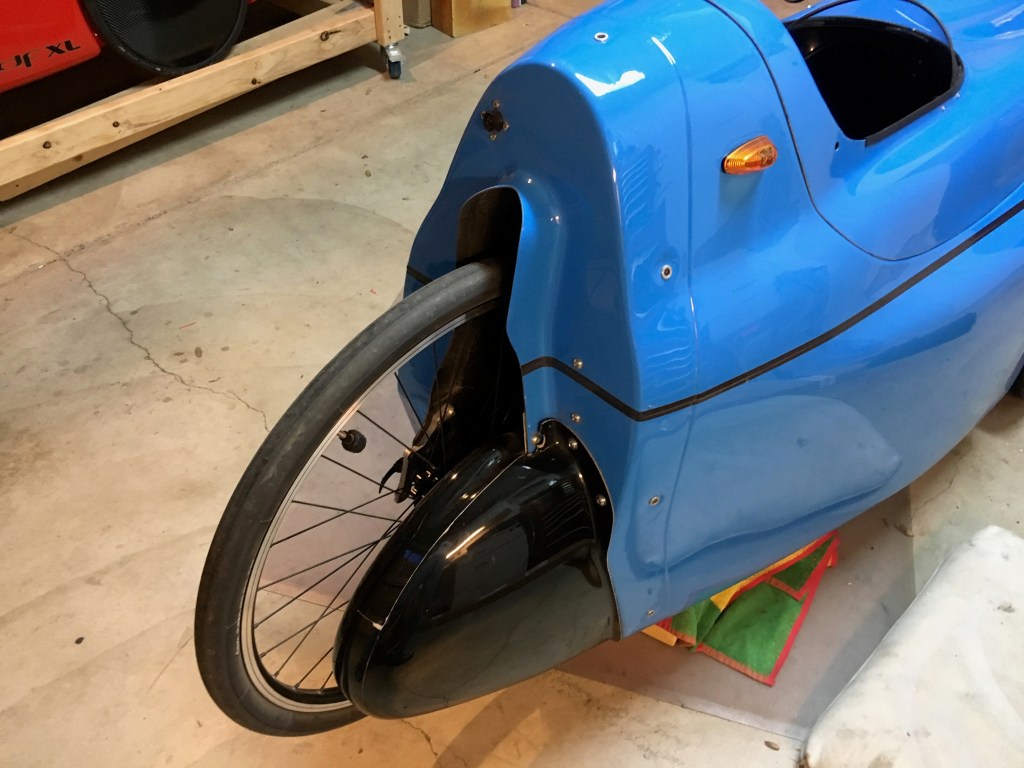
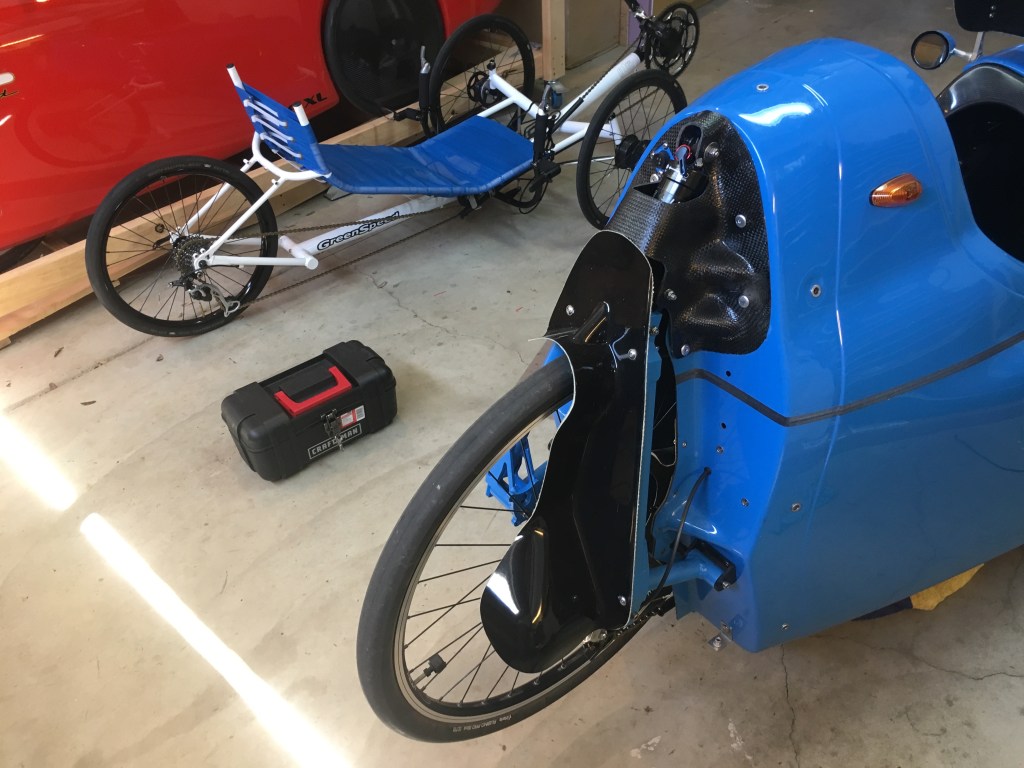
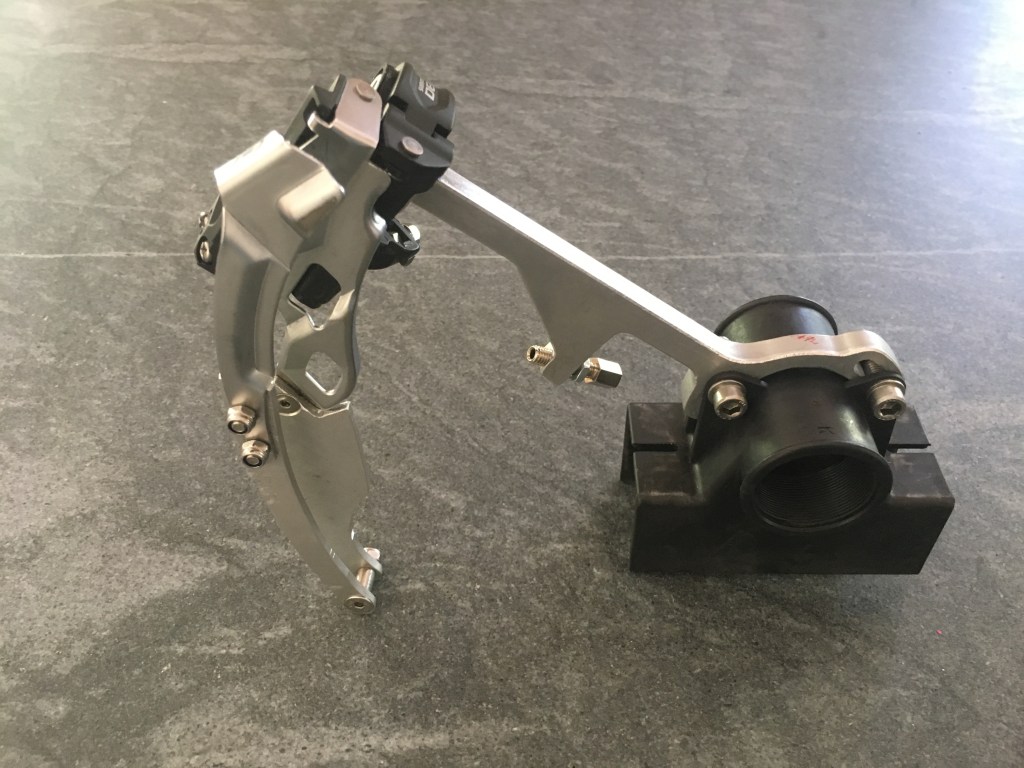
I just realized that I never documented my bottom bracket upgrade for the WAW. The fabricated bottom bracket and derailleur post that came with the WAW was adequate but a bit fragile. At one point during the initial adjustment ride, the pedal snagged the derailleur cable and bent the post. It was easy to bend back, but that raised a flag for me. So I decided to upgrade to the Alligt bottom bracket and post as is used on the DF.
The post that was provided with the Alligt bottom bracket holder was just long enough to accommodate a bottom pull front derailleur adjusted for my 60t chain ring. That was not a problem. I’ve since learned that I could have requested a longer post, but the solution that I came up with works well.
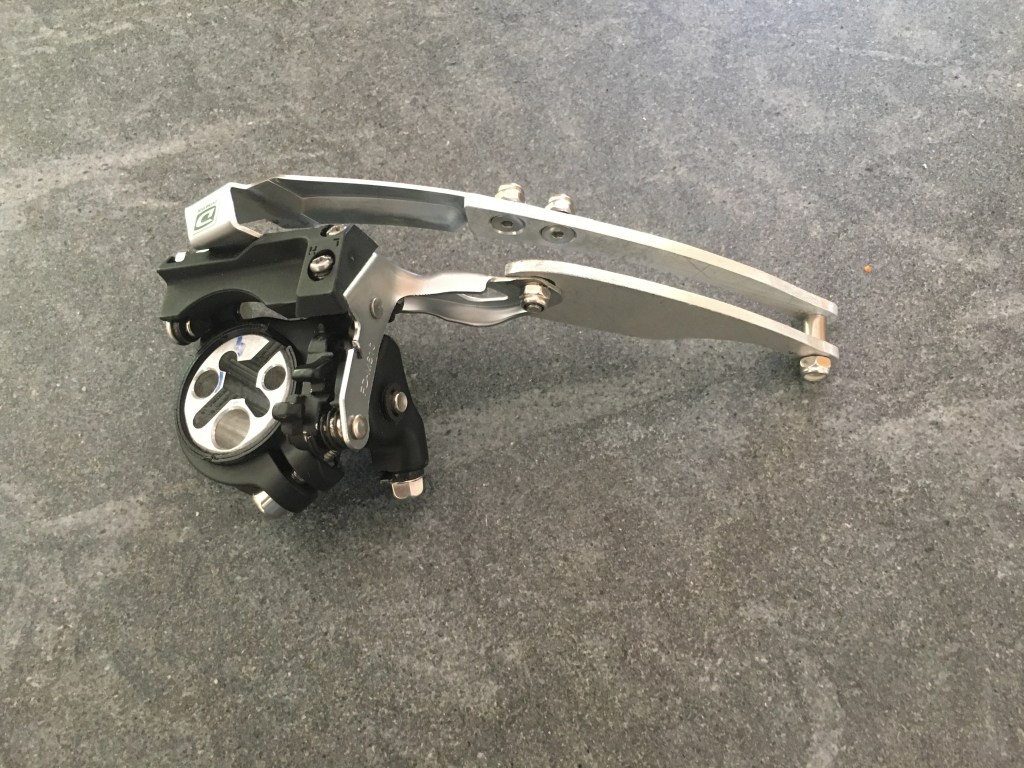
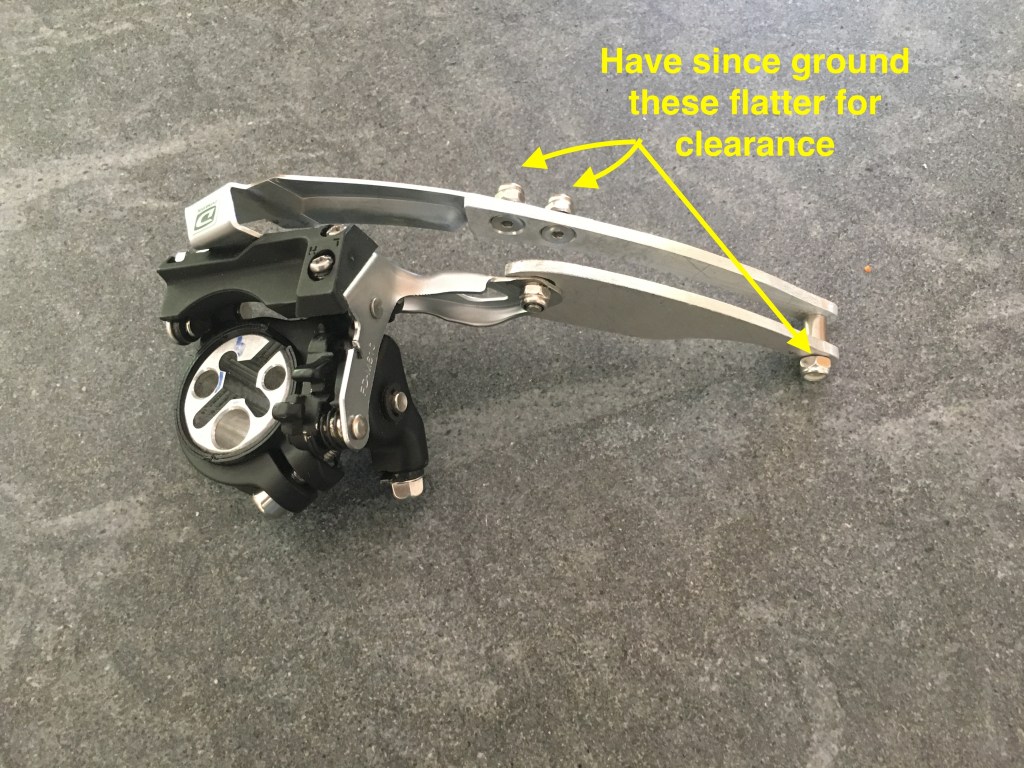
Another issue that’s unrelated to the bottom bracket swap is the fact that there is such a large difference in chain ring sizes that must be handled by the derailleur. On the WAW, it goes from a 60t to a 30t small gear. With the derailleur positioned high up on the post for the 60t chainring, it is too high for the 30t chainring. With the chain on the 30t, it drapes over and drags on the bottom end of the derailleur cage. To solve that problem, I modified a derailleur by extending the cage. If you look closely, you can see that I cut the end off of the stock cage. I then made some extensions out of 1/8 in thick aluminum. I had to do some grinding and shaping on these extensions to get them to fit flush with the stock cage. I drilled the stock cage to mount the aluminum extensions using flat head 4mm screws (countersunk in the aluminum). The bridge at the end of the cage is just a 5mm bolt with a spacer between the plates.
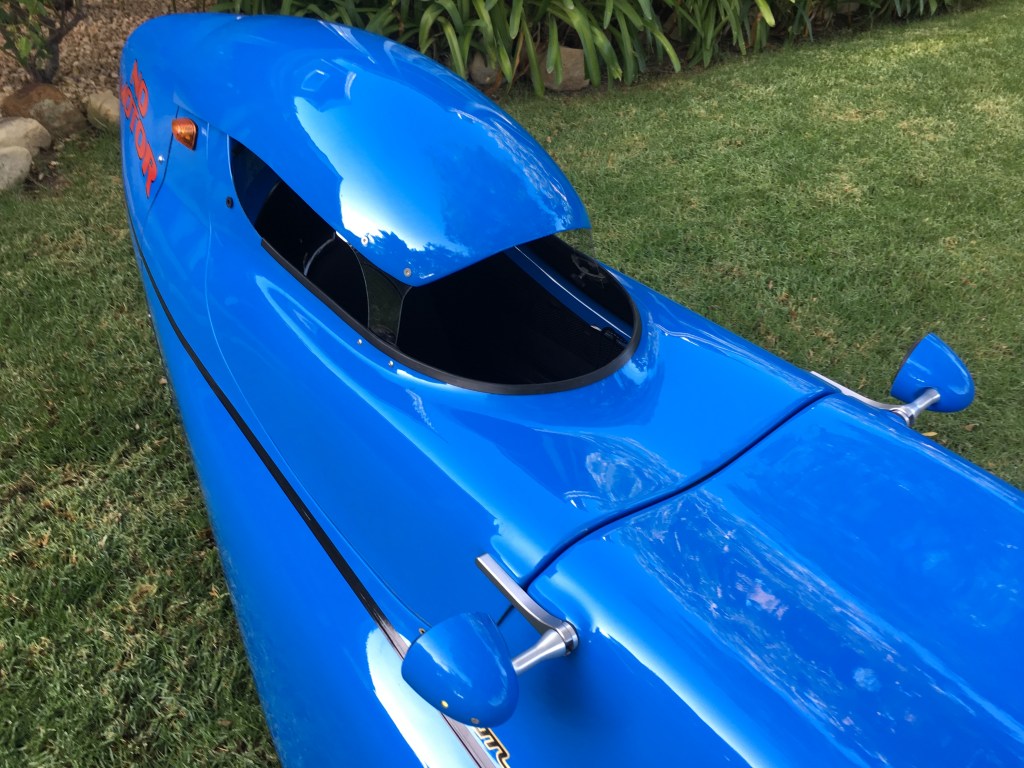
WAW Windscreen
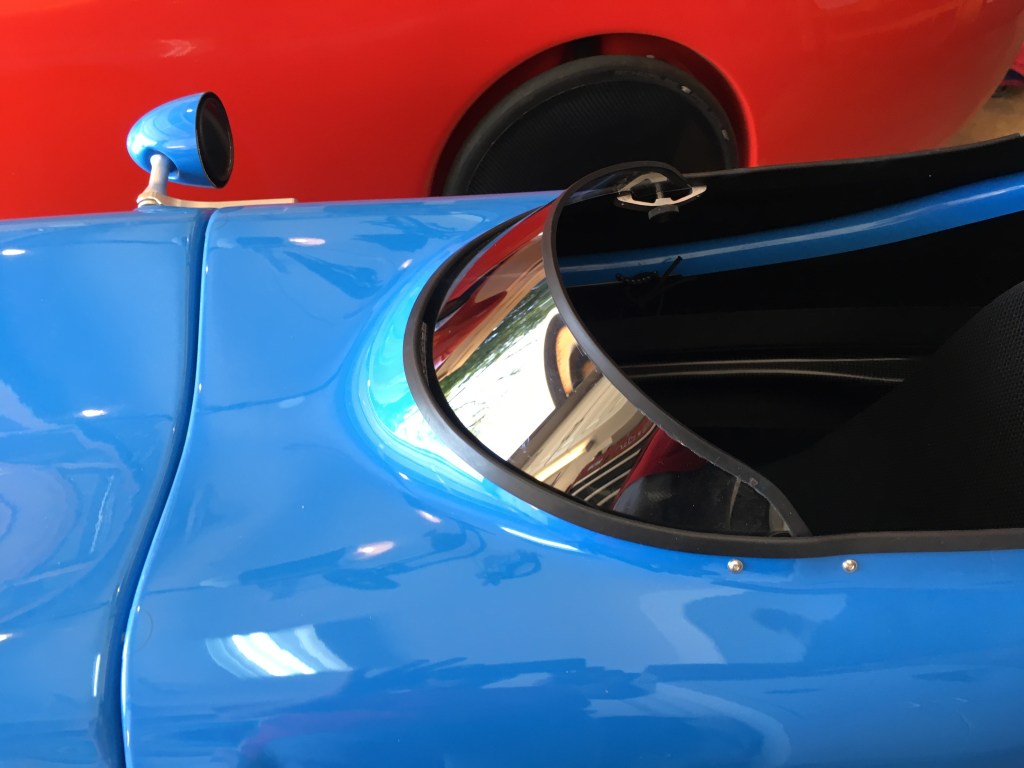
I’ve been asked for plans for this windscreen. A pdf plan is provided in the link below. Note: the grid on the plan is 1 inch by 1 inch.
