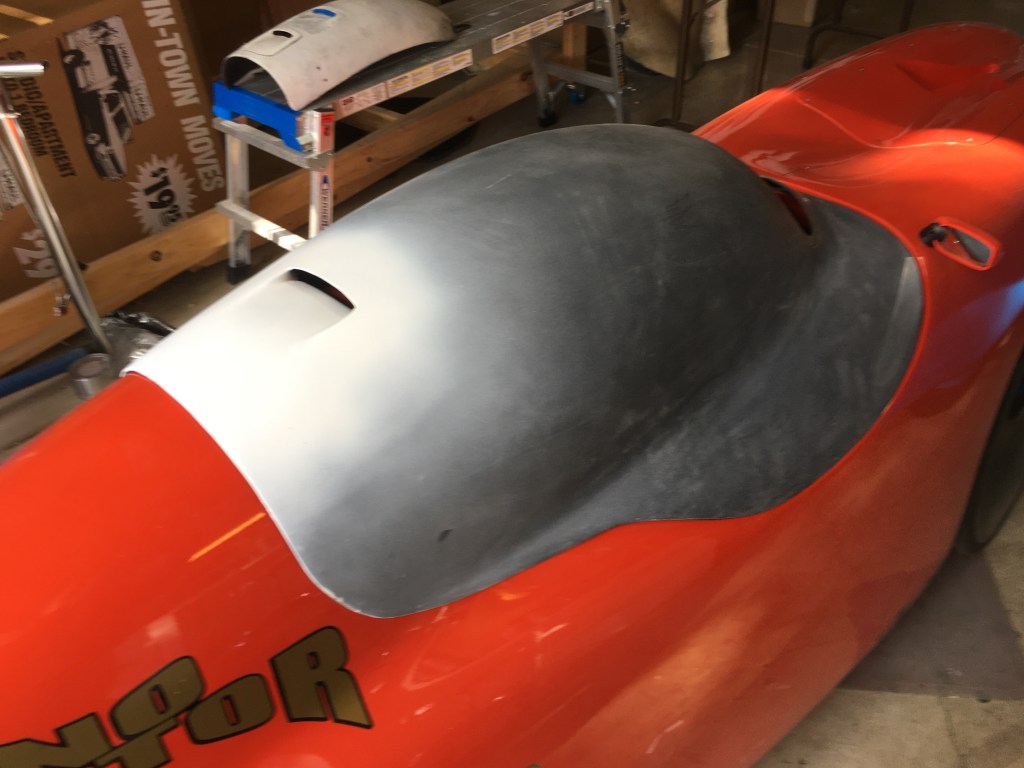
After completing the new aero hood for the Milan SL, I began taking a more critical look at the way it fits. You’d think that I would have been more tuned into the fit as I was making the plug, but it didn’t really strike me until I was photographing the finished part installed on the Milan.
There is a large gap between the trailing edge of the hood and the head fairing on the main body. This gap is there in the stock hood that mine is based on. But, it just didn’t look right to me.
I thought about modifying the actual hood to close that gap. But that would leave me with a one-off hood that couldn’t easily be reproduced. So I decided to make another plug, mold and part to close the gap.
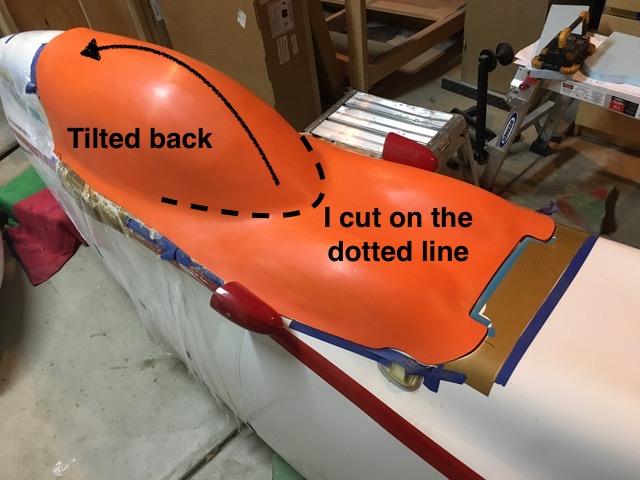
To do this, I made a fiberglass copy of my aero hood from my mold. Since this would end up being my new plug, it made sense to use the much cheaper fiberglass materials rather than carbon fiber. I then cut an approximately 180 deg slit around the base of the visor area. I then taped this sliced hood onto the Milan with the trailing edge taped down to the head fairing and the leading edge to its normal location on the front area of the body. This opened that slit along the base of the visor area. By filling that gap with layers of fiberglass and body filler, I was able to produce the plug, mold and hood with the proper gap along the trailing edge.
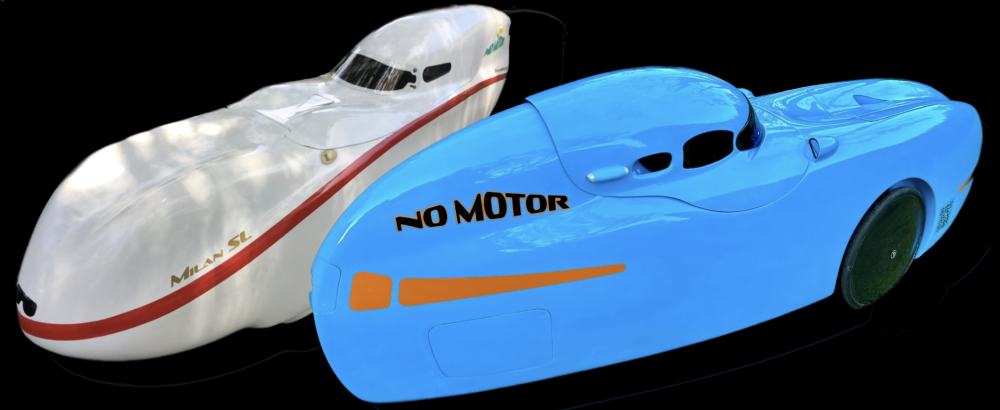
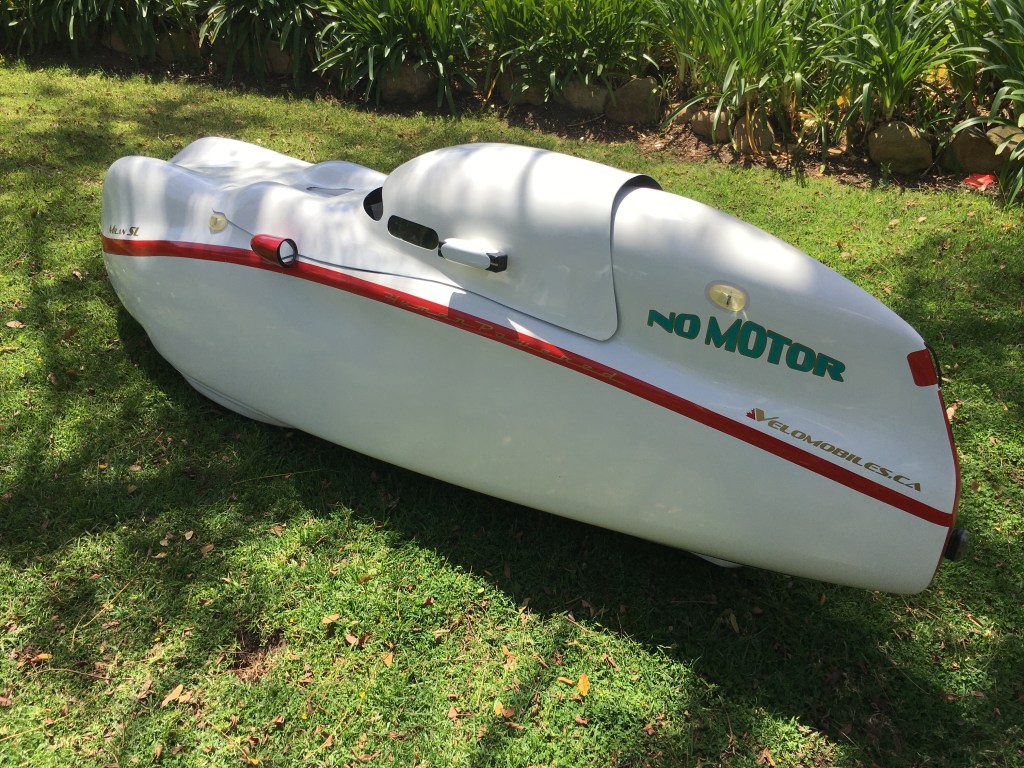
Compare the gap on the trailing edge of the old hood to that of the new hood shown below…

During a short shakedown run, I noticed that the airflow from the front NACA duct was reduced from what was produced by the NACA duct on the previous hood. The NACA ducts are identical and positioned in the same place on the hood. My hunch is that the smaller gap at the trailing edge of the hood is restricting air exiting the cockpit. I may try to improve the air flow out of the cockpit by adding an exit duct to the low pressure area of the top of the hood similar to the duct on my aero hood for the DF.