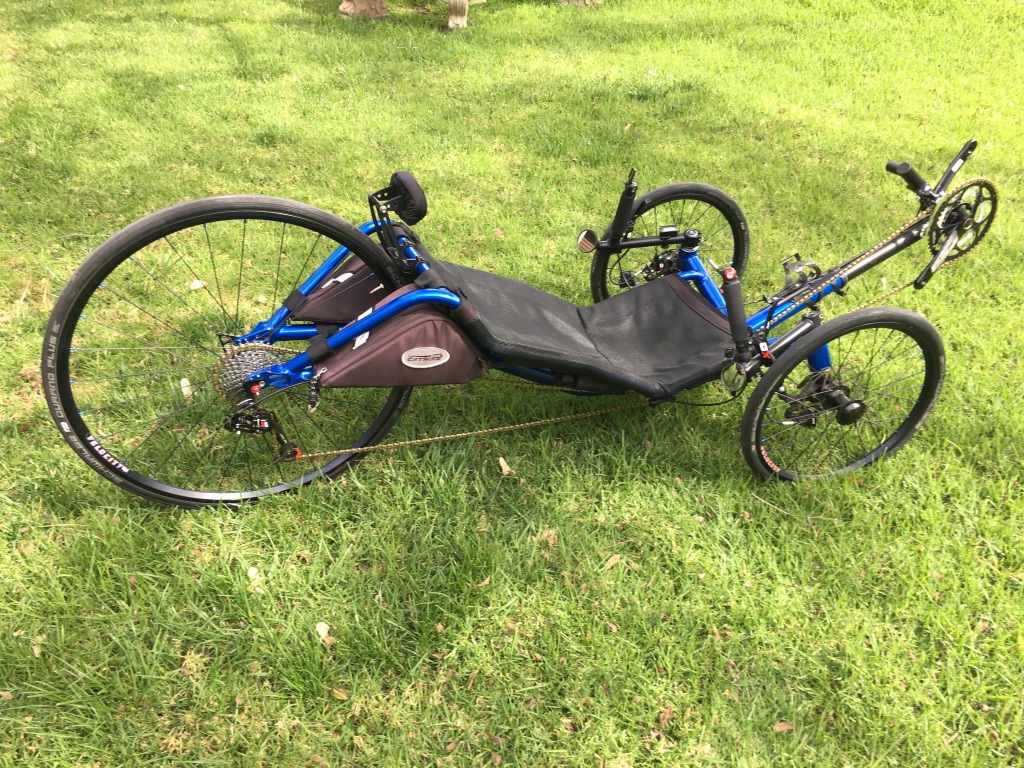
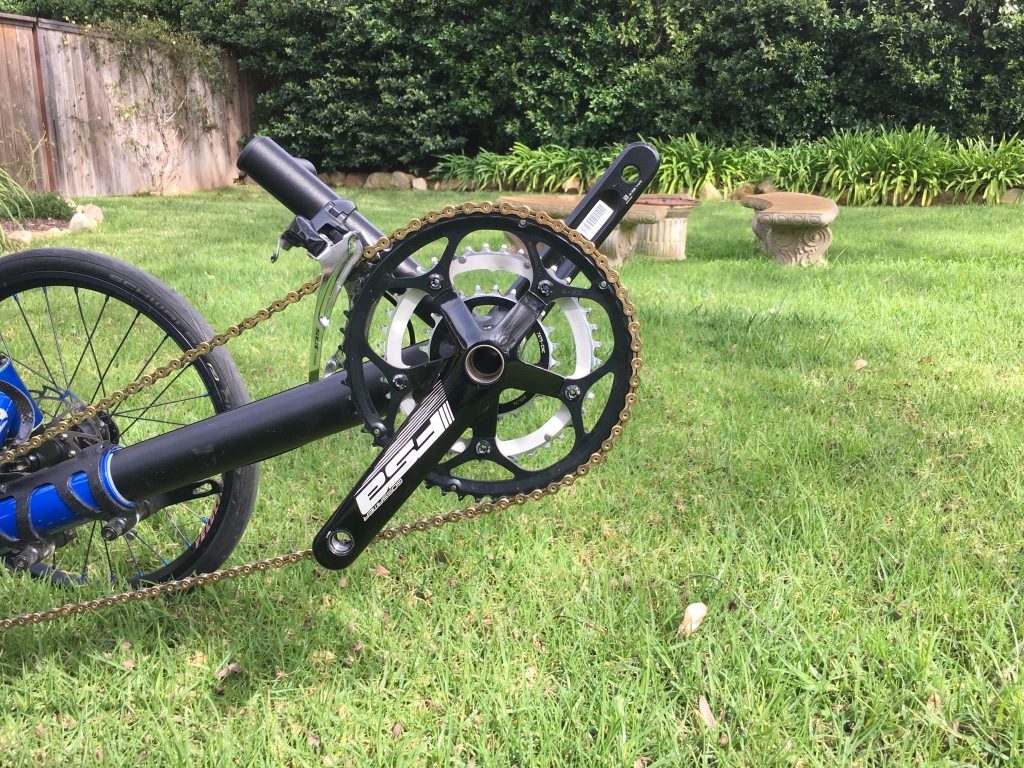
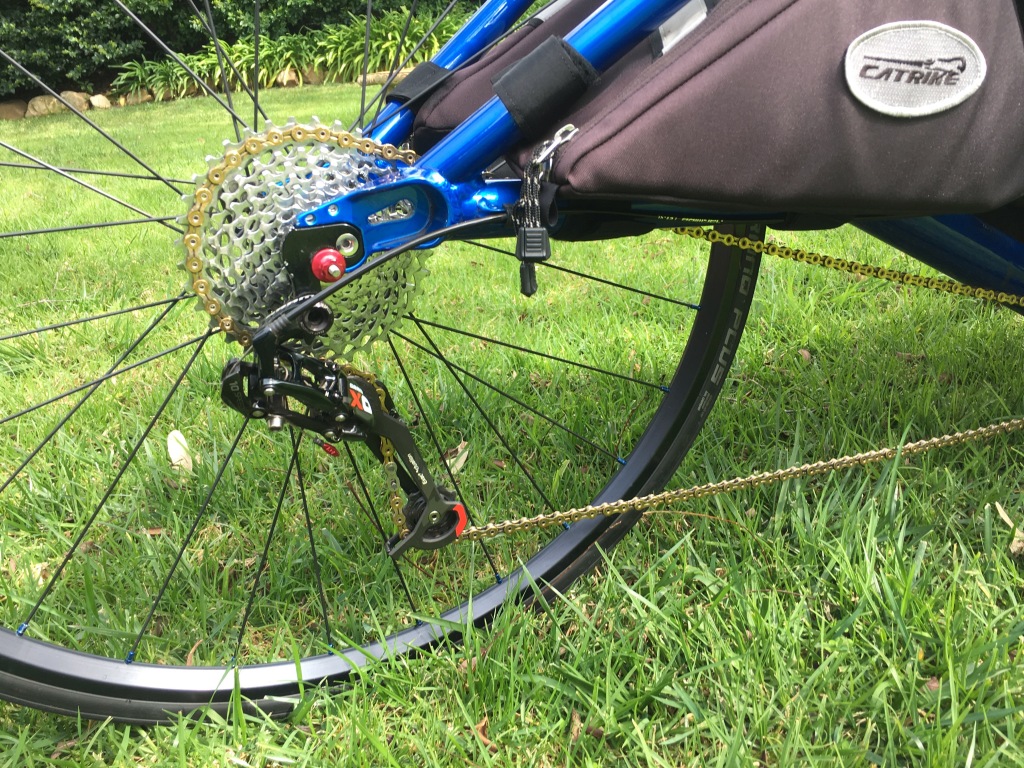
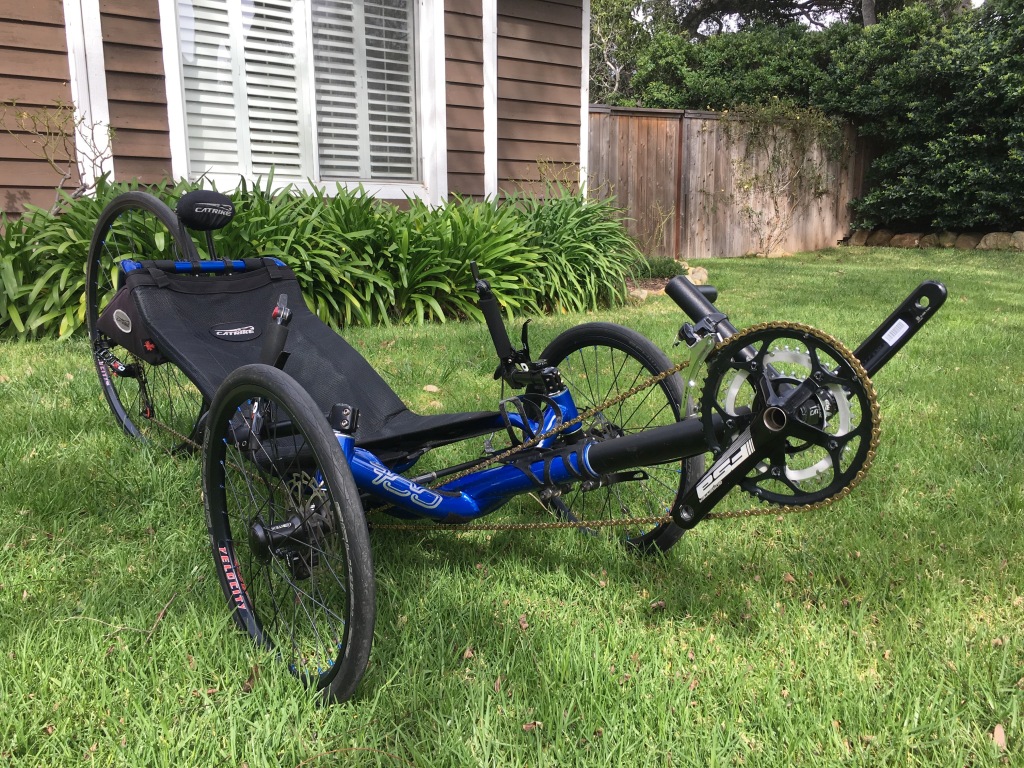
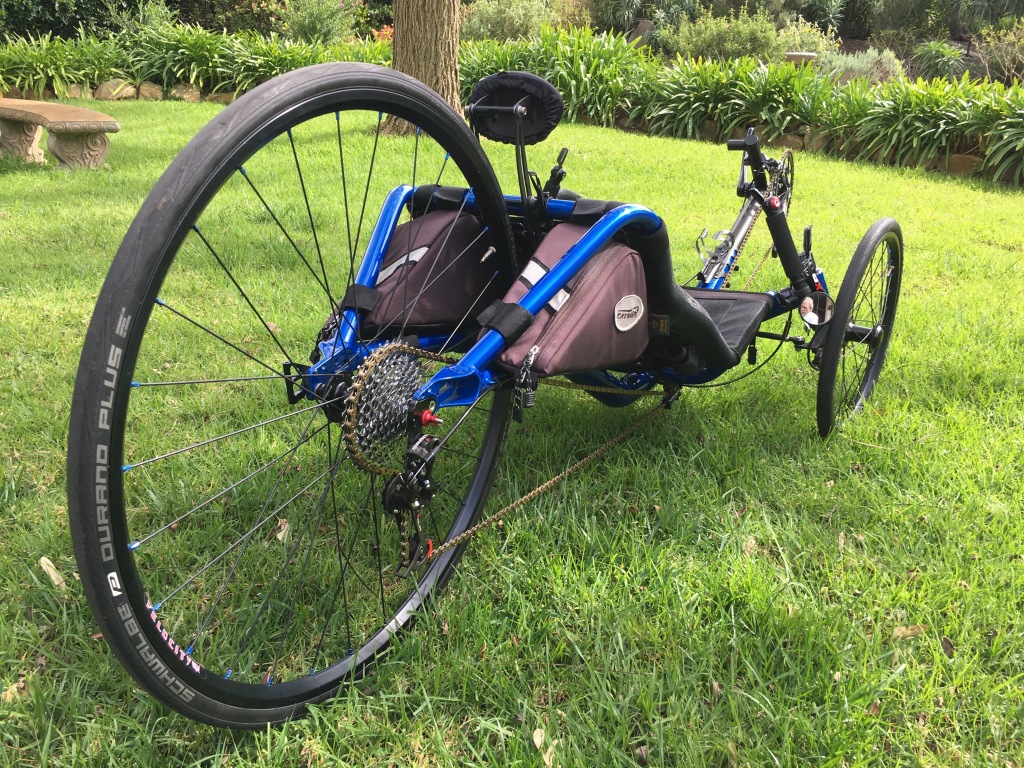
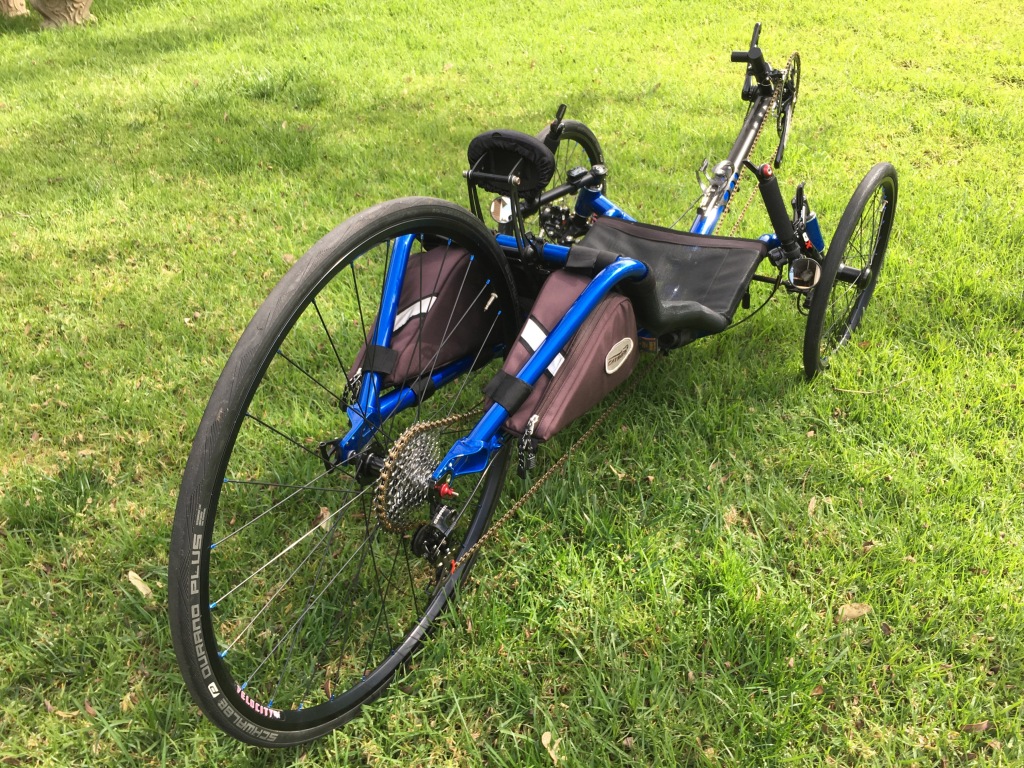
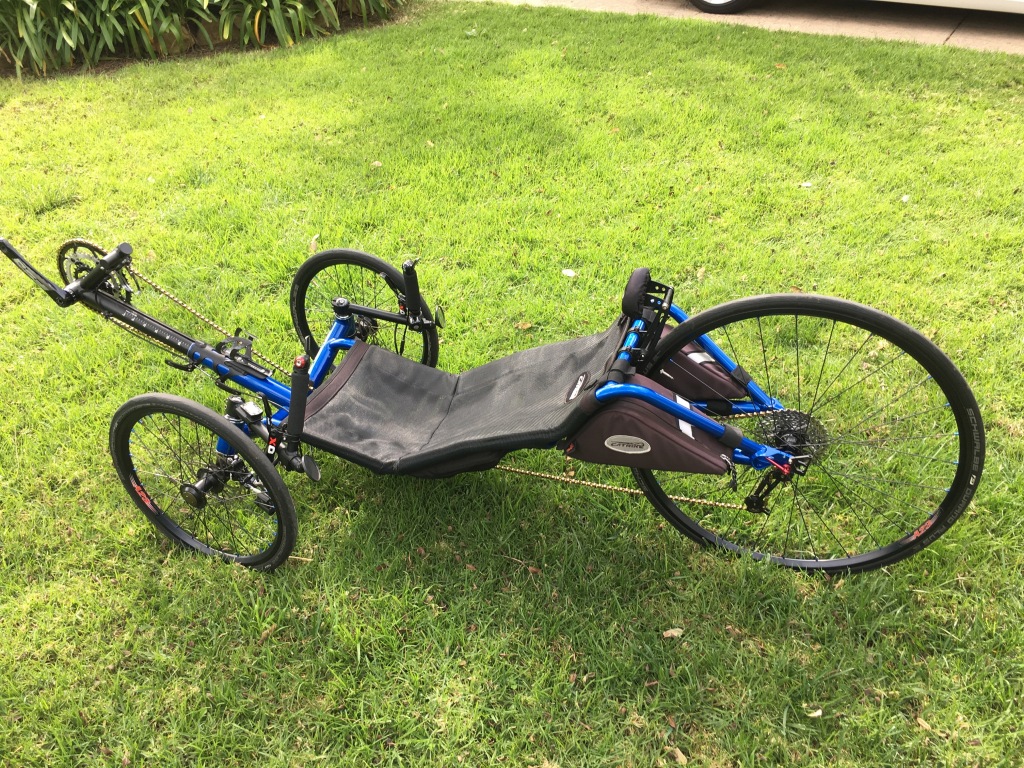
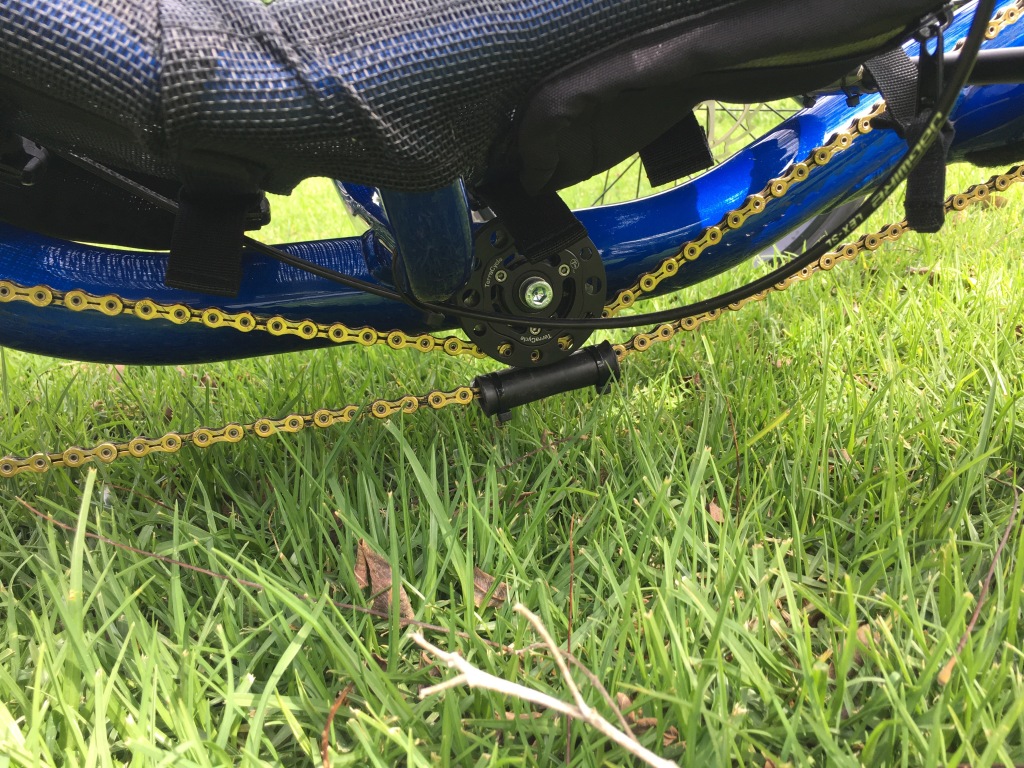
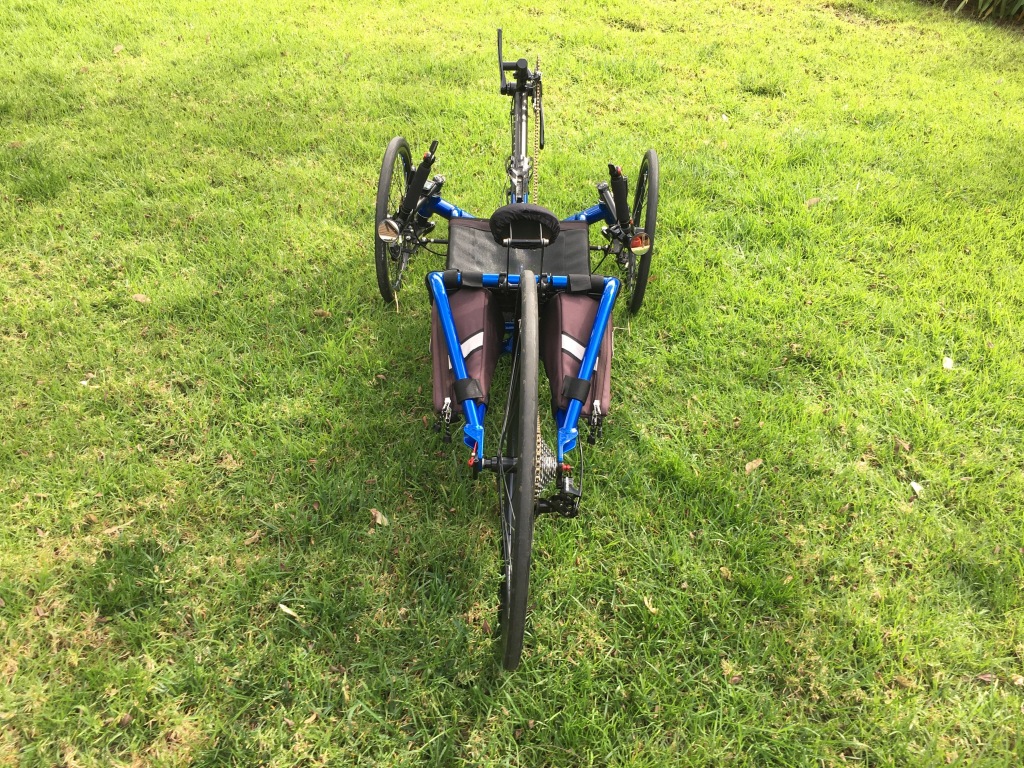
I ordered my WAW without the rear suspension option in order to save some weight. At first I didn’t really notice the lack of suspension too much. However, after switching back and forth between the DF and the WAW, I started noticing the back end hopping around on rough pavement. I played with lowering the rear tire pressure, but it was still bothering me. So, I decided to take the plunge (and the weight penalty) and ordered the rear suspension kit from Katanga. The kit included the aluminum assembly, shock, hardware, drilling template and shock pump. The chain protector was extra. (I’m not sure how effective the chain protector can be.) Altogether with shipping it cost about $800.
The installation was pretty straight forward with one exception (more on that later). The instructions were pretty good. The first step was to remove the unsuspended mounts and drive train. Next, the installation involved drilling some holes in the rear bulkhead. Katanga provided an excellent removable fiberglass template that snapped onto the bulkhead. After drilling the holes, the next step involved removing the gelcoat from the bulkhead surface, bonding and riveting the carbon fiber shock mount to the rear bulkhead. I used structural adhesive epoxy to bond the piece to the bulkhead. The provided rivets were installed with my manual pop rivet gun.

The stock unsuspended setup 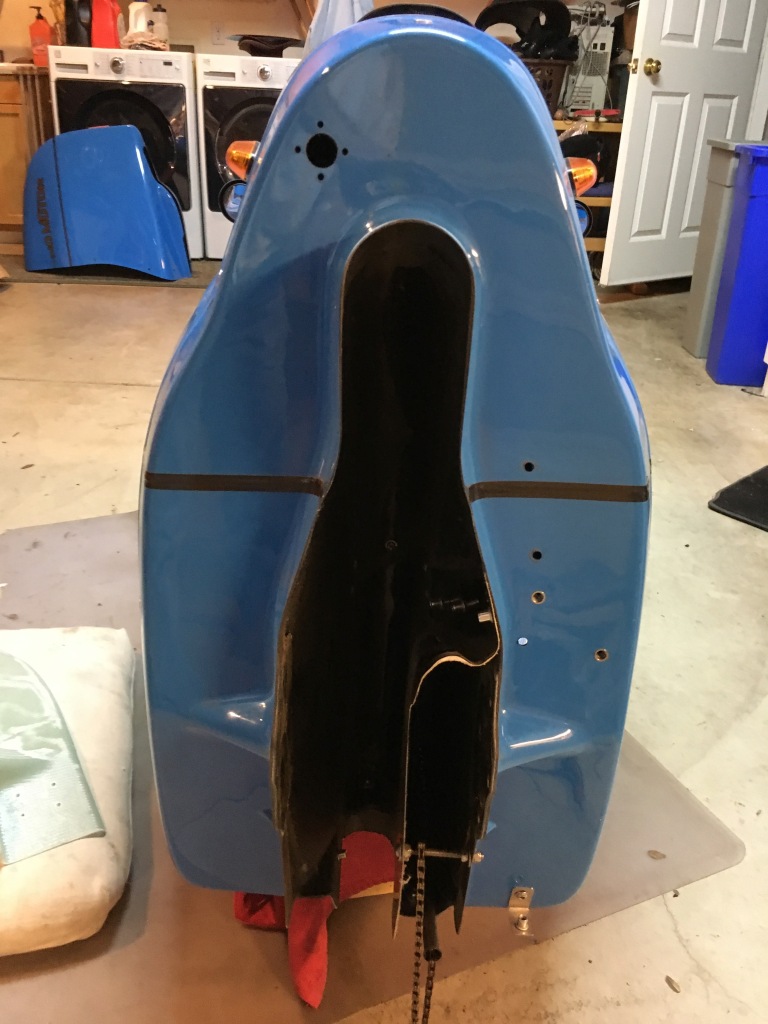
Everything removed 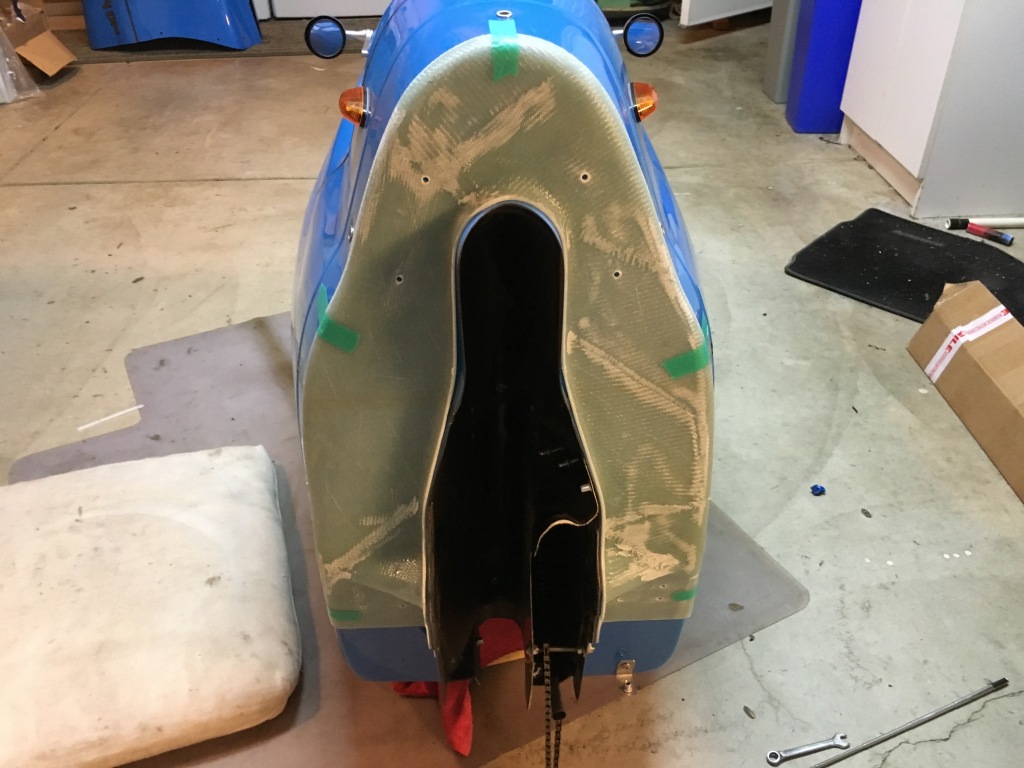
Removable fiberglass template in place for drilling the holes 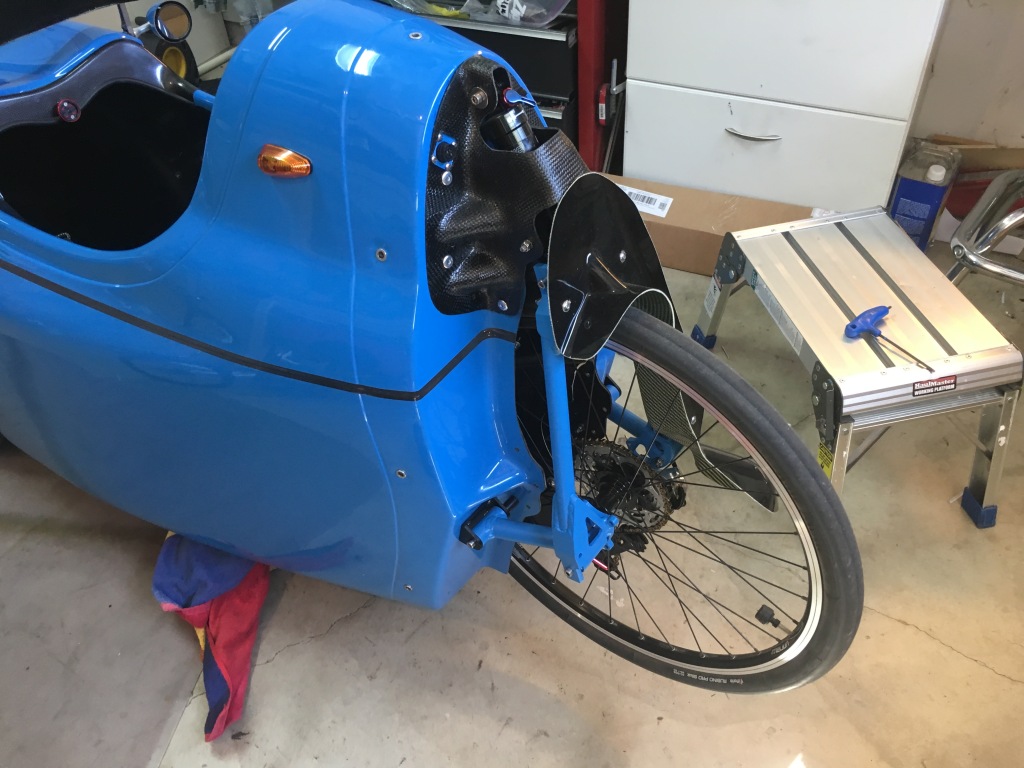
Suspension installed
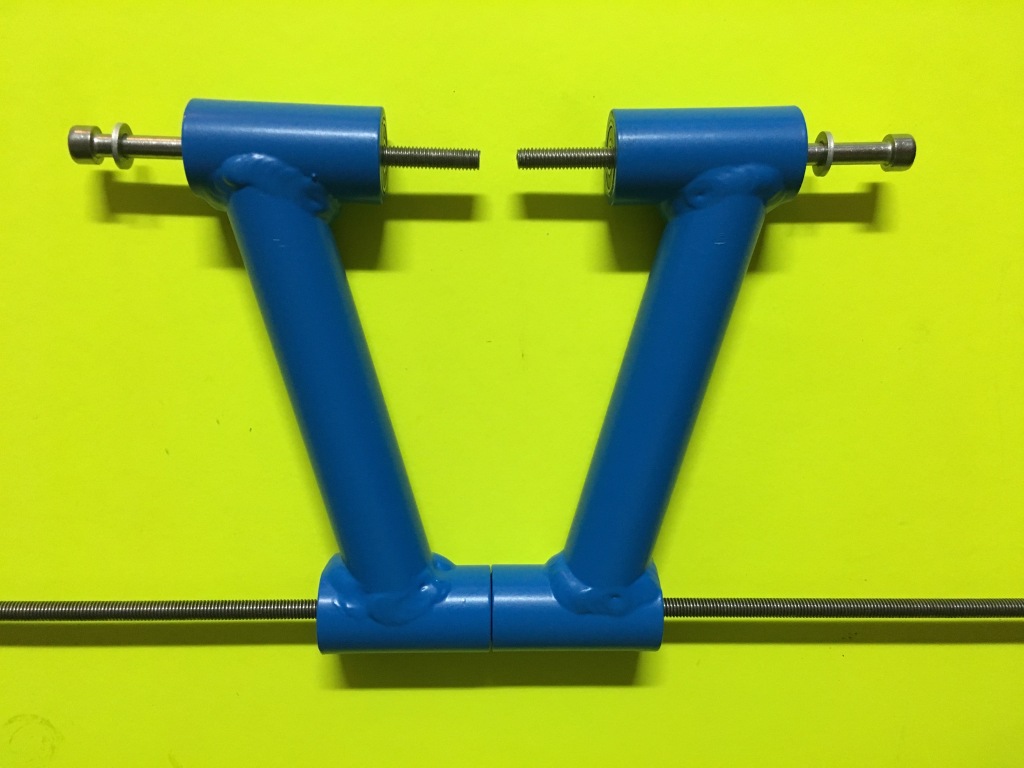
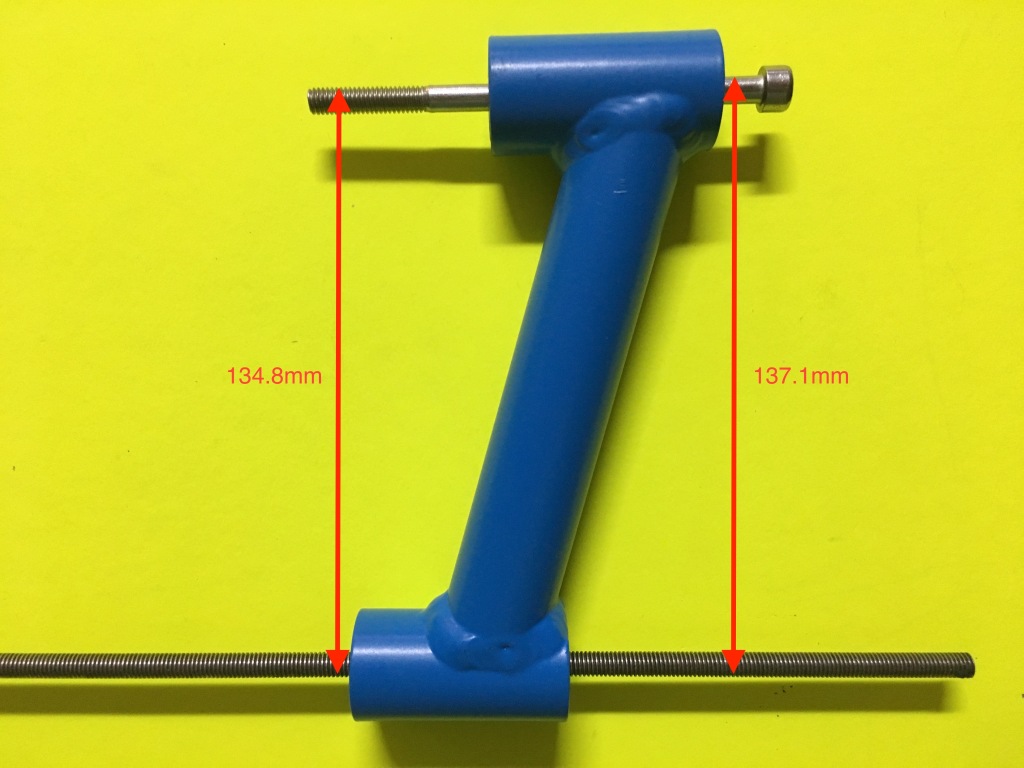
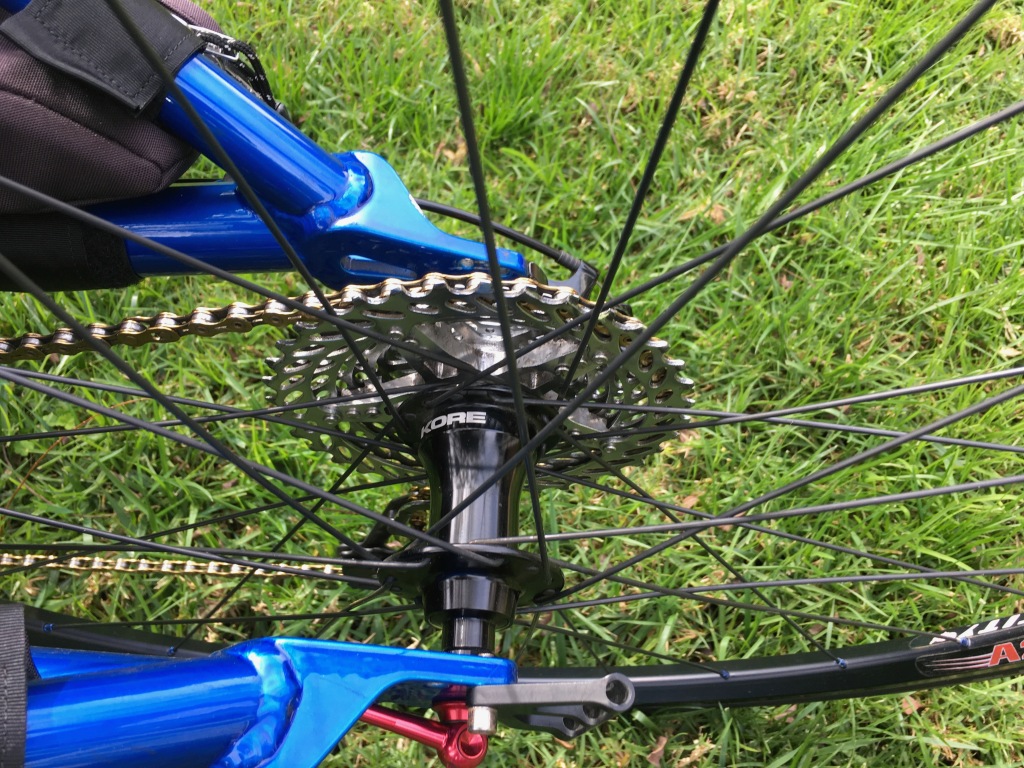
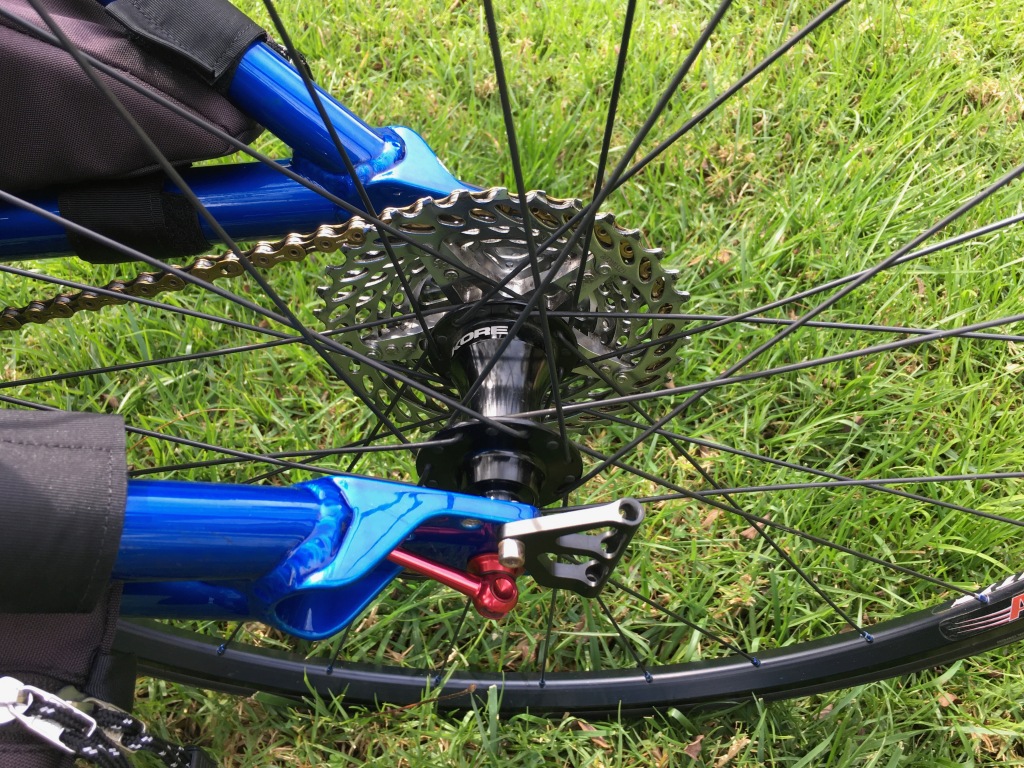
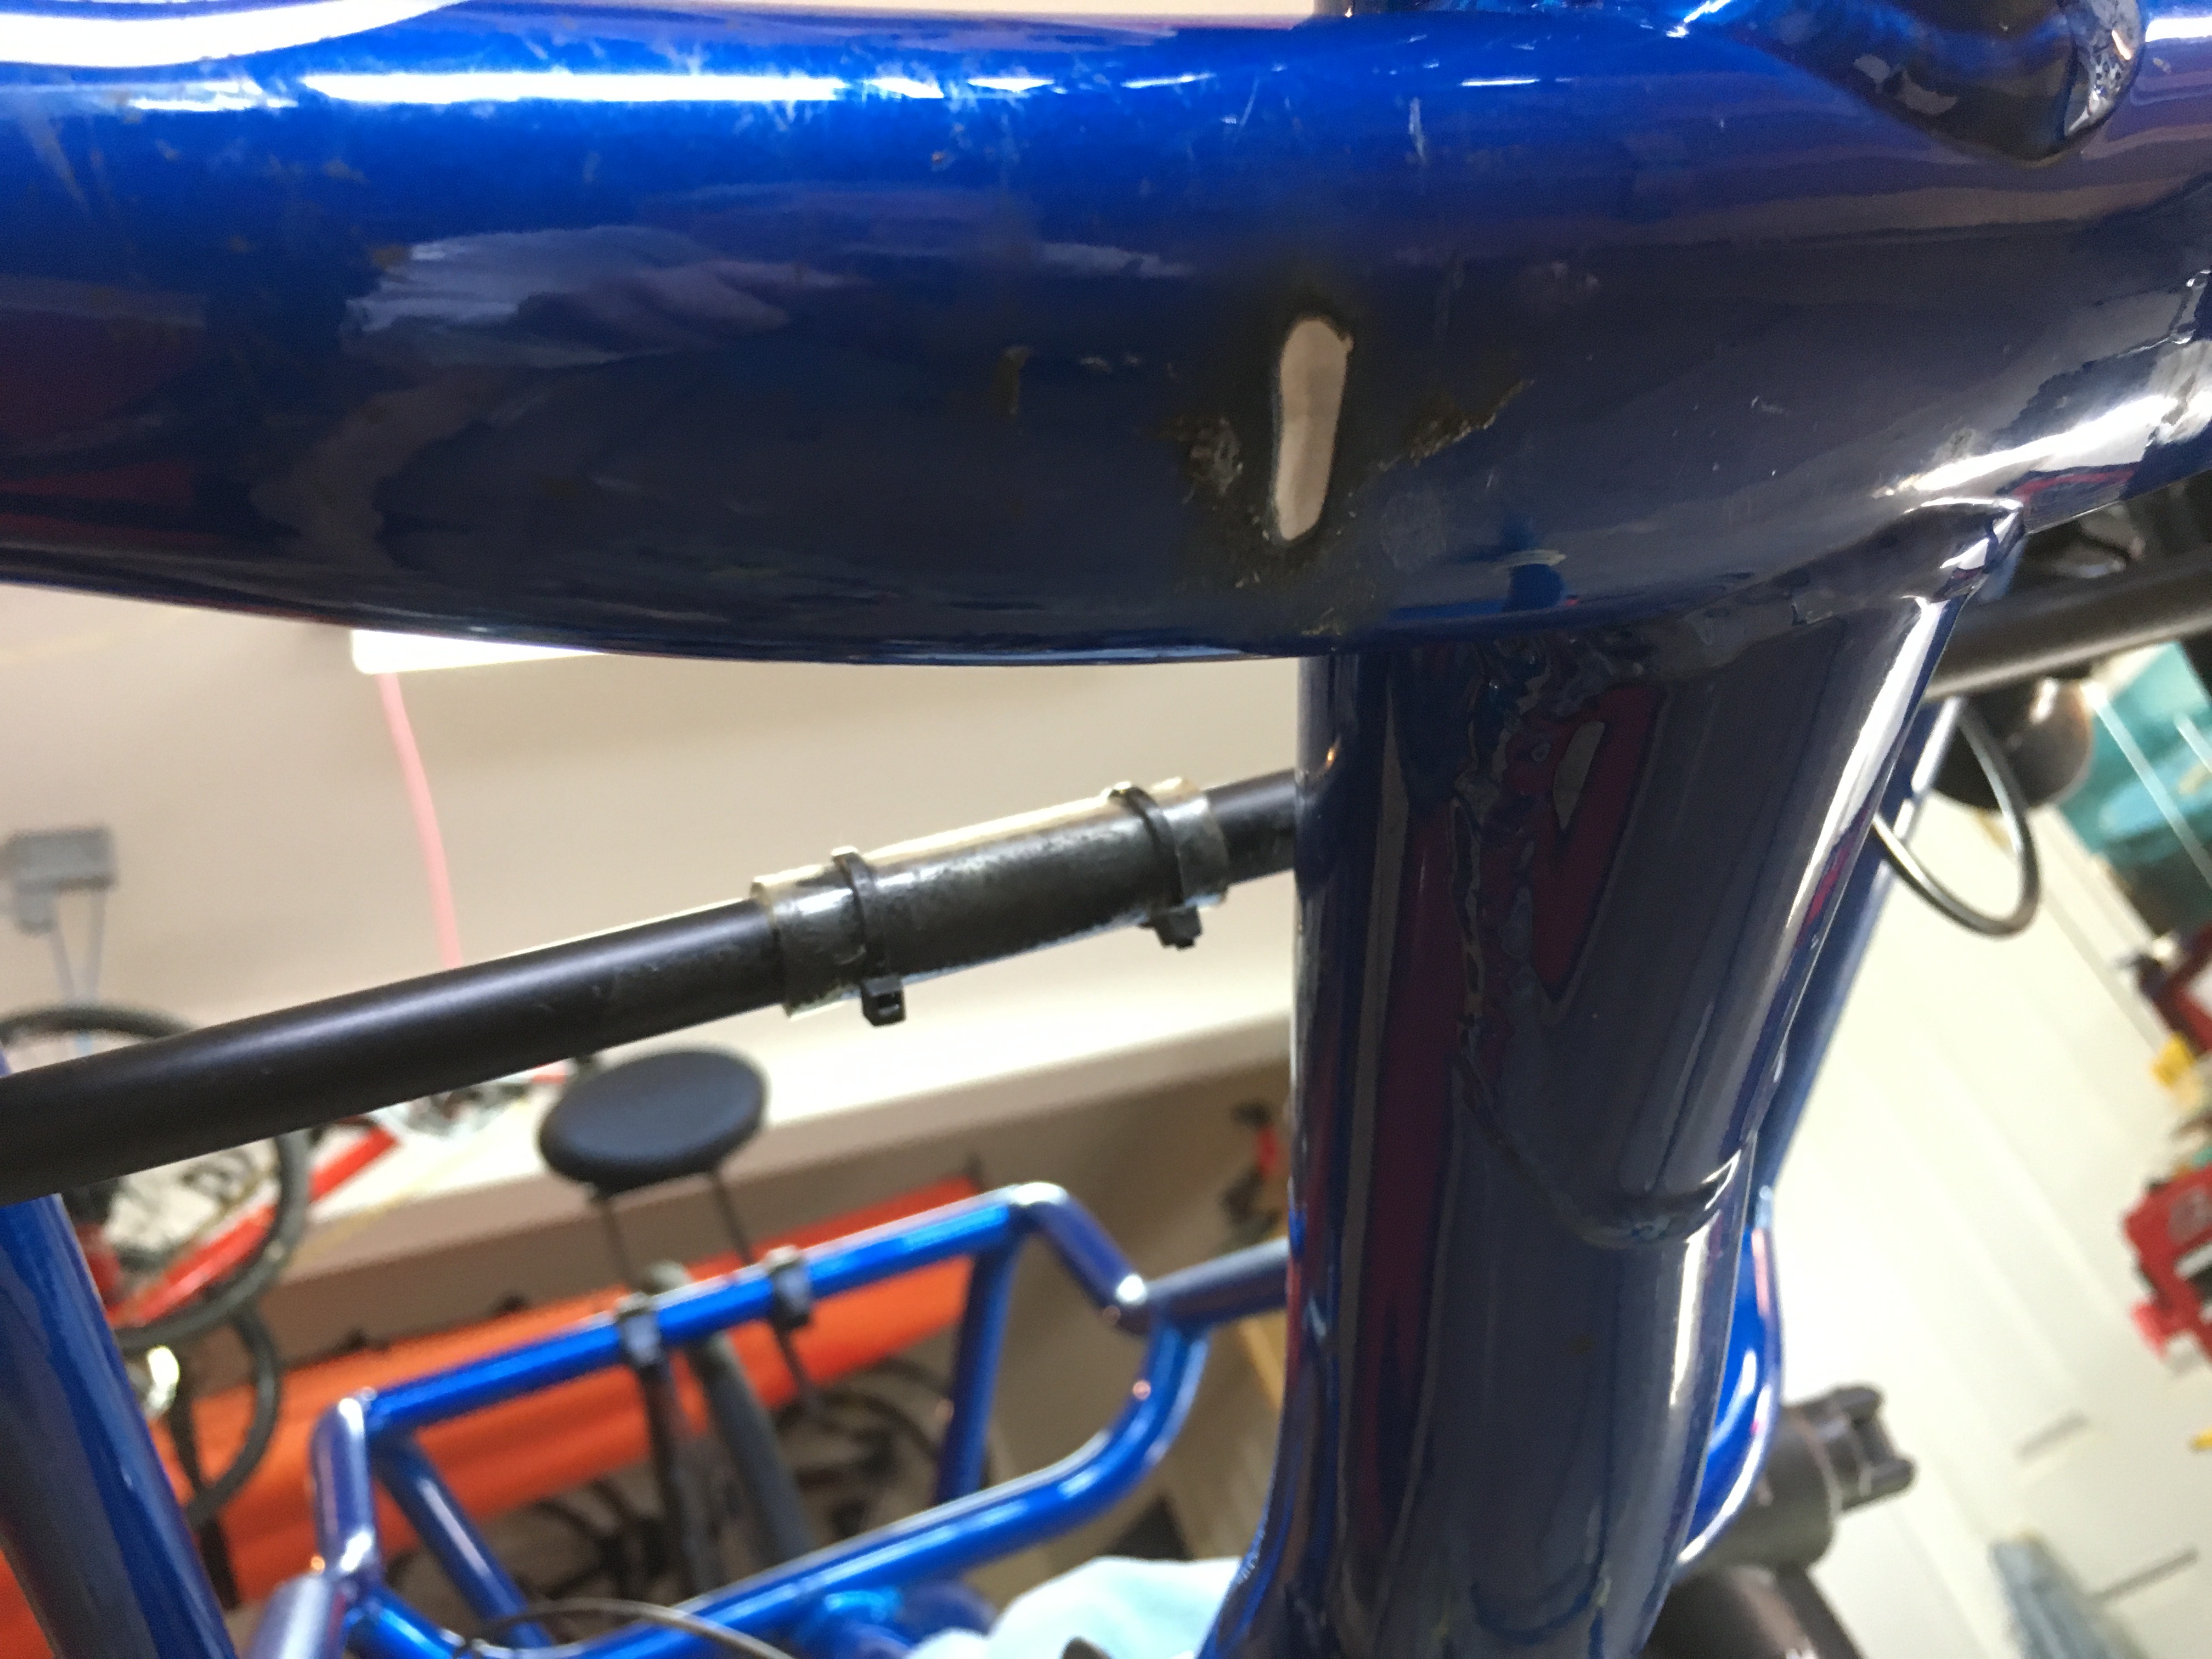
All that was left to do was to bolt on the two lower metal brackets and the pre-assembled rear suspension. At this point, I probably had about 3 hours of work in the project plus 24 hour cure time for the epoxy. This is where things got tricky. I just couldn’t get the 2 lower arms (called “swings”) to line up with the lower brackets. After scratching my head and staring at the situation, I decided to disassemble things to understand the problem. It seemed that the provided swings were slightly misaligned. In these photos, you can see that the bolt holes are not parallel – which is required for proper alignment and movement through the suspension travel arc.
I emailed Stephane at Katanga who immediately responded. He checked their inventory but none of his swings had the same problem. Somehow, two misaligned swings had made it into my kit. So he created a problem swing like mine so that he could come up with a fix to get me going again. It turned out that fixing the misalignment was pretty easy to do by clamping the swing in a vice and applying a a bit of force with a lever arm. I was hesitant to do that but this was what the factory suggested. So I went ahead with the suggested fix.
After a few iterations of bending and measuring, I was able to mount the suspension. Even though these were small bends, it made me nervous about the effect on the welds. I voiced my concern to Stephane and he immediately offered to send me replacement swings. When they arrive, I’ll swap them for my “fixed” swings.
