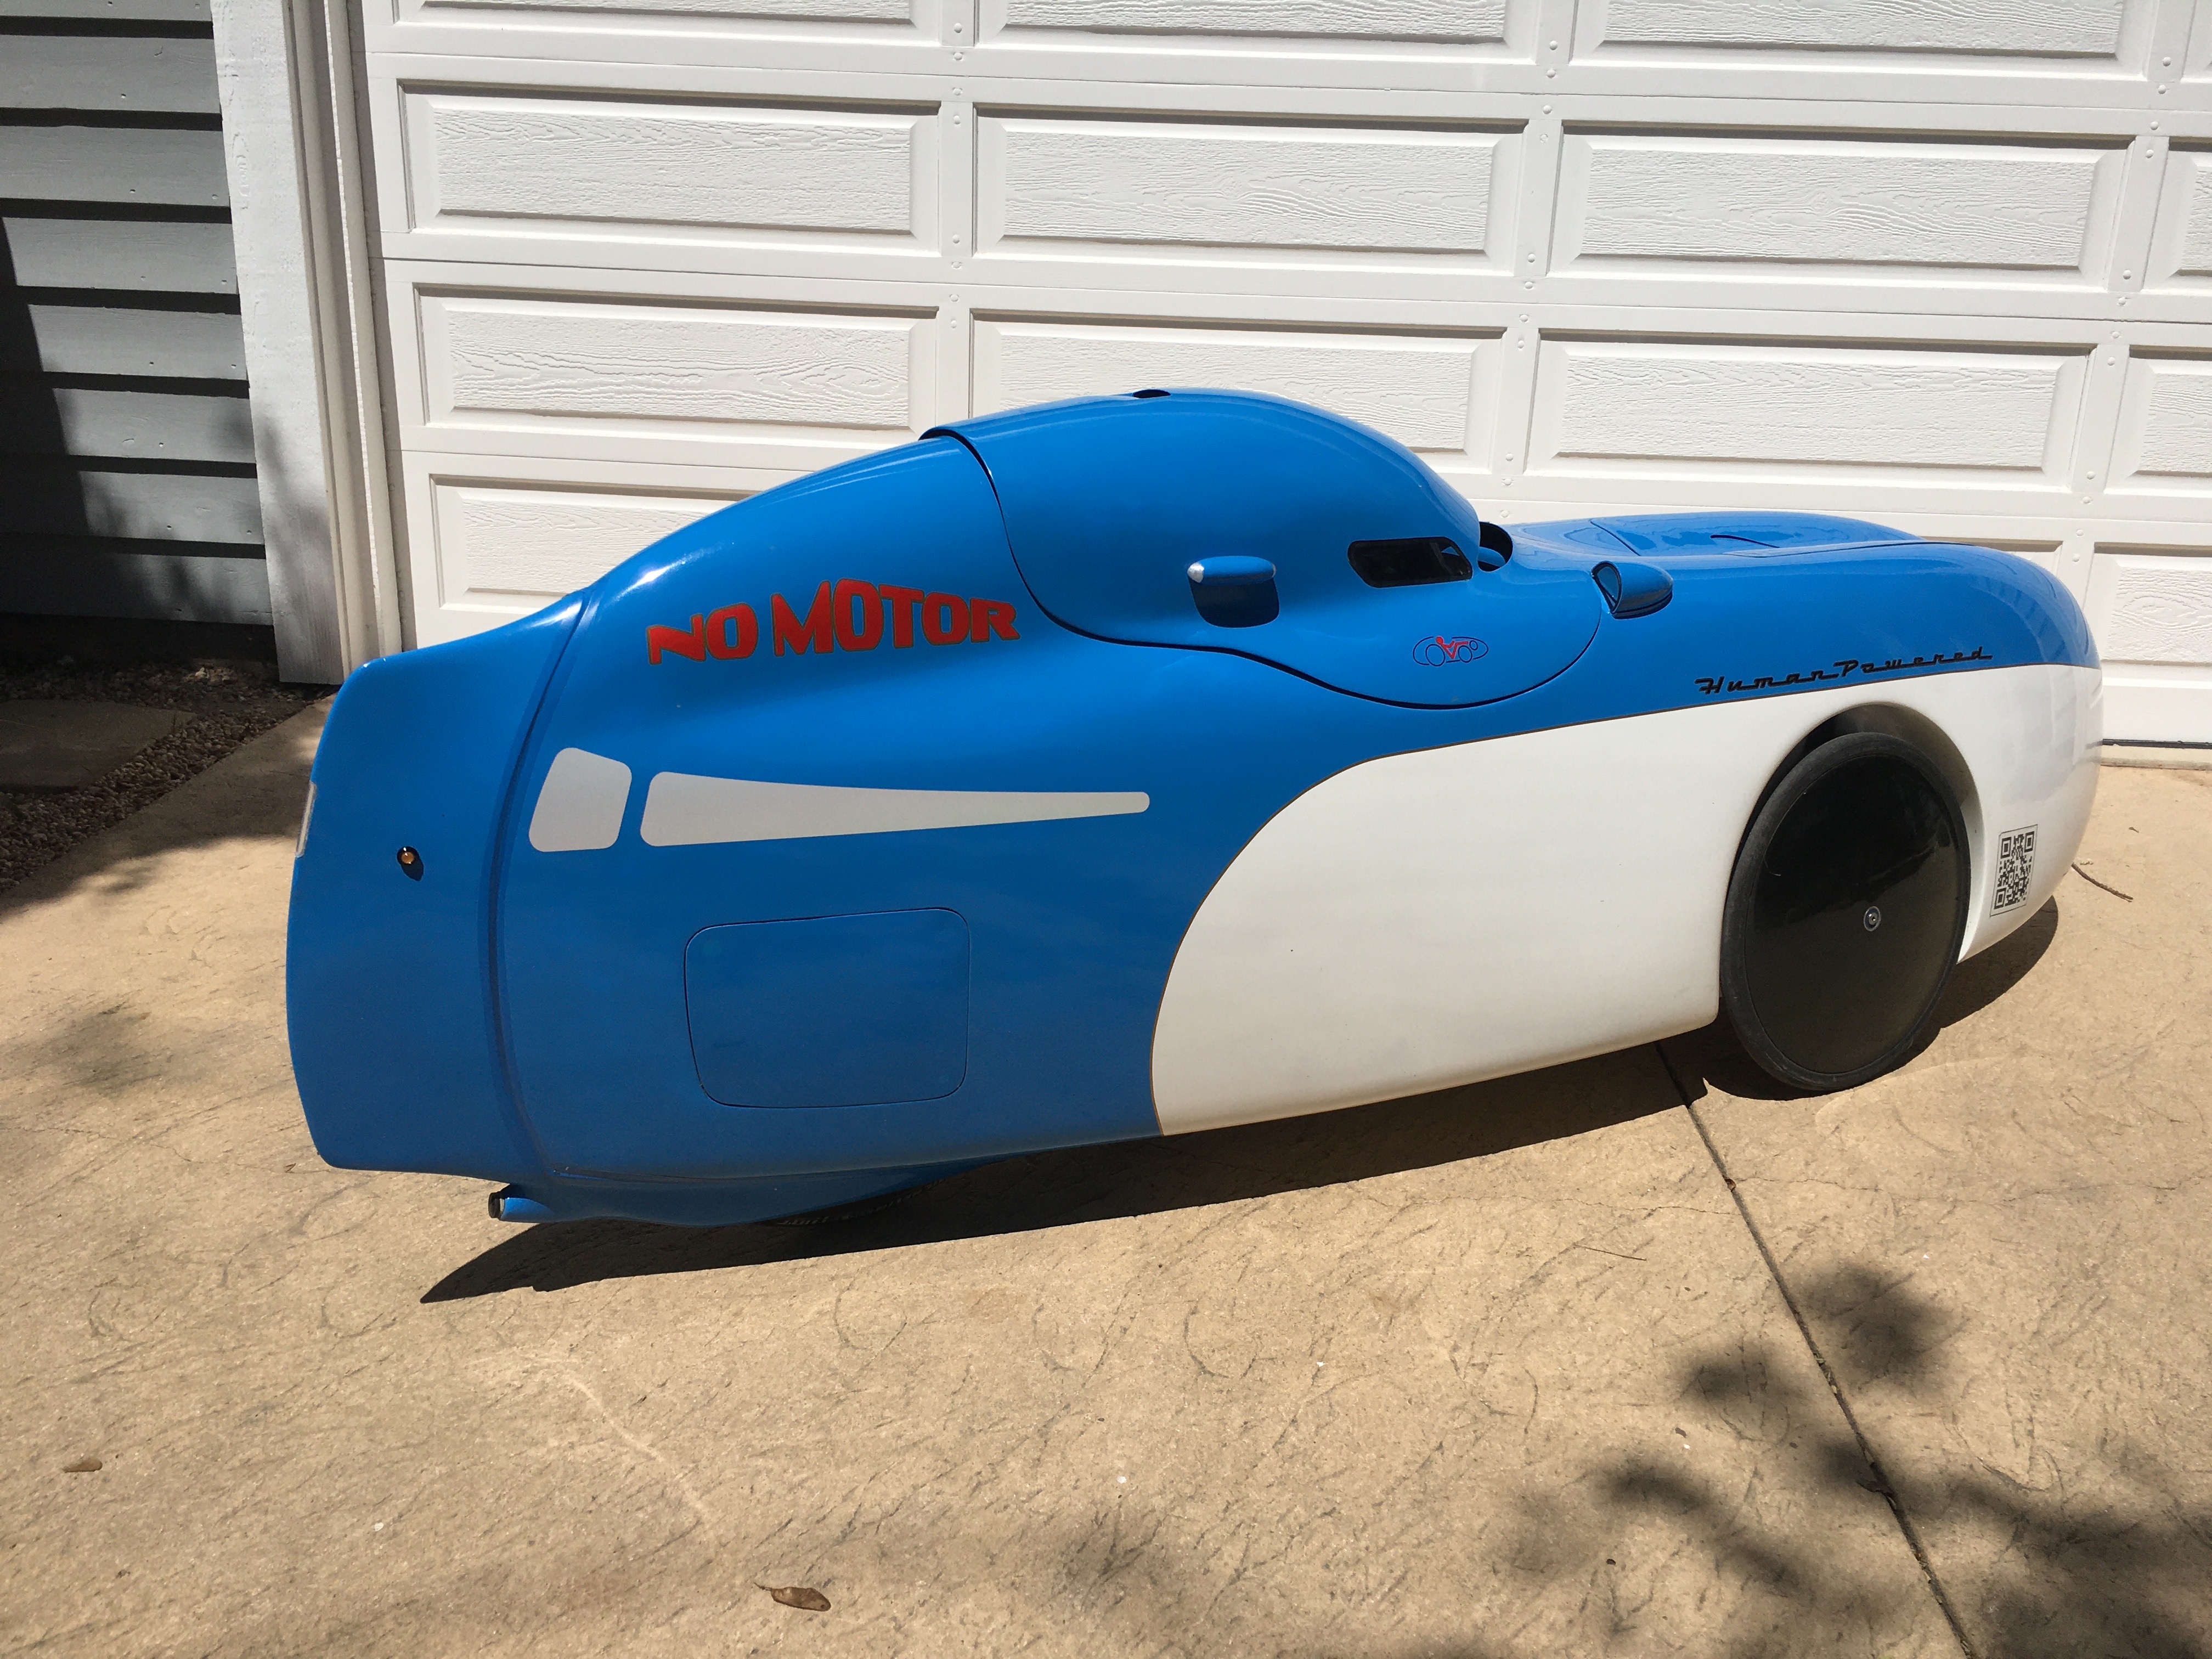
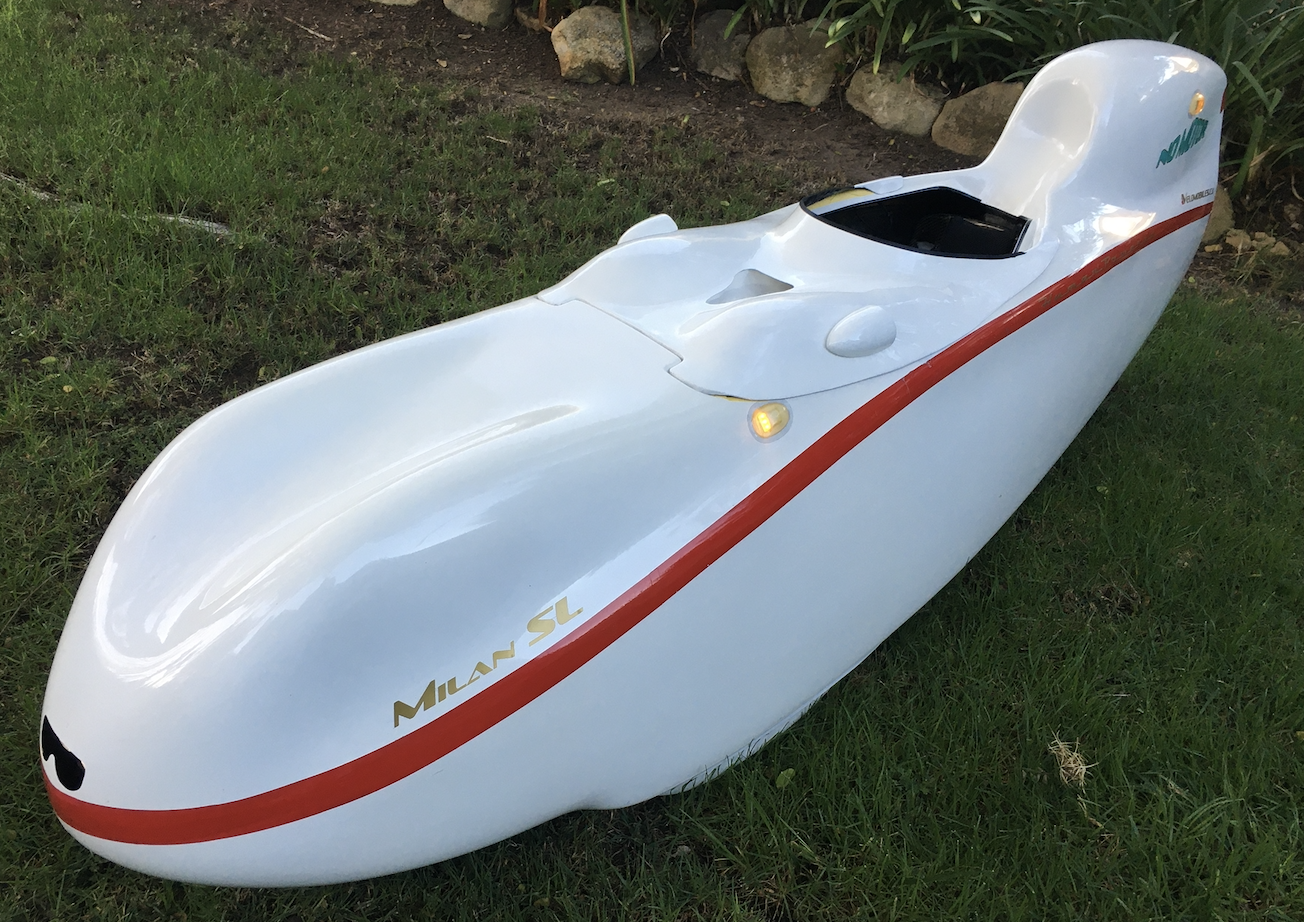
The stock Milan opening is enclosed by 2 pieces – the lid which covers most of the opening and a small hood which attaches to the lid.

It’s nice to be able to ride without the hood on hot days. To do so, you remove the hood from the lid and ride with just the lid.

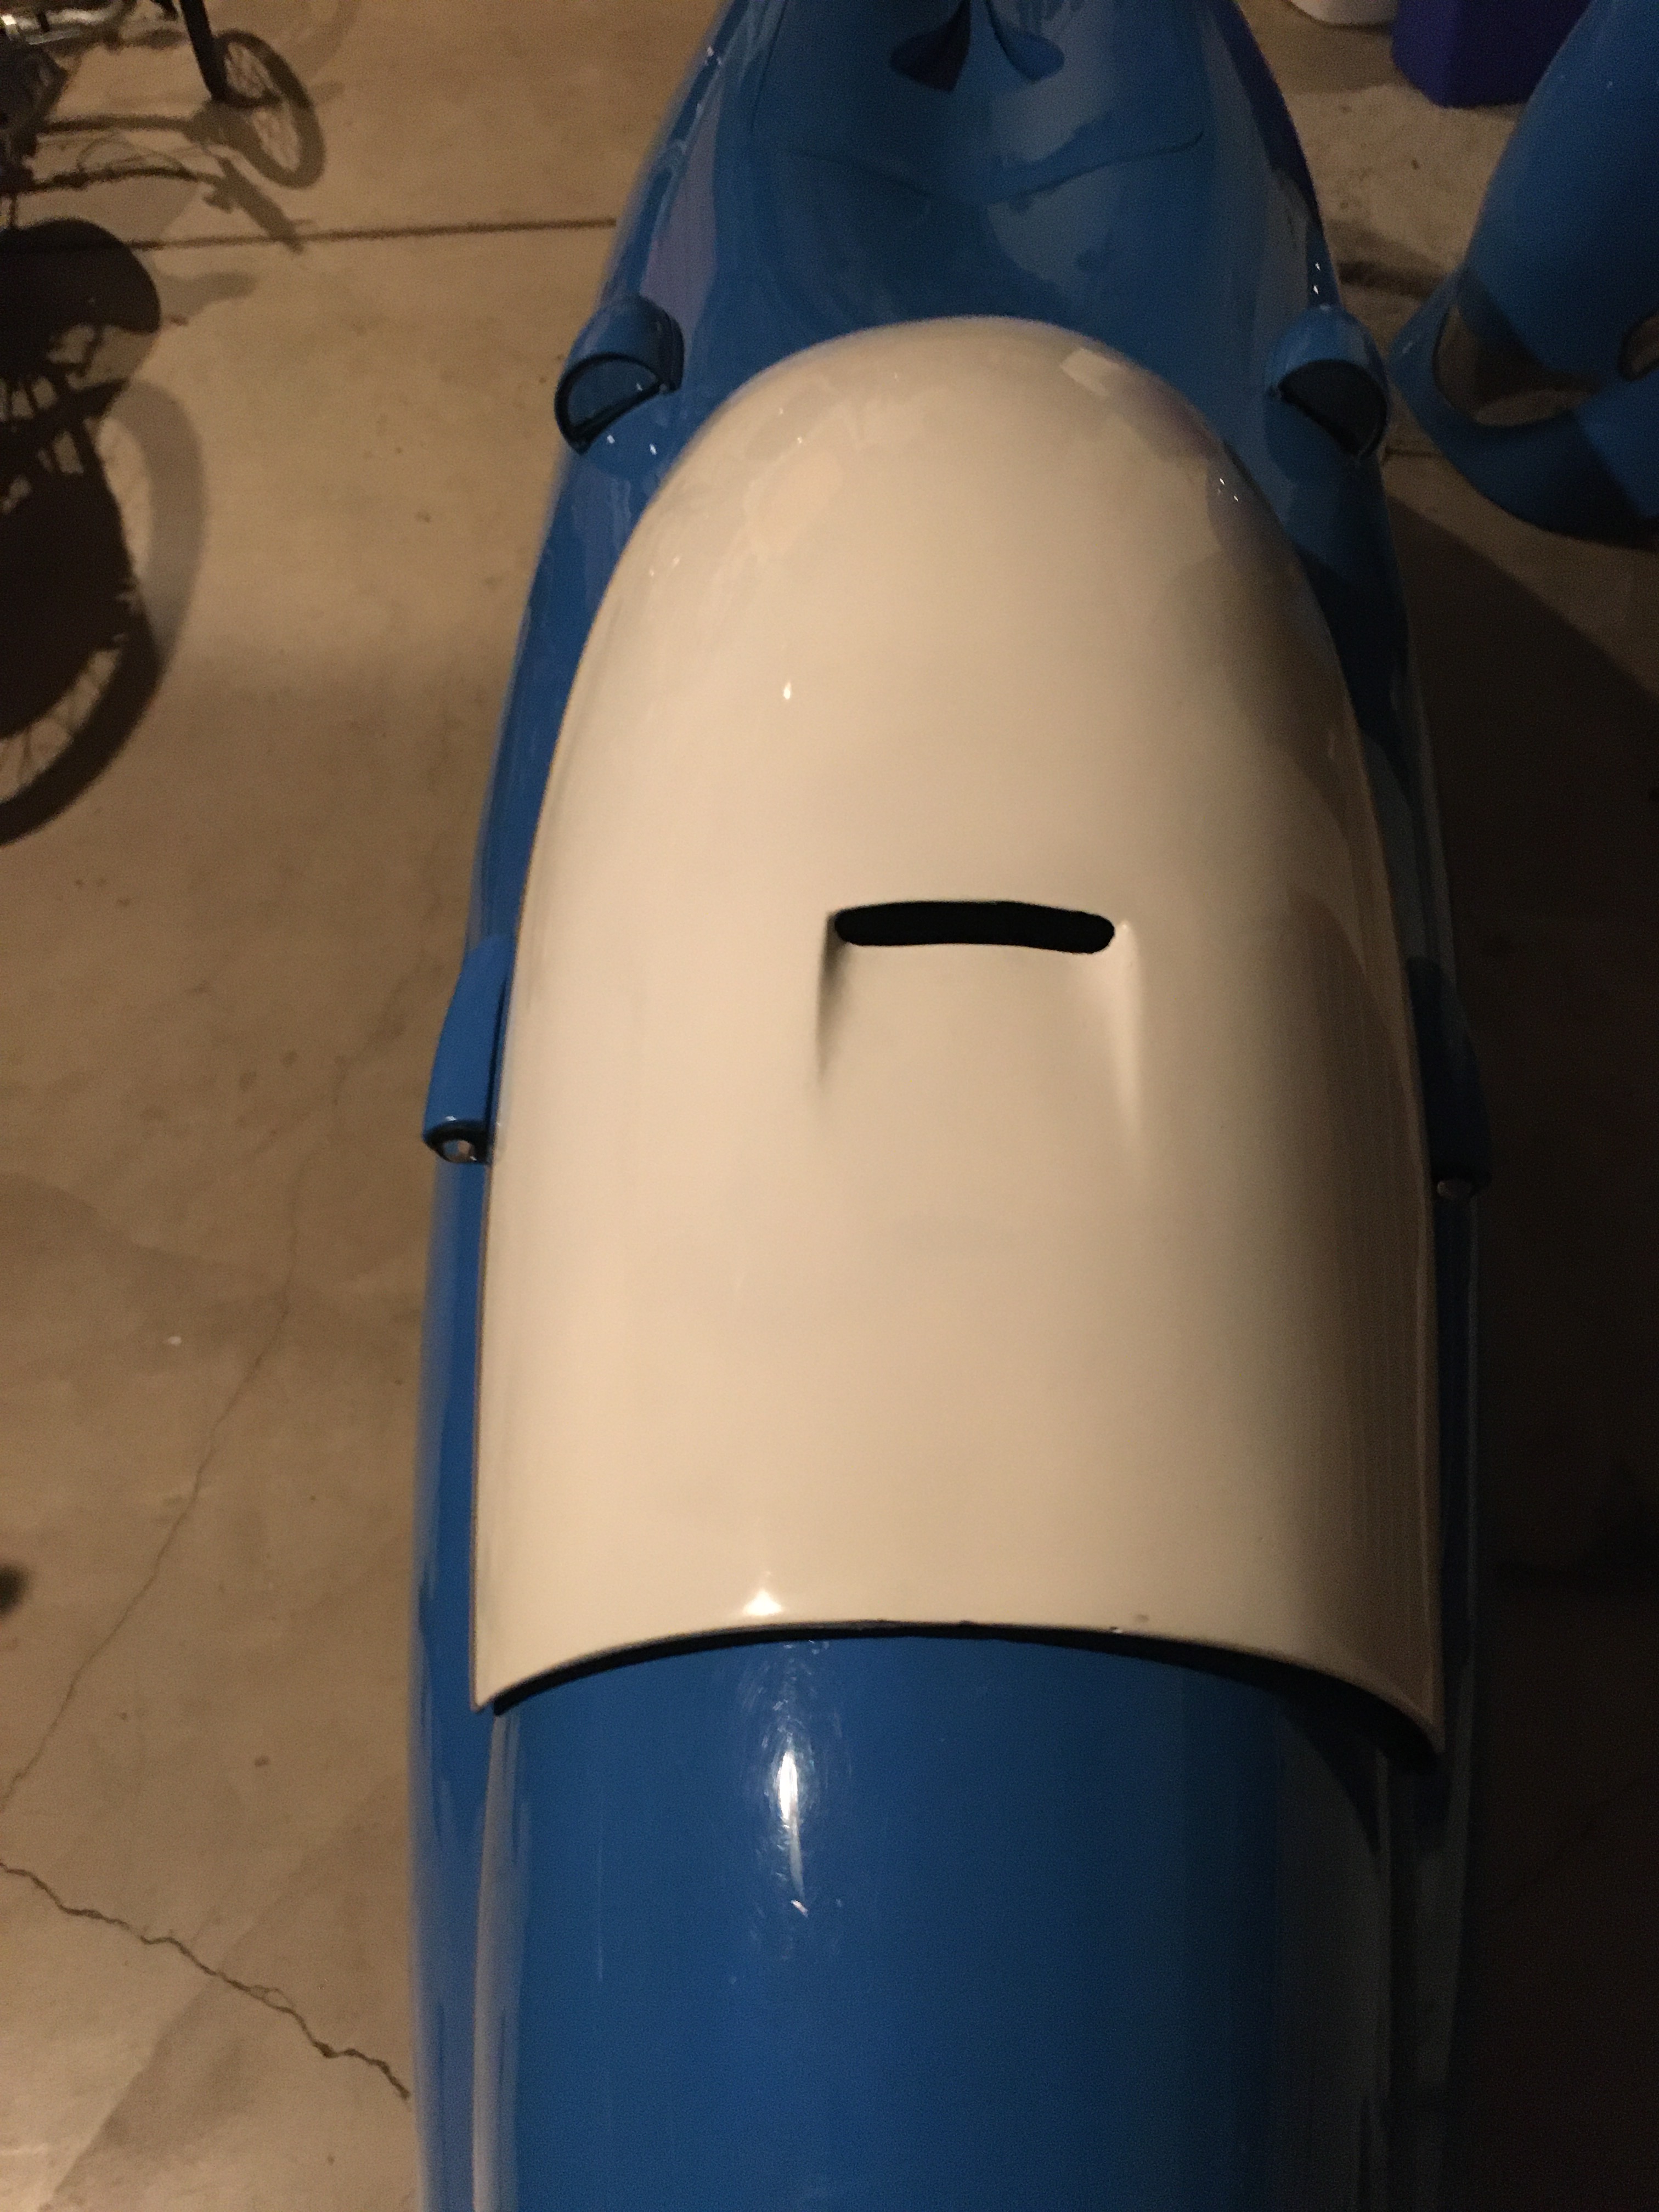
The problem that I have with riding head out with this setup is that the opening in the lid is so small that the front of the opening feels like it’s right in my face. So I decided to make my own lid to be used exclusively for head out riding. It provides a larger opening for a less confined feeling.
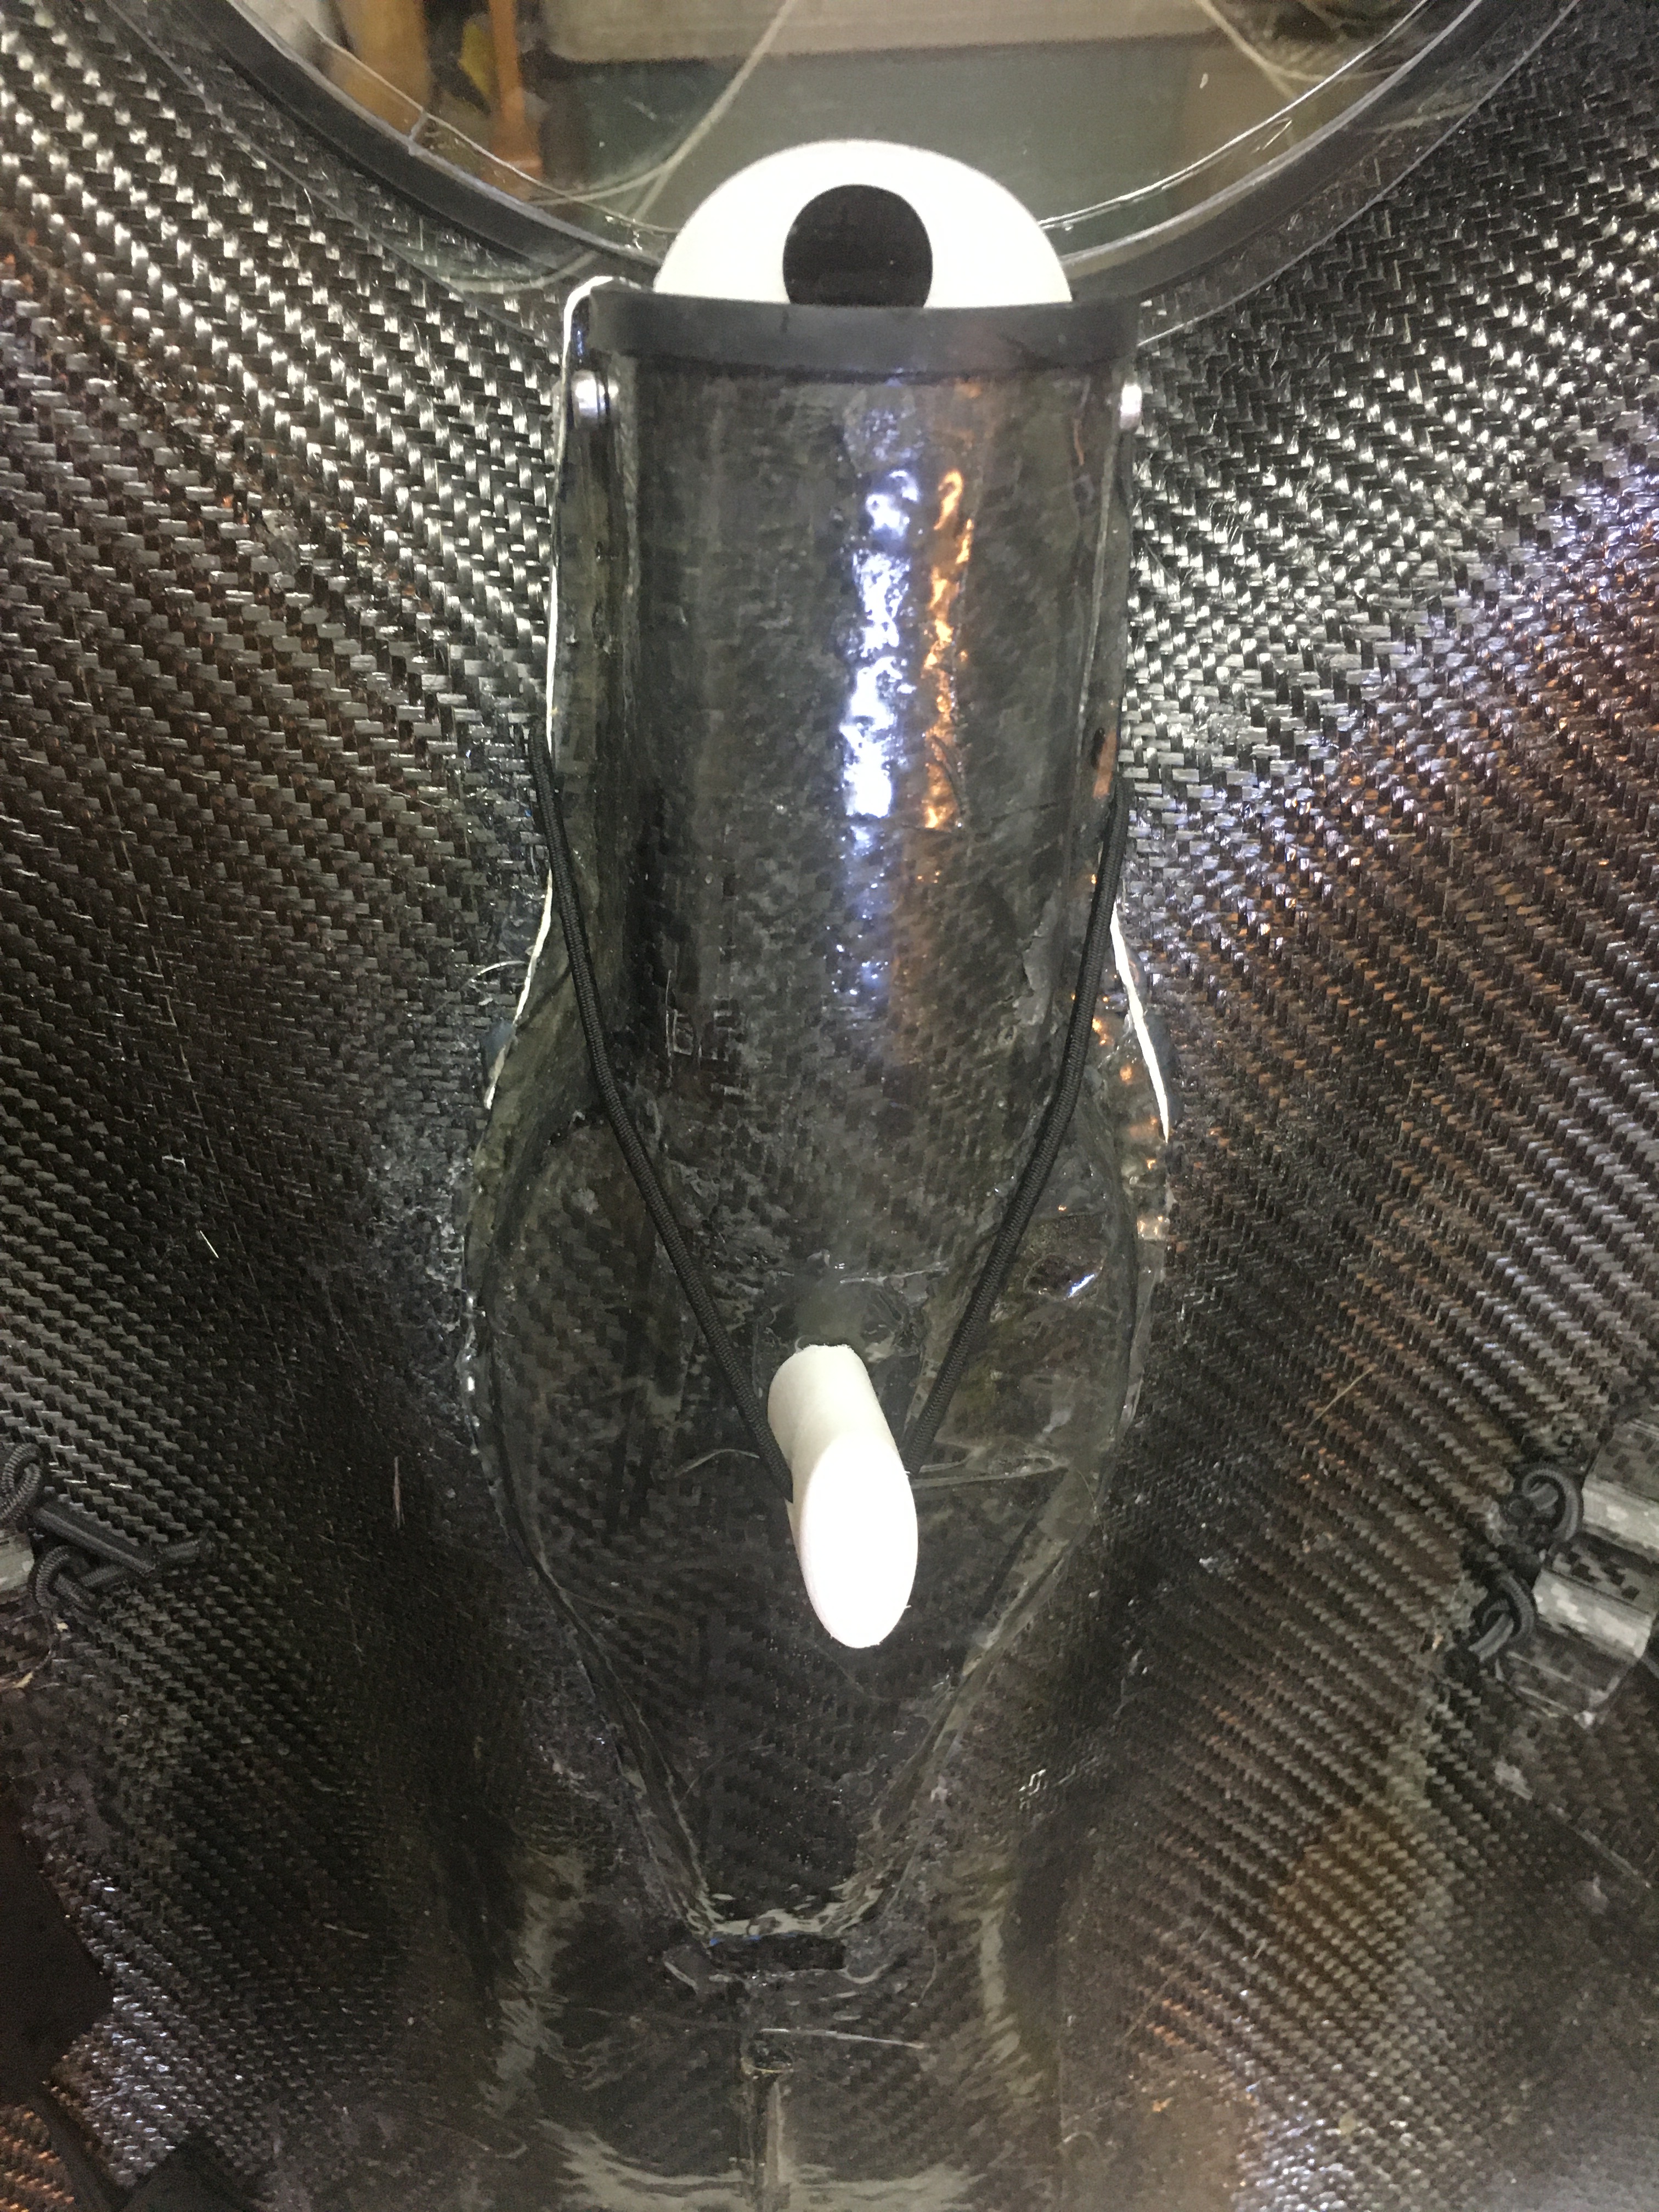
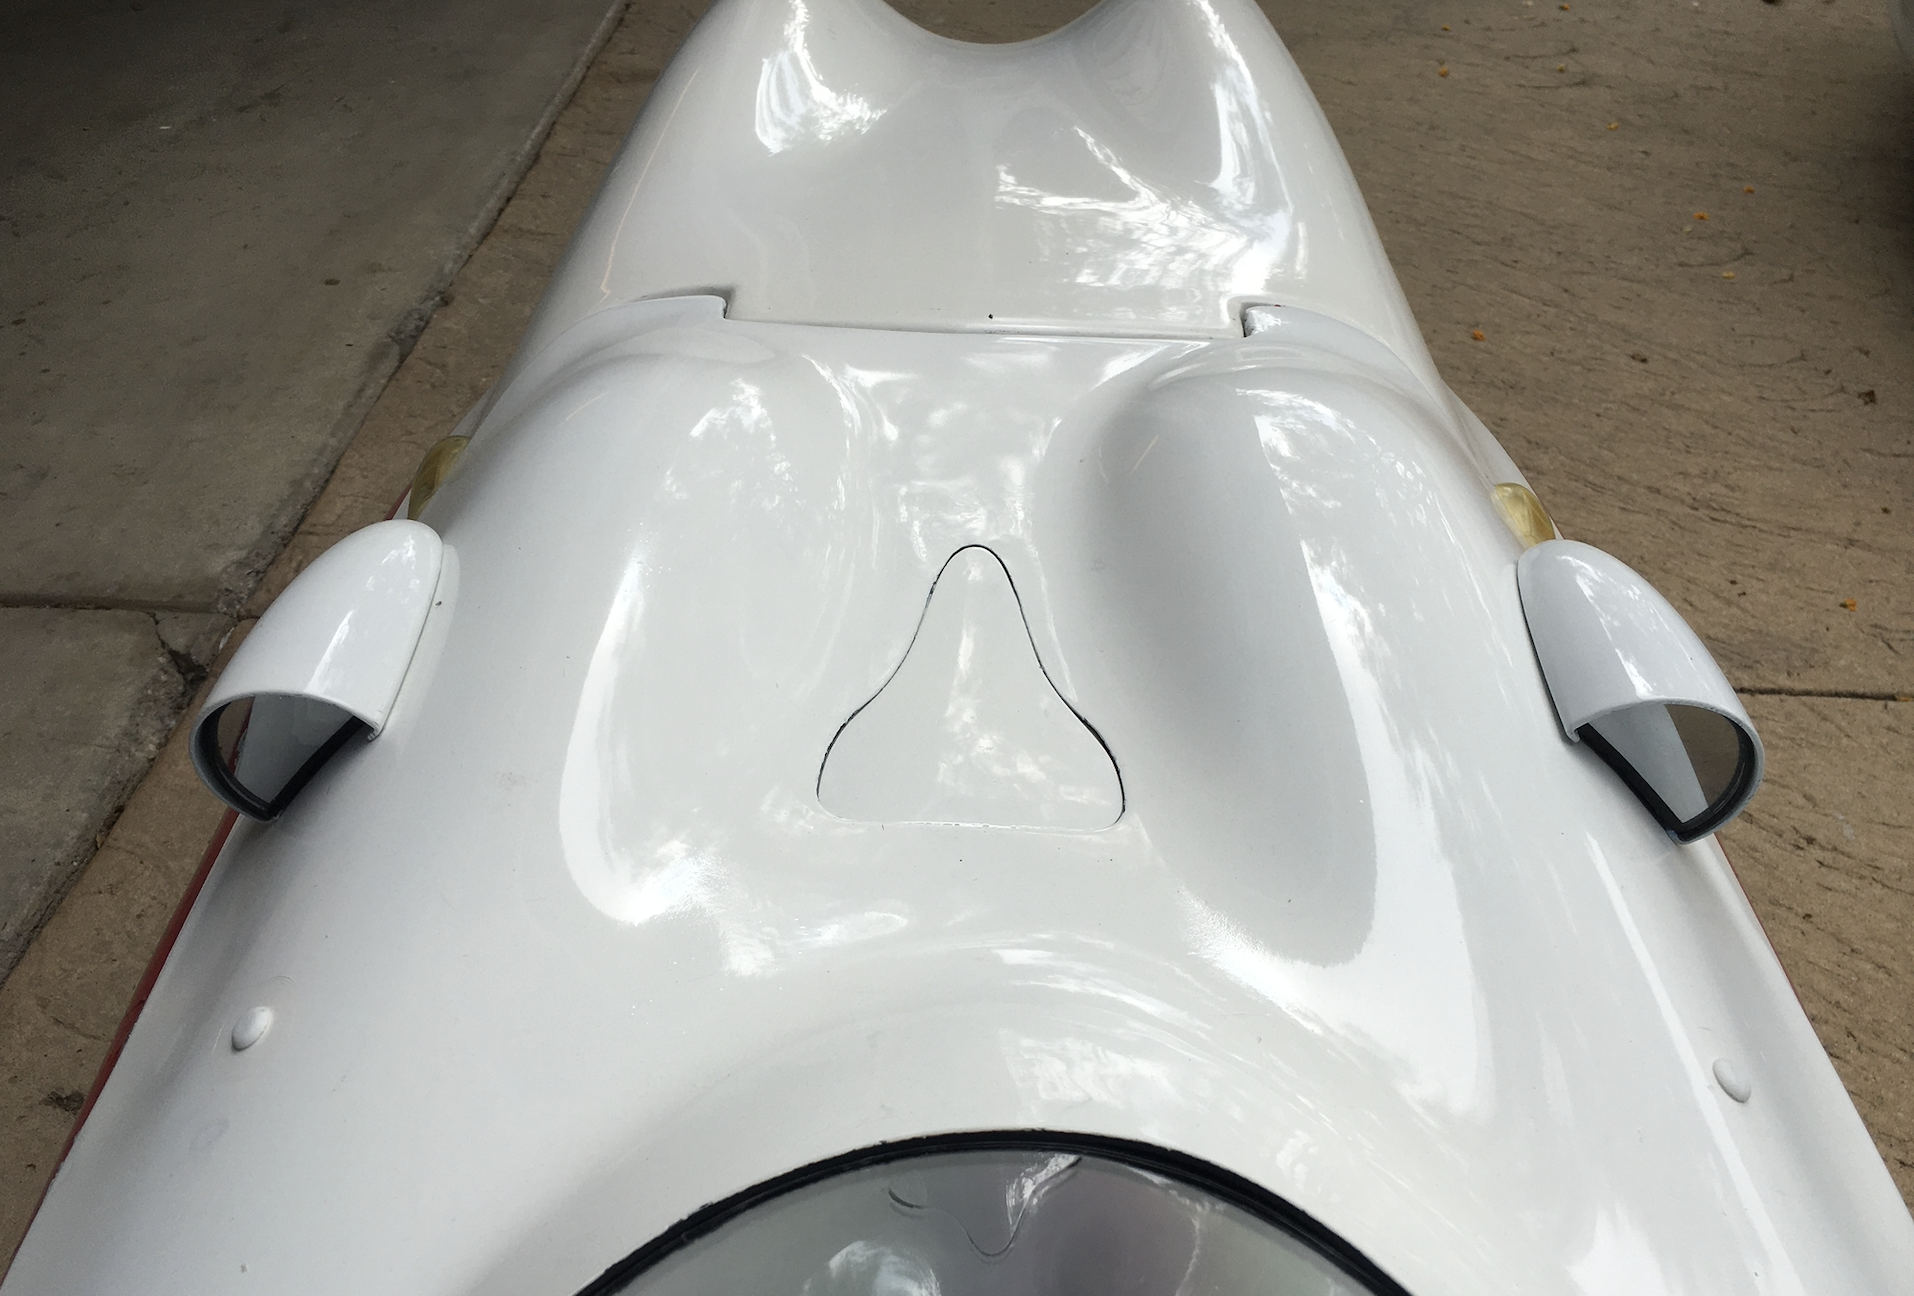
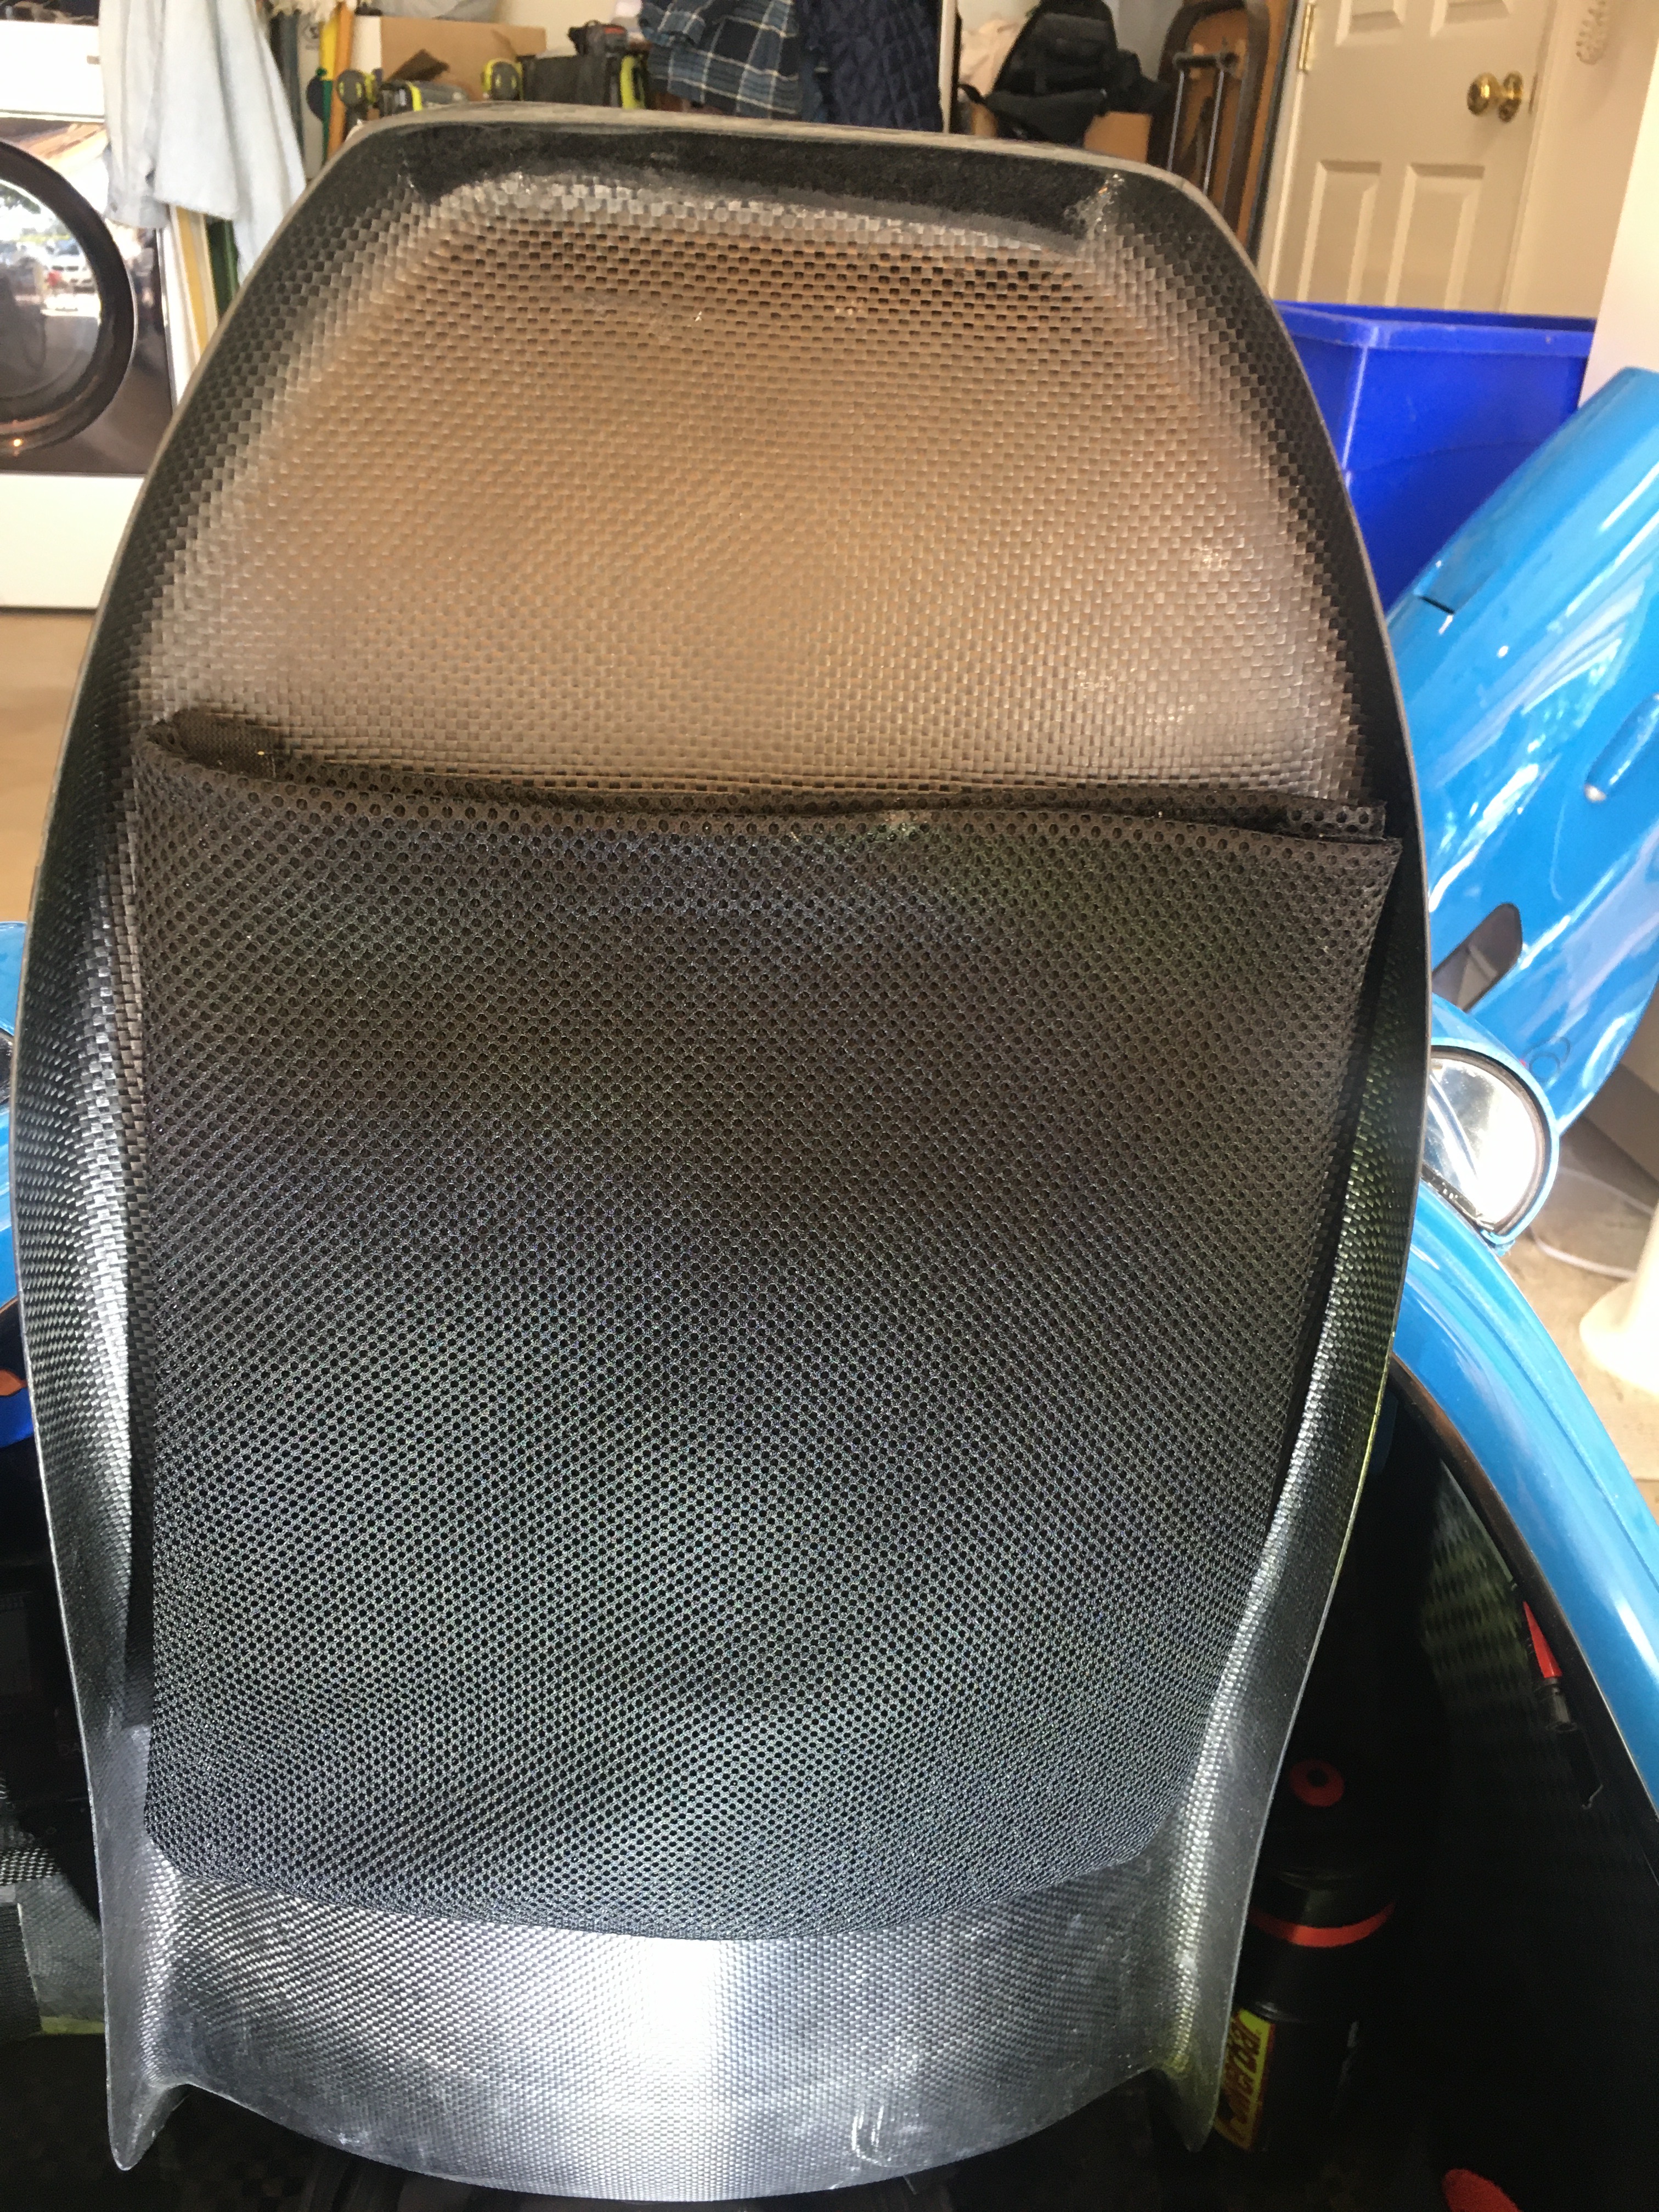
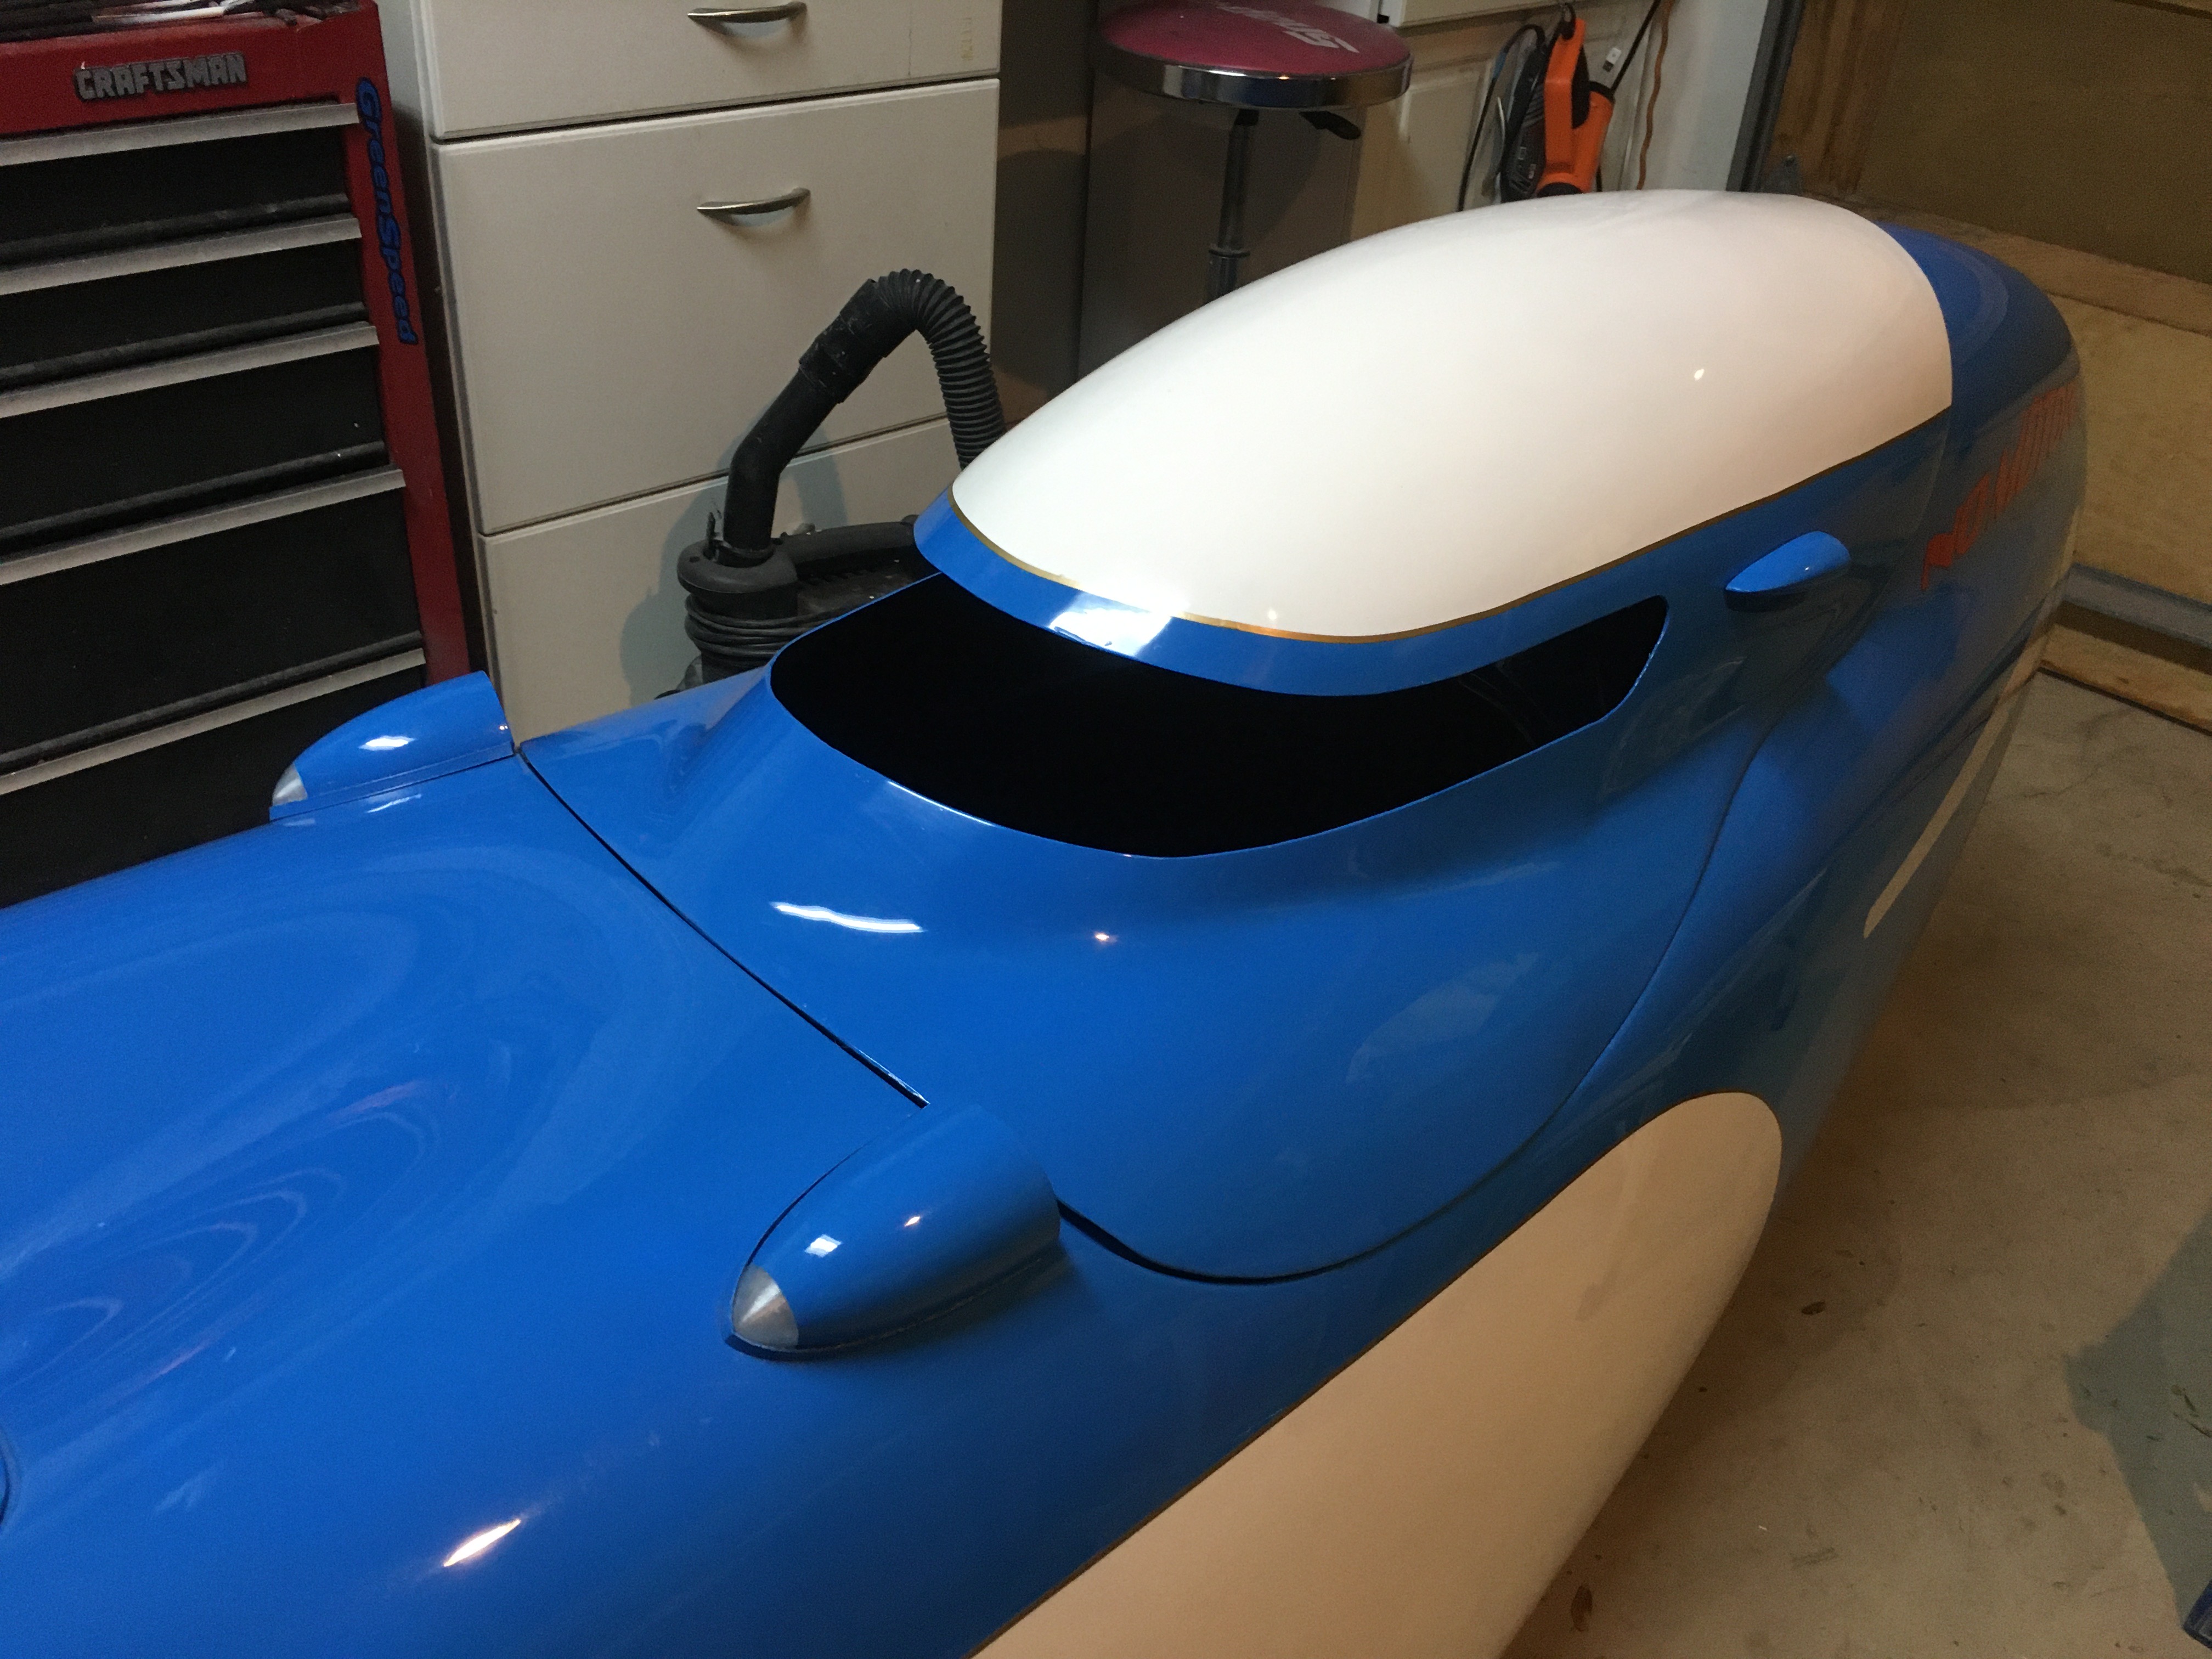
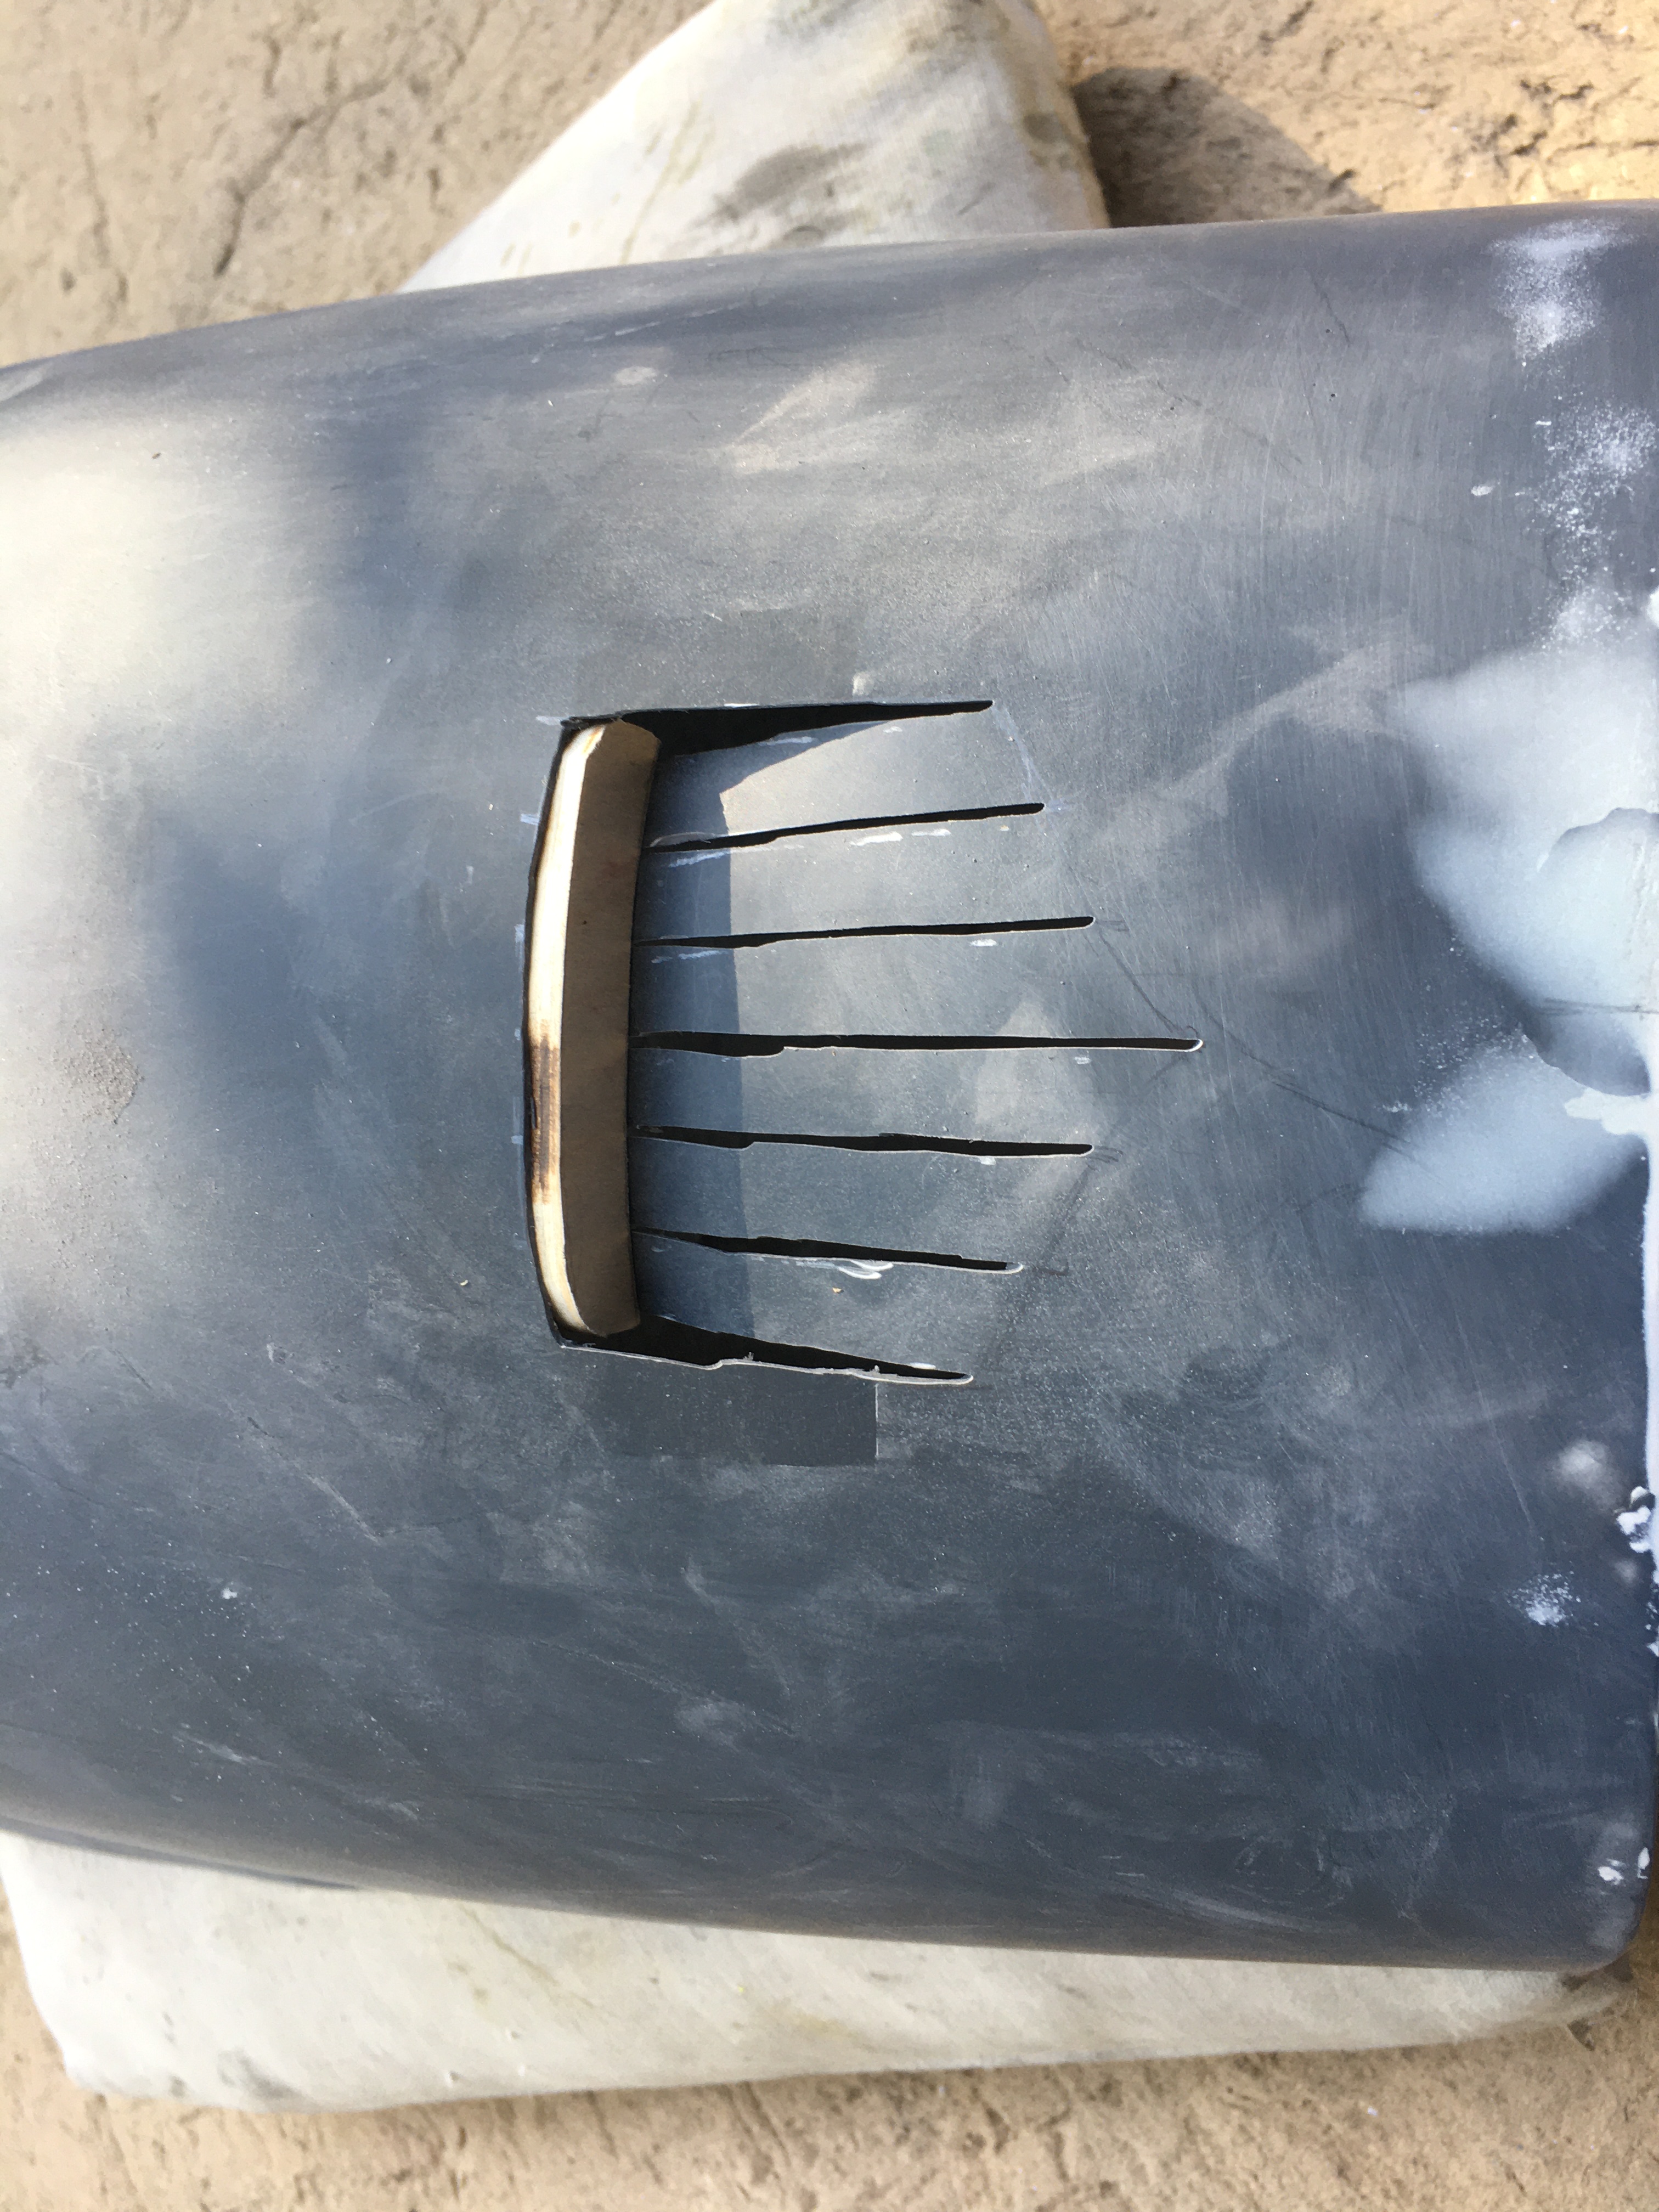
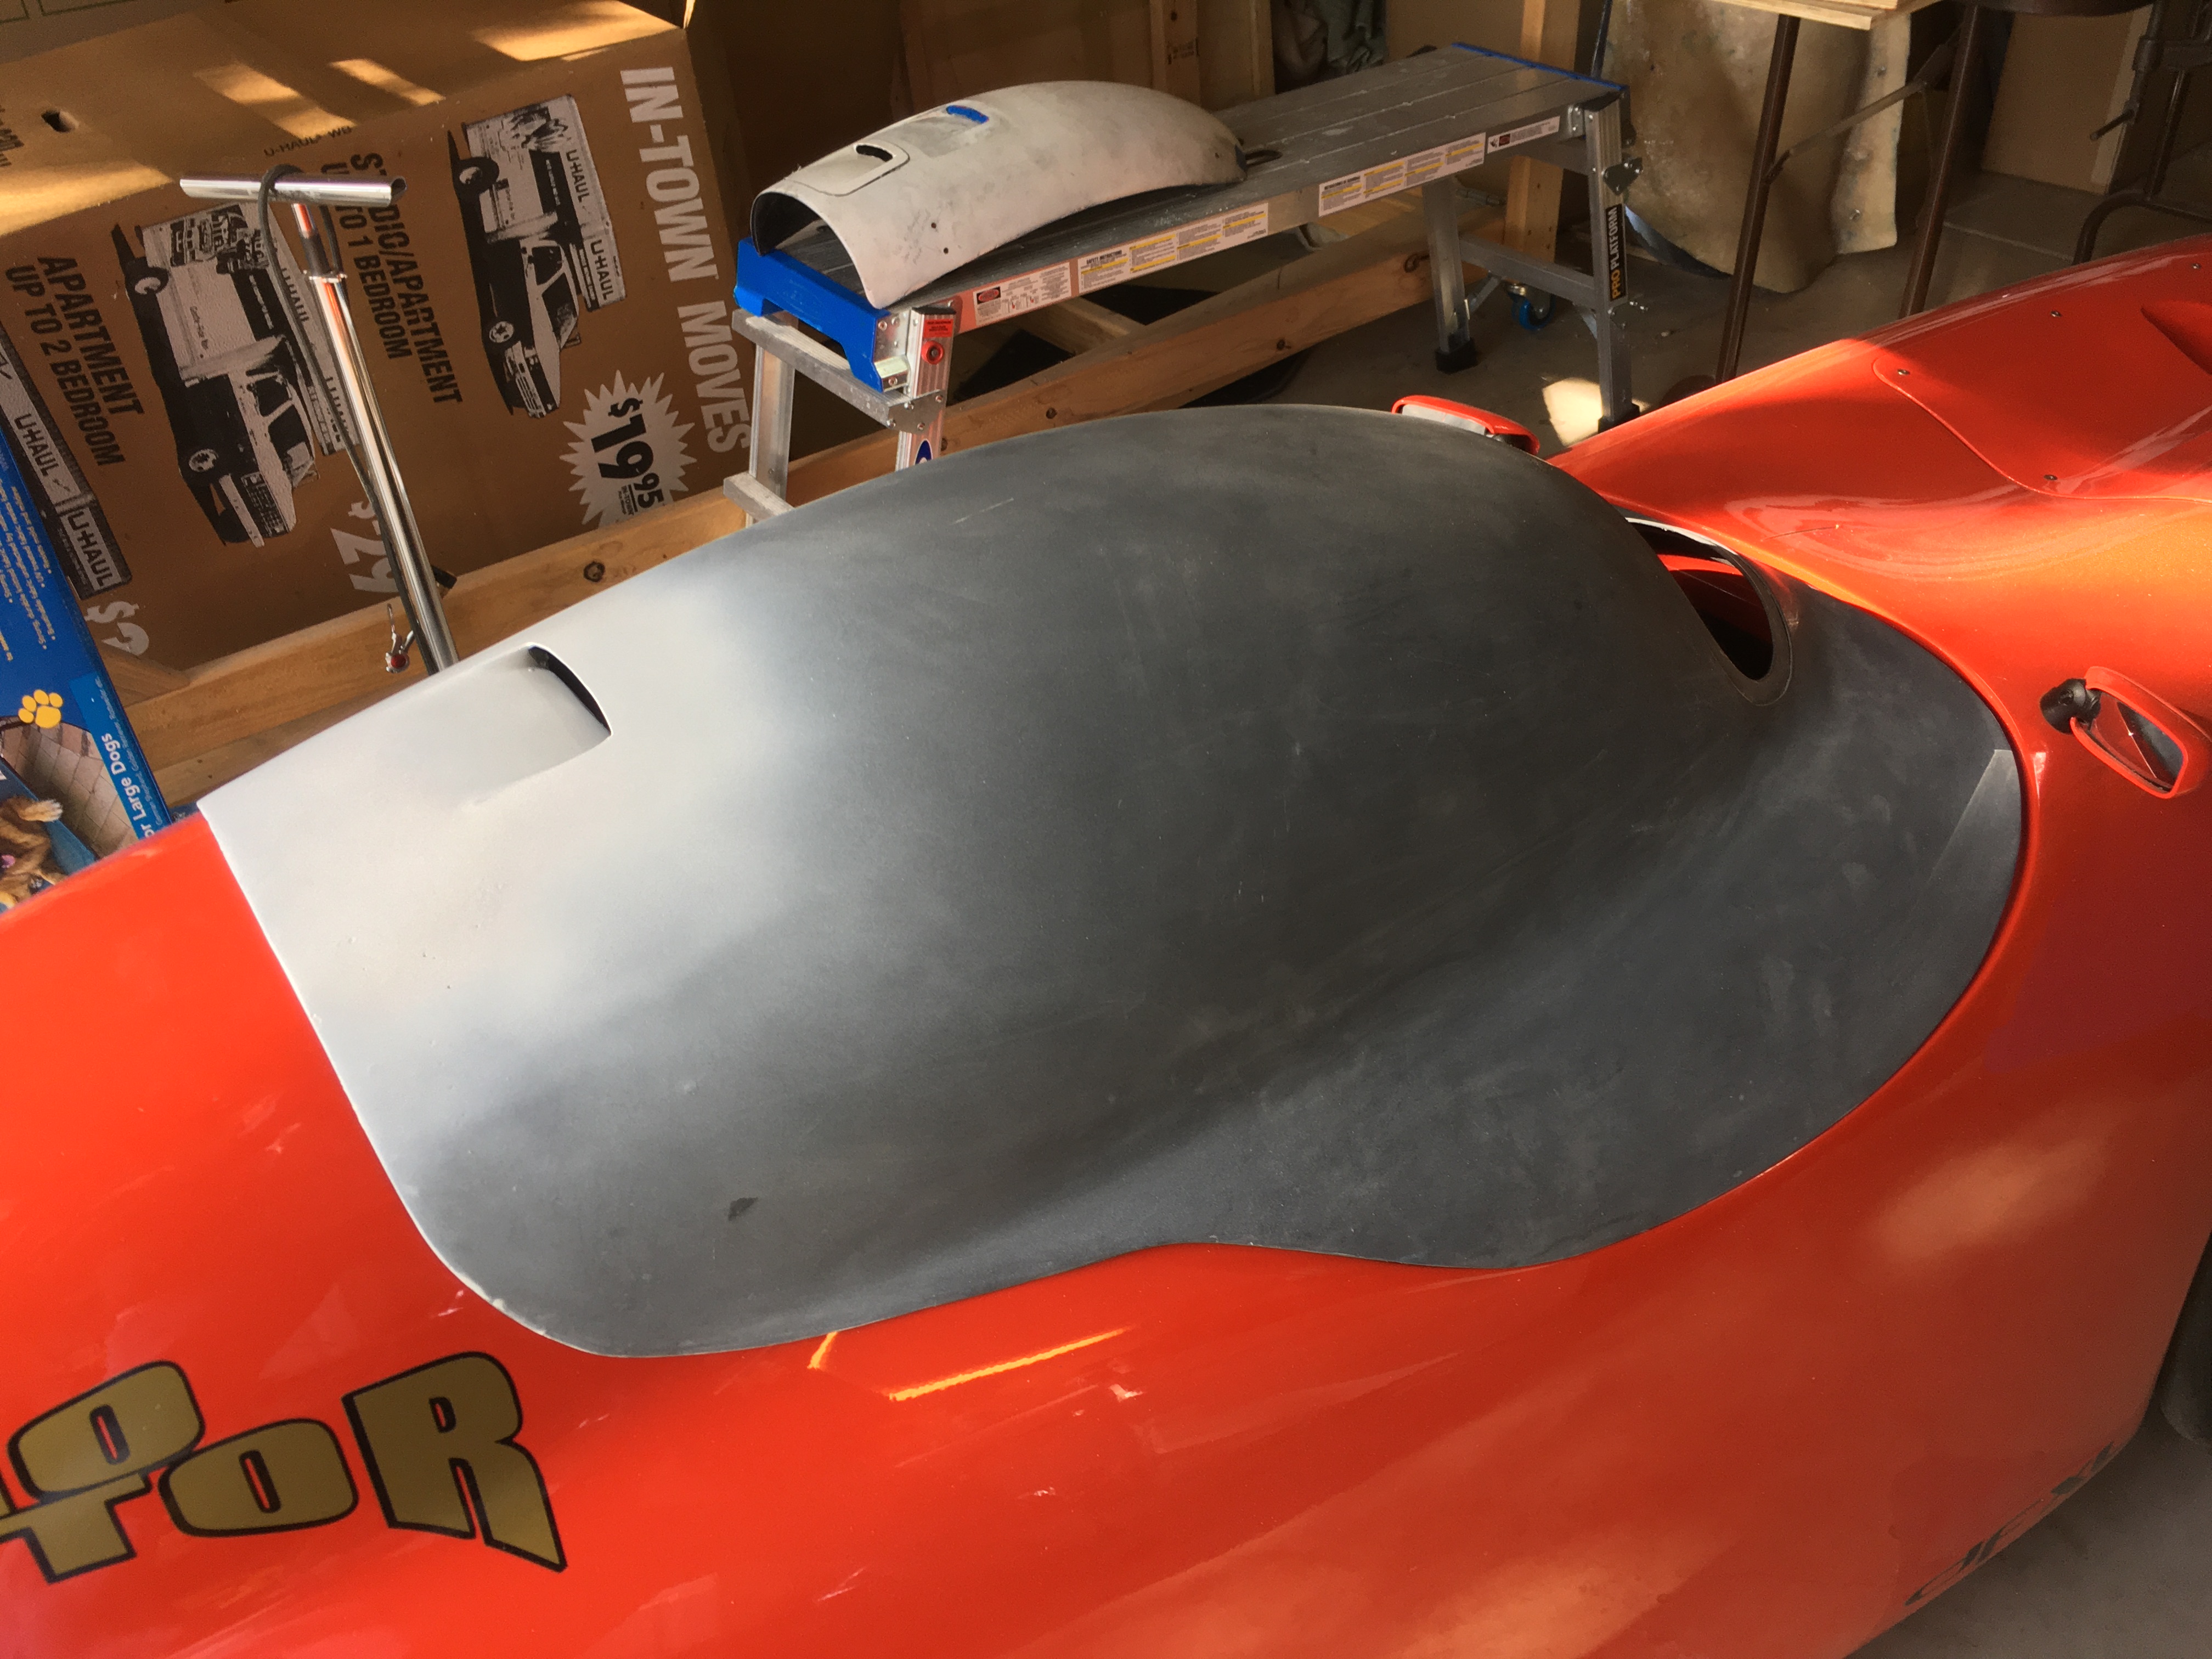
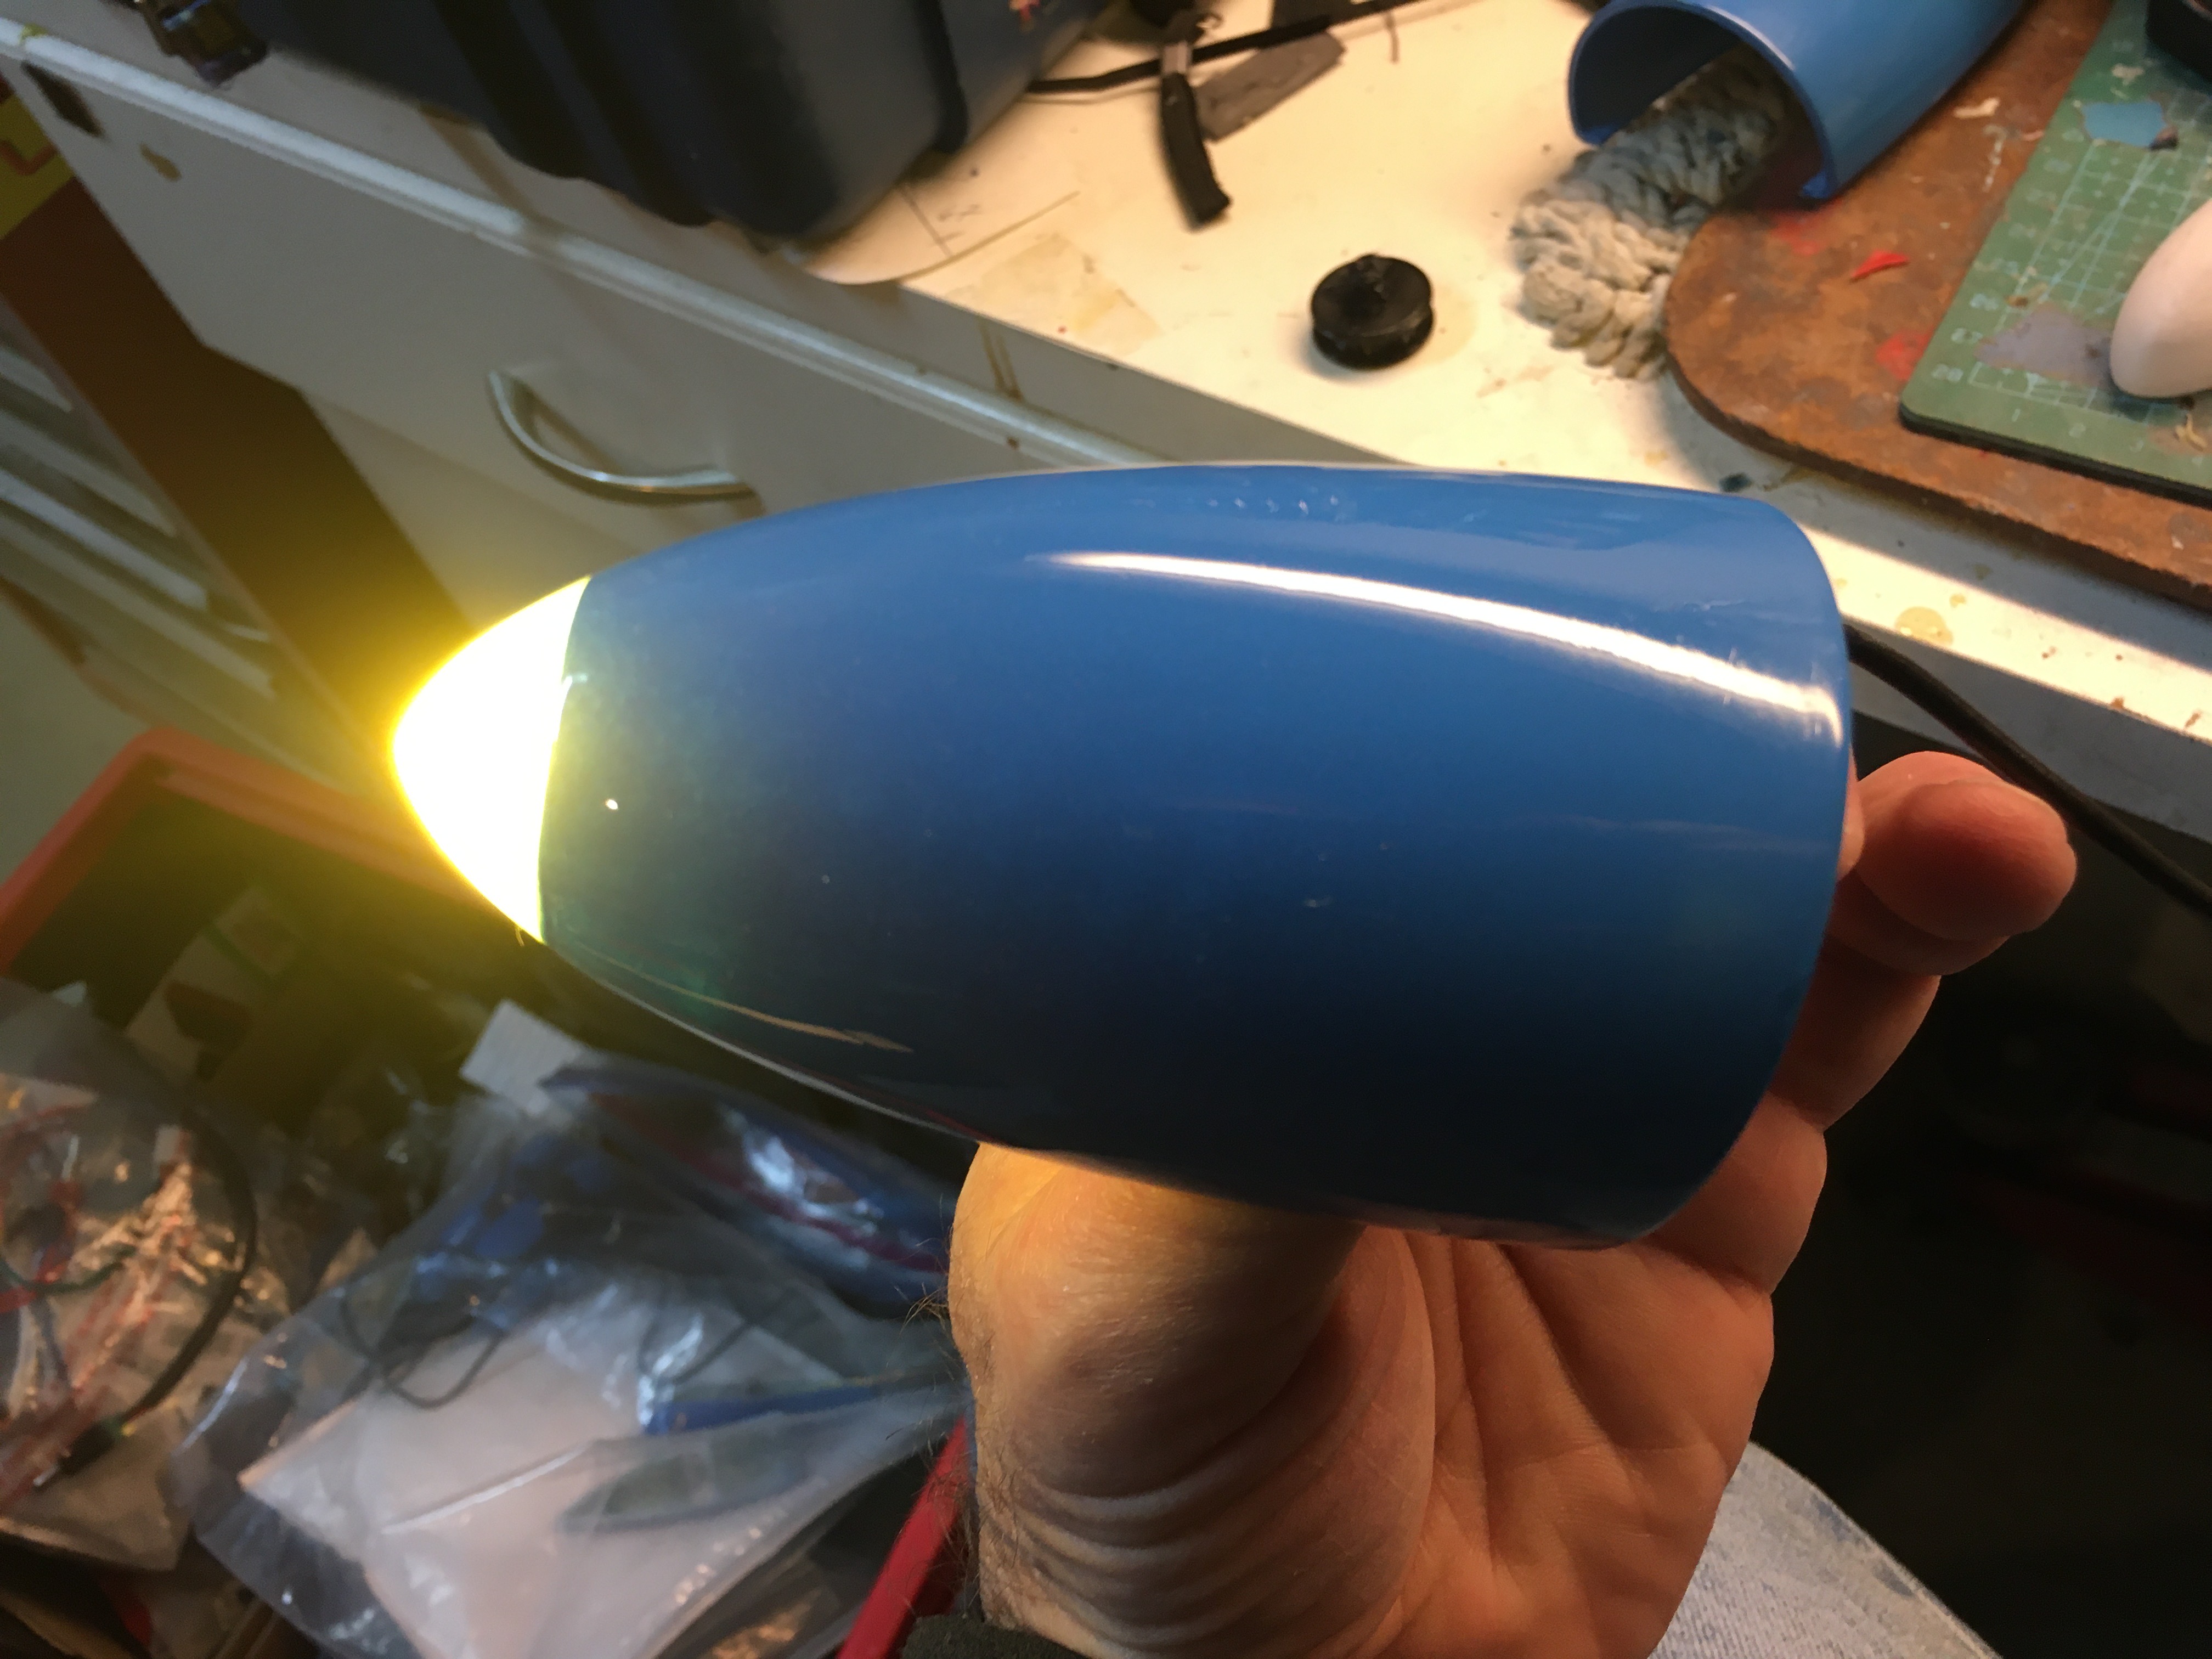
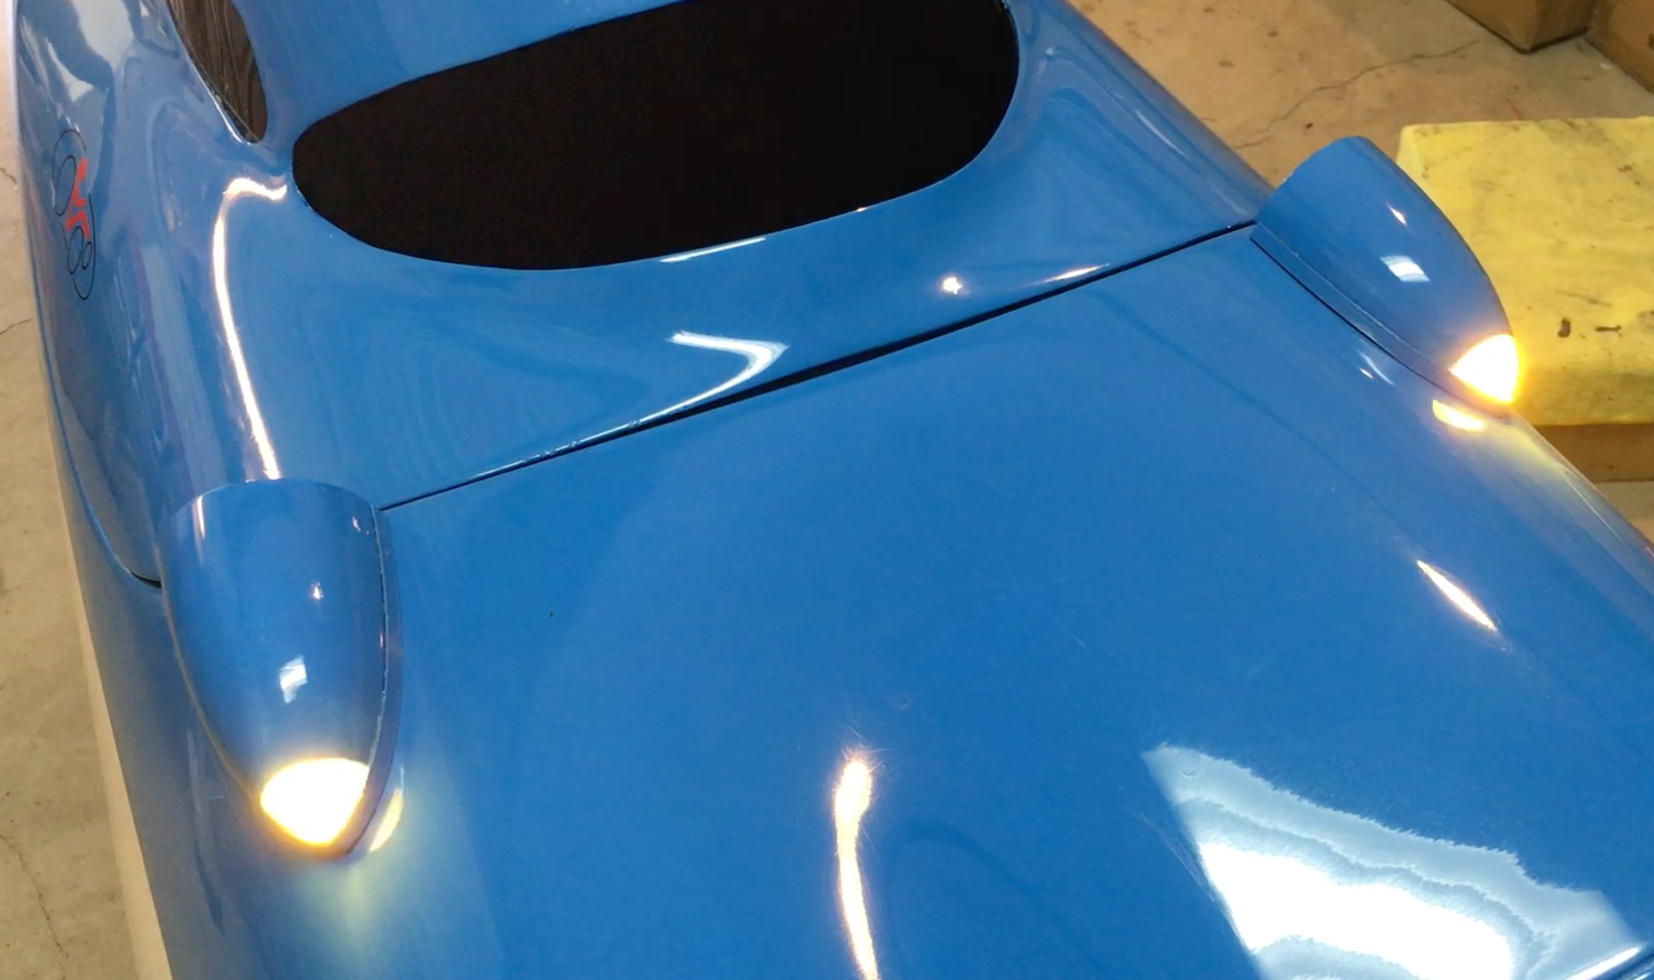
To build the lid, I started by laying up a hood from my own Milan race hood mold. I cut away the overhead portion of the hood, leaving a larger opening than the stock lid’s opening. There is also more of a lip on the front edge of the opening, forming a bit of a windscreen. Notice that I’ve added the same NACA duct and mirror covers as I used on my full hood.
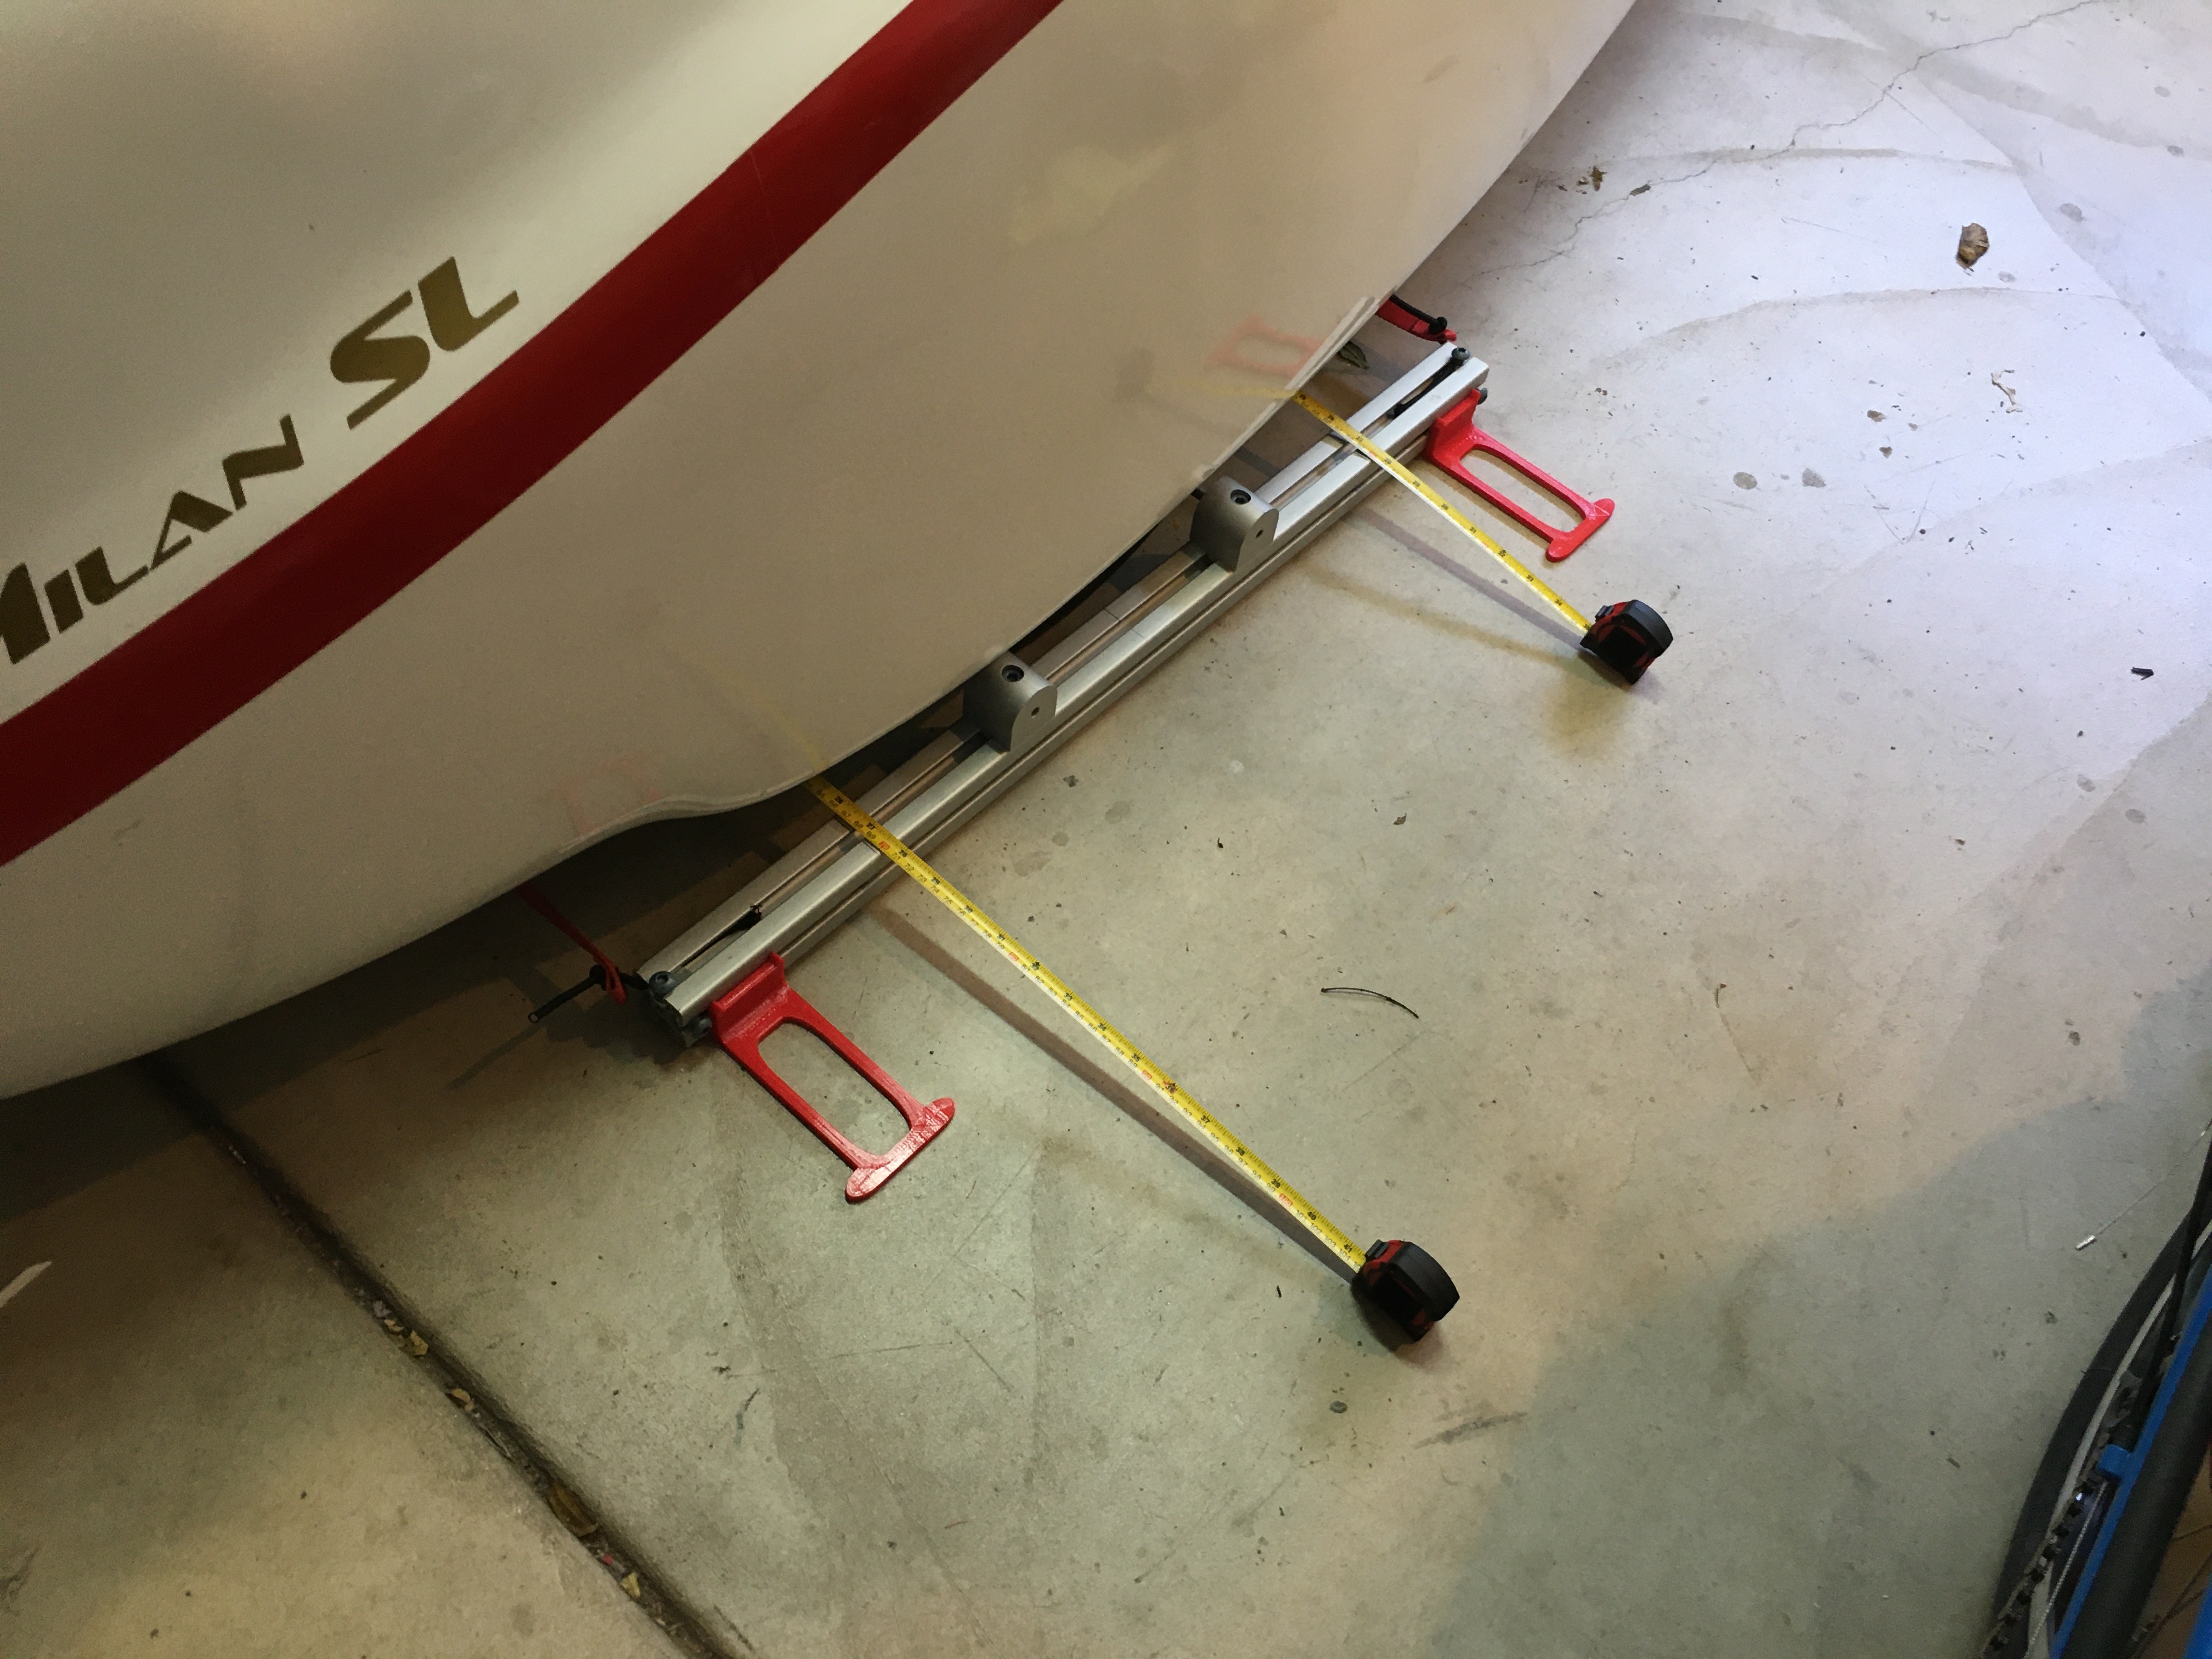
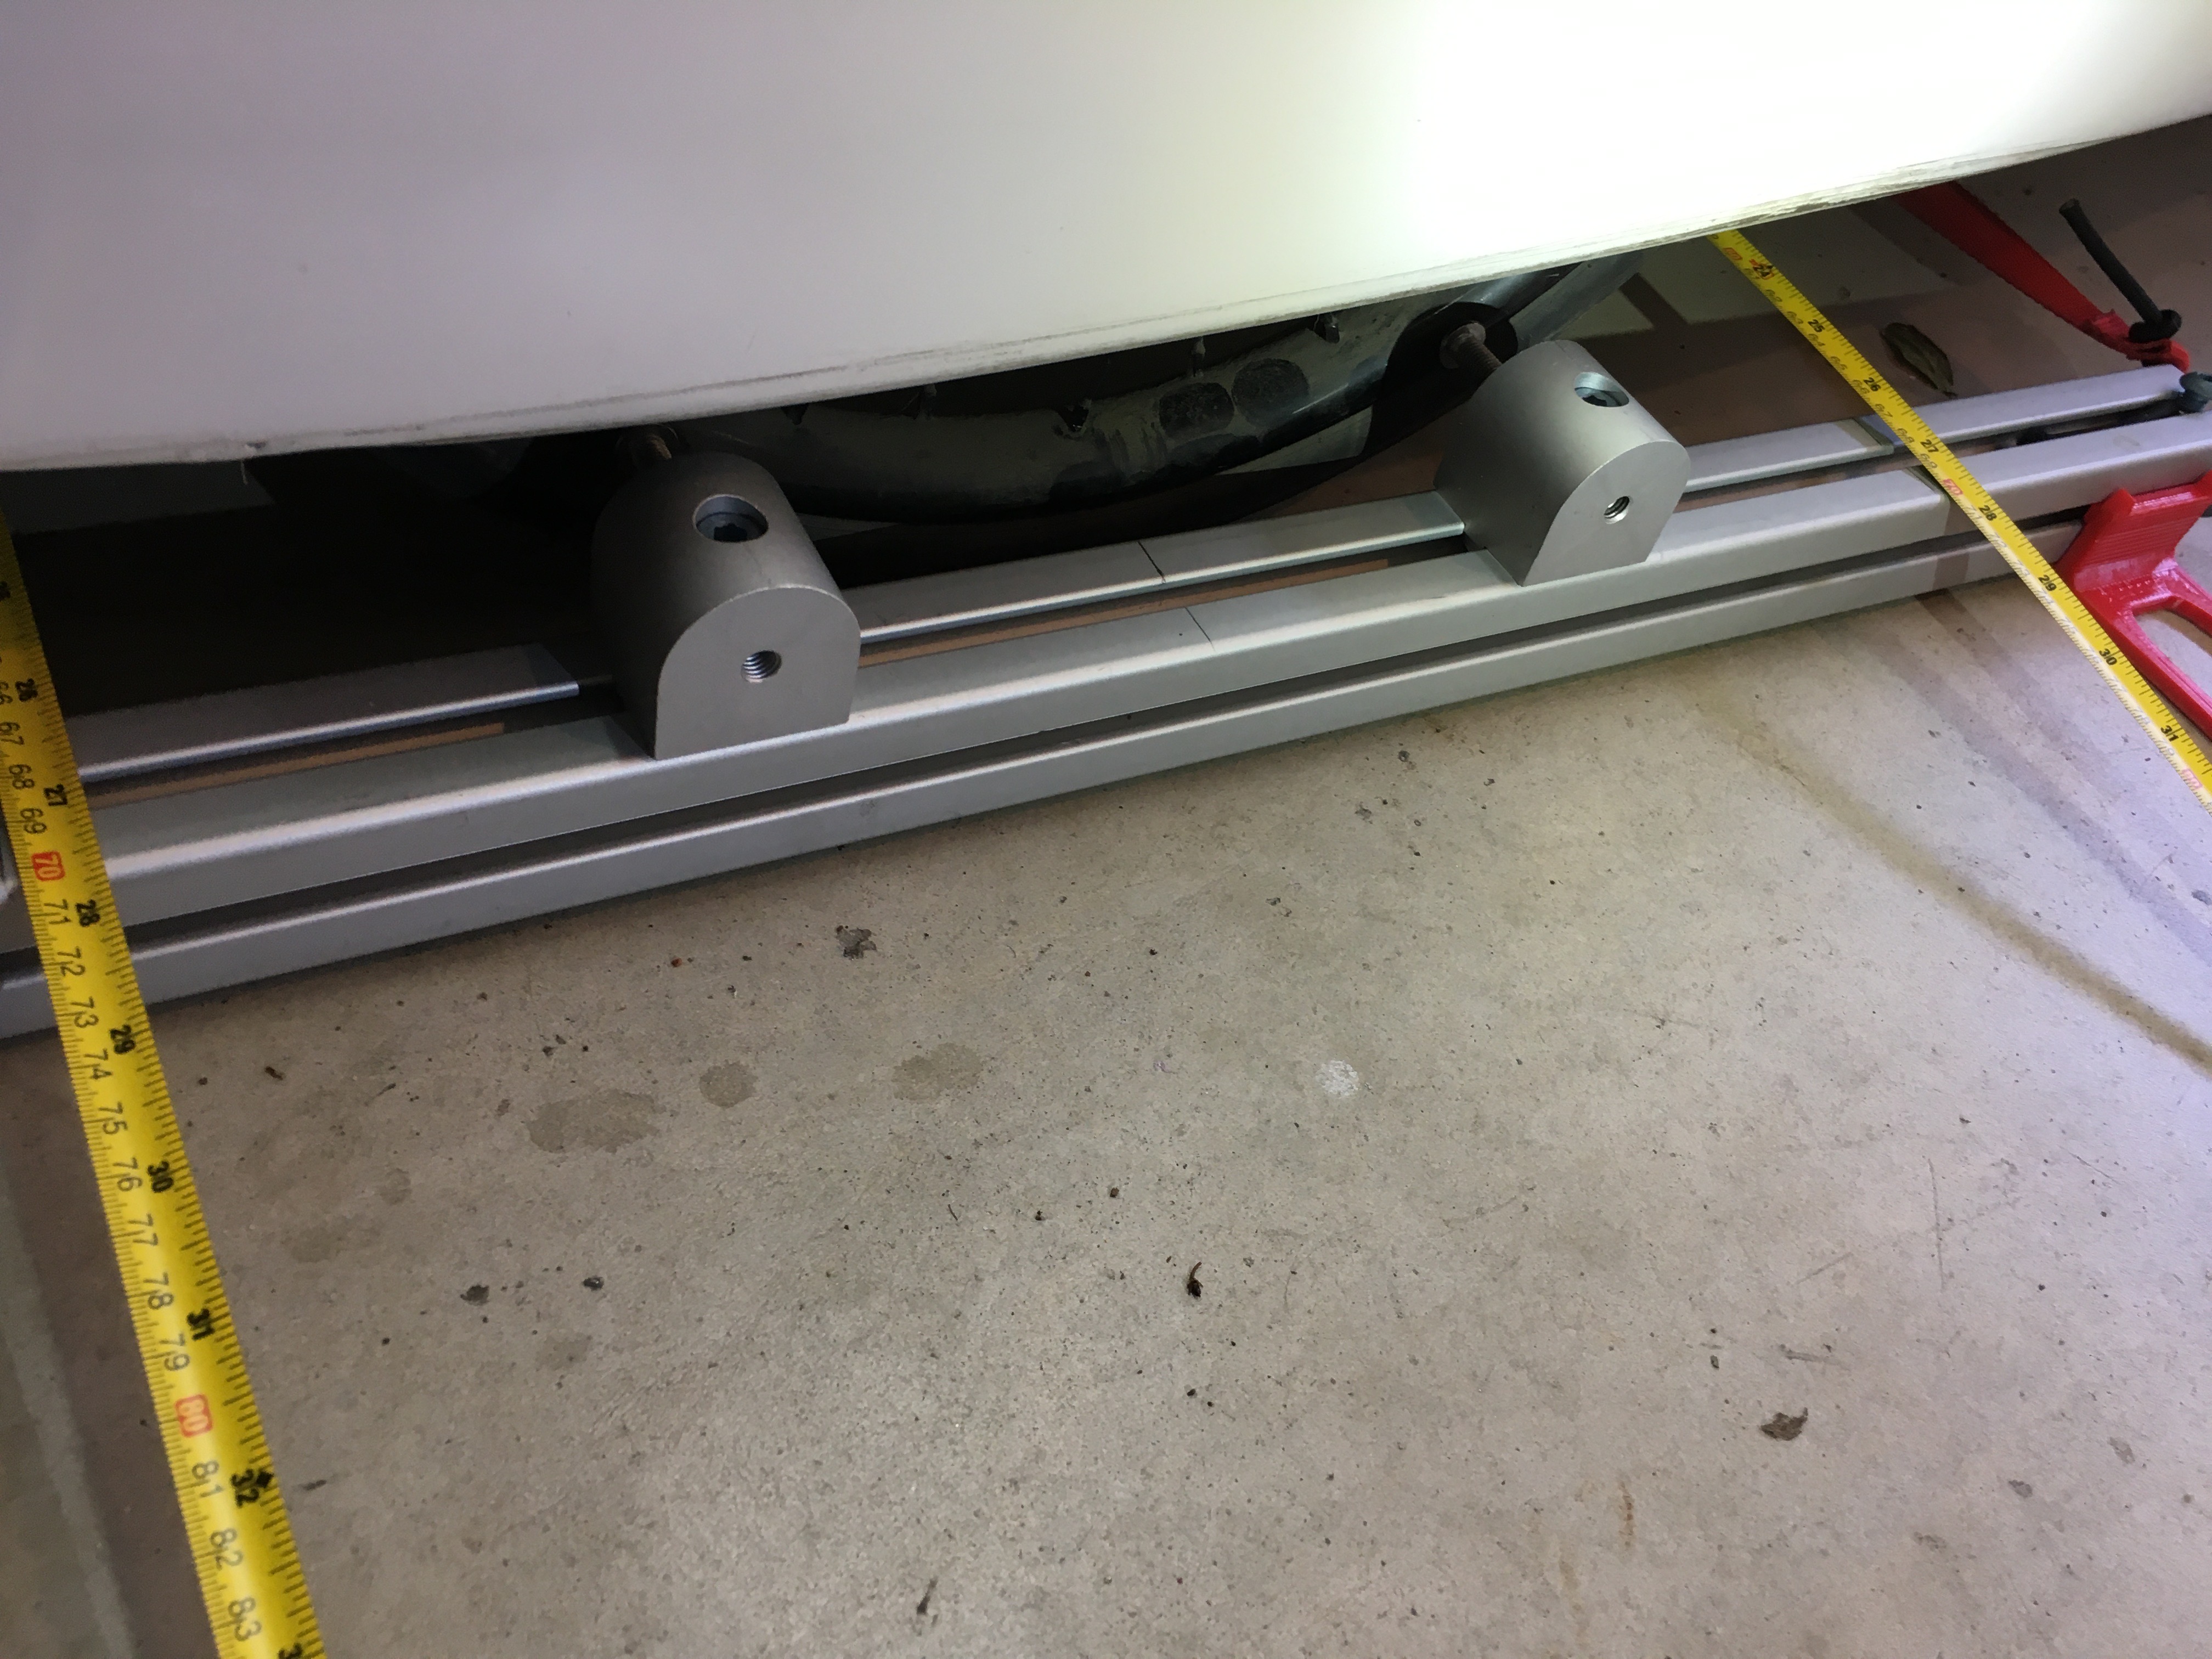
The lid is held in place by the usual Milan cable housing hinge at the front. Also at the front is a single bungee that extends from the bridge up to a hook on the underside of the lid. Magnets are attached at the back 2 corners of the lid to mate up with magnets taped to the inside of the body shell.

Driving Impressions
I’m used to riding with the full hood, so riding head out is quite different. A lot more air flows past my face and around my neck and shoulders. That is the point of building this lid so this is a good thing. Vision out front and to the sides is excellent. The amount of air flowing through the NACA duct is not as noticeable with the open lid as it is with the full hood. I think that it probably isn’t worth the effort to add the NACA duct in any future lids that I may make.
As for performance… I didn’t take any time to do any actual testing. I’m not able to feel a slow down due to adverse change in the aerodynamics, but I’ll assume that the lid will slow me down a bit. Overall, I’m pleased with the effort. The fit of the lid is decent and the added airflow will be appreciated on warm days.