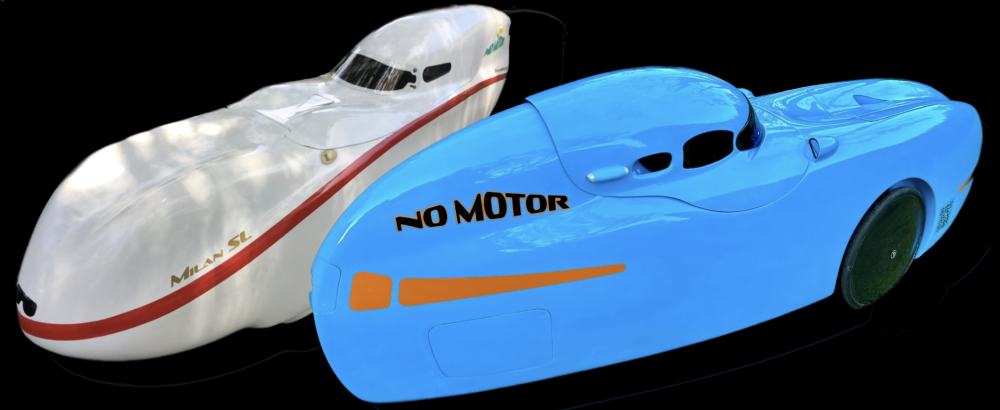
After noticing how much more air is passed by the Milan’s small NACA duct than the DF’s, I took a long look at the larger duct on the DF. One of the main differences was the depth of the ducts. The floor of DF’s duct seemed to rise so that there was a section of the duct that was very shallow. My guess is that this reduced area was causing some turbulence which reduced the air flow. I came up with this deeper duct. I also added an extension to the duct to feed the air closer to the rider. The air flow was improved greatly by these pieces.


I showed these changes to my friend Doug (the gentleman who sold me the Milan SL). He thought that it would be nice to make the duct closable with a flush flap of some sort. There are 3D printed NACA ducts sold in Germany for the Milan that have a closable flap. However, these NACA ducts won’t work directly on the DF due to the flat shape of the Milan’s top panel vs the curvy, recessed shape of the DF’s access panel.
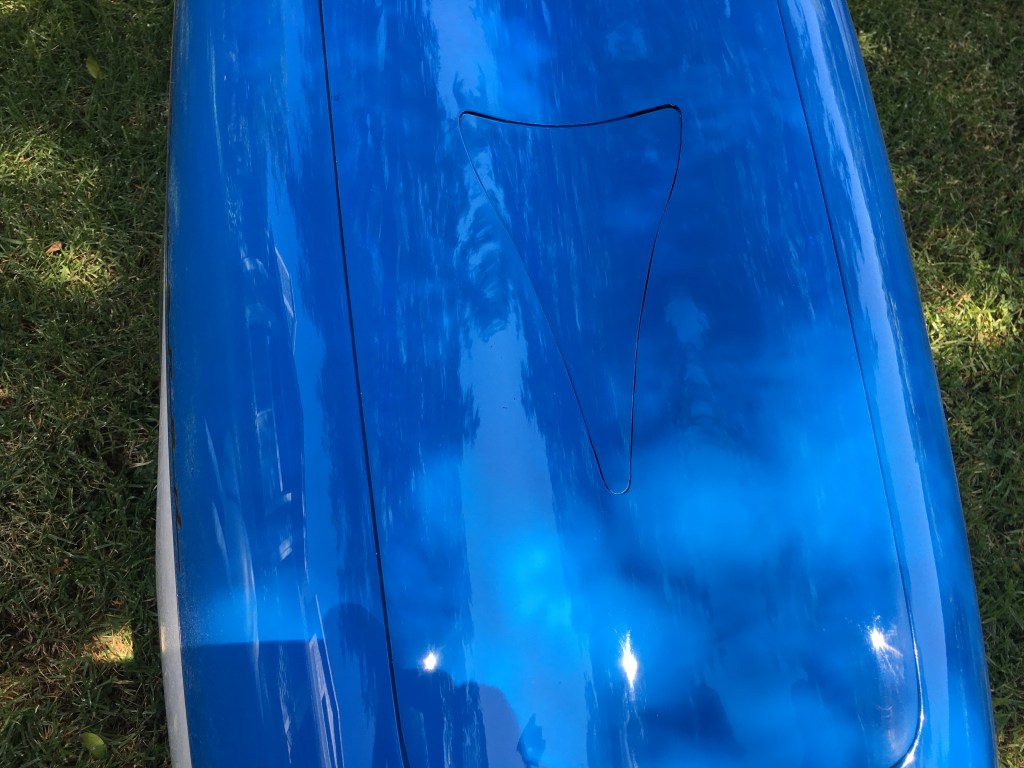
I took Doug’s suggestion as a challenge and this is what I came up with. I first laid up a new NACA duct and extension duct as shown above. Then I laid up 2 new DF access panels – one to house the NACA duct shown above. The other panel was used as the donor for the flap. The flap needed to have the same curvature as the duct panel in order to perfectly fill the opening when closed. Extensions were added to the tip and trailing edge of the flap to allow it to lie flush with the top of the duct panel. The tip extension of the flap inserts into a loose slot in the front of the NACA duct to form a sort of hinge. All of the pieces in their rough, unpainted form are shown below.

To operate the flap, I needed a mechanism to push it up flush with the panel and down to touch the floor of the duct. The solution that I came up with was a simple stick screwed to a carbon fiber clevis (not shown) on the bottom of the flap and protruding through the floor of the duct. I 3D printed a piece to attach to the bottom of the duct to provide a rigid slot for the stick to ride in. The stick could easily be reached by the rider. I used a small piece of 5mm bungee attached to the stick to force it and the flap up and back. To lower the flap, the stick just needed to be pulled down. The friction caused by the bungee pulling the stick back against the 3D printed slot holds the flap in the down position. If needed, I can grind several notches in the stick to hold it more firmly in some in between positions. Below you can see the stick exiting the plastic slot attachment and the model of that slot attachment.


So how did it turn out? It works surprisingly well. I replaced the wooden stick with a nicer carbon fiber piece. I added a couple of very thin magnets to the bottom side of the panel and to the rear flange of the flap to locate the flap more precisely when being closed. Was it worth the trouble and complexity? Maybe. For the most part, I just ride with an open duct. So it would be a rare occasion that I’d want to be able to open and close the flap. That said… it was a fun exercise.
Here are some photos of the “finished” duct panel.


Deal laidback, I am happy to See your naca duct for the df Velomobil. I have also a blue (RAL 5015)-Yellow df Velomobil in Bern/Switzerland. I is possible, That you are Produce and send My a naca duct Cover to Switzerland? With My best regards! Hans
Hello Hans,
Thank you for your interest. I’m sorry but I prefer not to sell my parts. I am just an amateur working in his garage. I do not have a business. The quality of my parts is not great. Any customer would be disappointed to spend money and receive less than a professional part.
Deal Friends,thanks very much for your answer! So I am happy to See and Follower your projects one WordPress. With My best recards! Hans
Pingback: Small Refinements to My Milan Hood | Laid Back Log