
I’ve been asked for plans for my velomobile rack. There are no plans. I sketched out some basic ideas, then filled in the details as I built it. I used 8 foot lengths of 2x4s and 1x6s where I could. This is a crude but functional rack. I’m sure the next builder can improve this a lot. The only power tools that I used were a sliding miter saw, cordless drill and cordless impact screw driver.
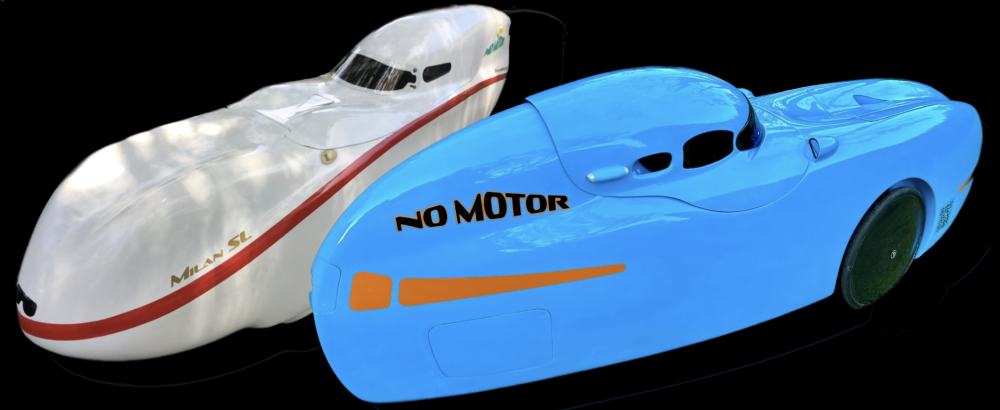
Rather than spend the time drawing out plans, I thought I’d just take a bunch of photos and add some critical dimensions and let the next builder improve the design. This was built for 2 fairly narrow velomobiles. The dimensions will need to be tweaked for larger velomobiles like the Quest.
These are the swiveling casters that I used on the bottom of the rack.
These are the non-swiveling casters that I used on the top ramp.
The rack is on casters so it can be easily moved with its contents. The lower level has ramps that are permanently hinged at the front and can drop to the ground in the back for easy loading. They are elevated by a little pulley system and held up off the ground by a piece of pvc pipe. This pulley system is not really necessary if you don’t mind lifting the lower ramps by hand. These ramps are there to keep the lower velomobile off the ground so the rack and its contents can be rolled around.
The upper level has a removable ramp that is used for loading the top velomobile and rolling it into place. It has non-swiveling wheels that drop in behind pieces of aluminum angle. These details should be visible in the photos that follow.
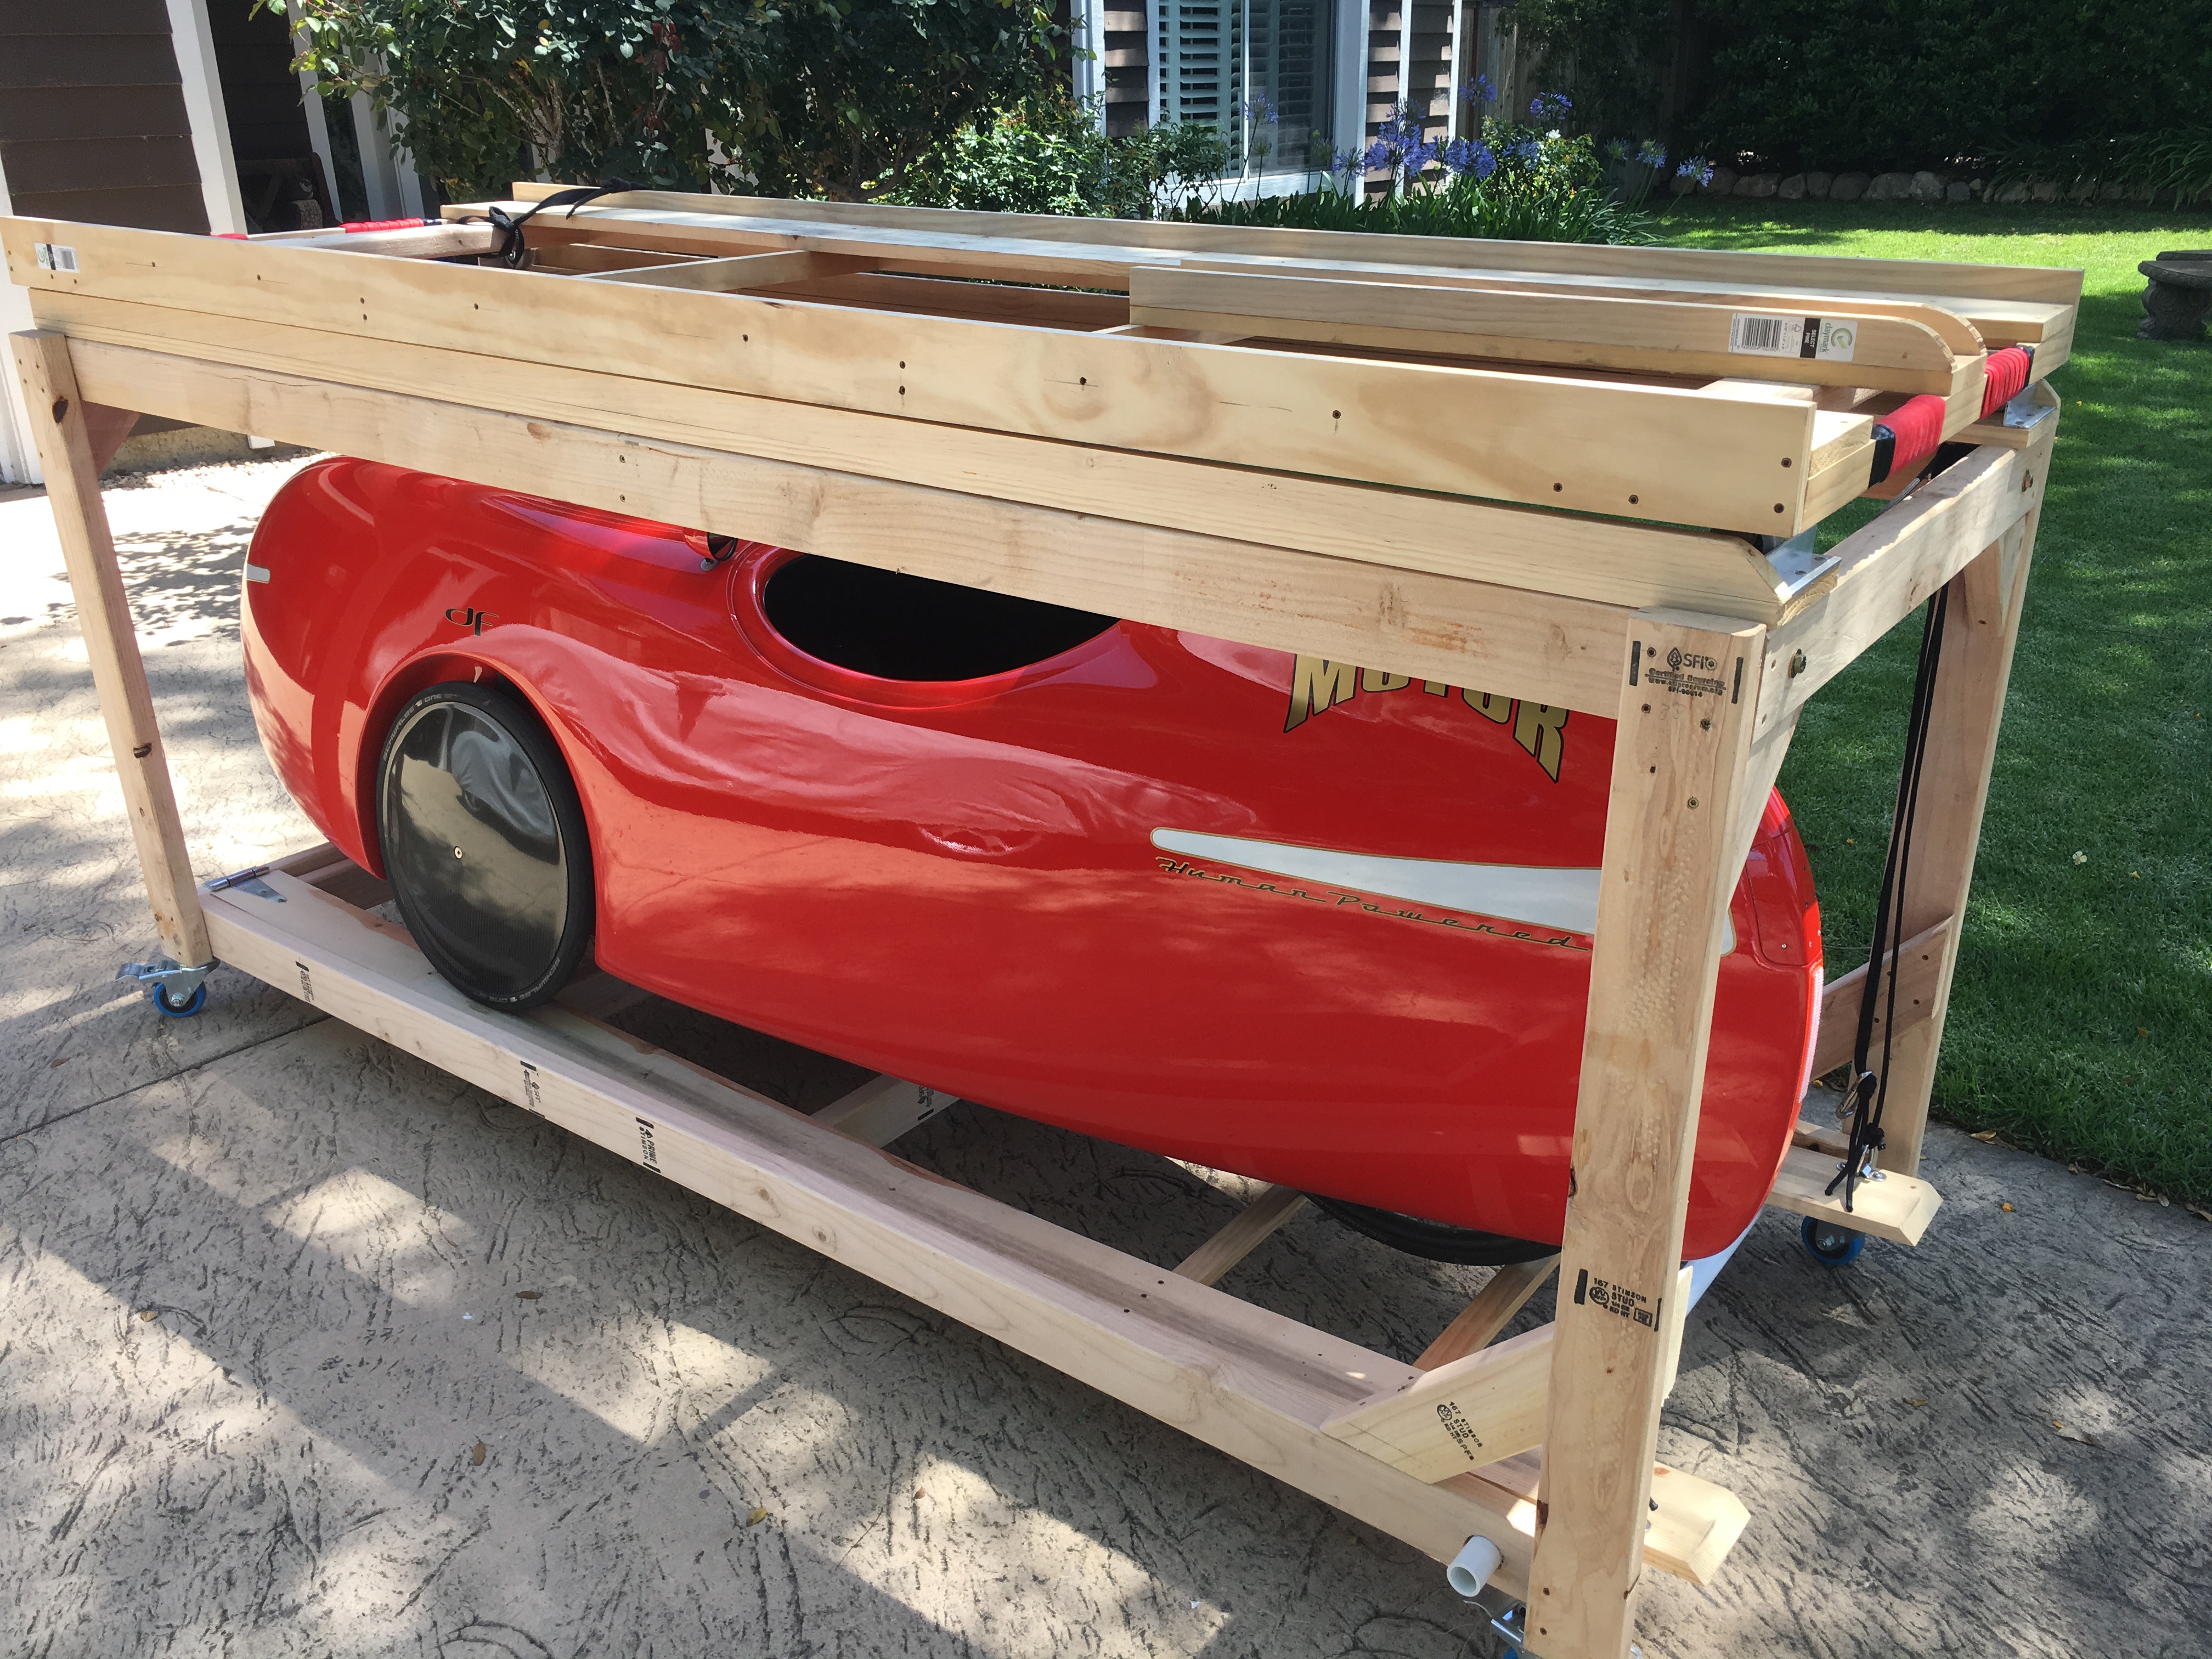
Loading the top velomobile is accomplished by laying the top ramp on the ground, placing the velomobile on the ramp with the brake engaged and attaching a retaining strap to the front wheel. The front of the ramp is then lifted and placed on to the rack with its wheels hooked on the aluminum angle. Once in this position, just lift the back of the ramp and roll the ramp on top of the rack making sure that the wheels end up positioned between the aluminum angles at the front and the back of the rack.


Here are some dimensions that work for my 2 particular velomobiles.

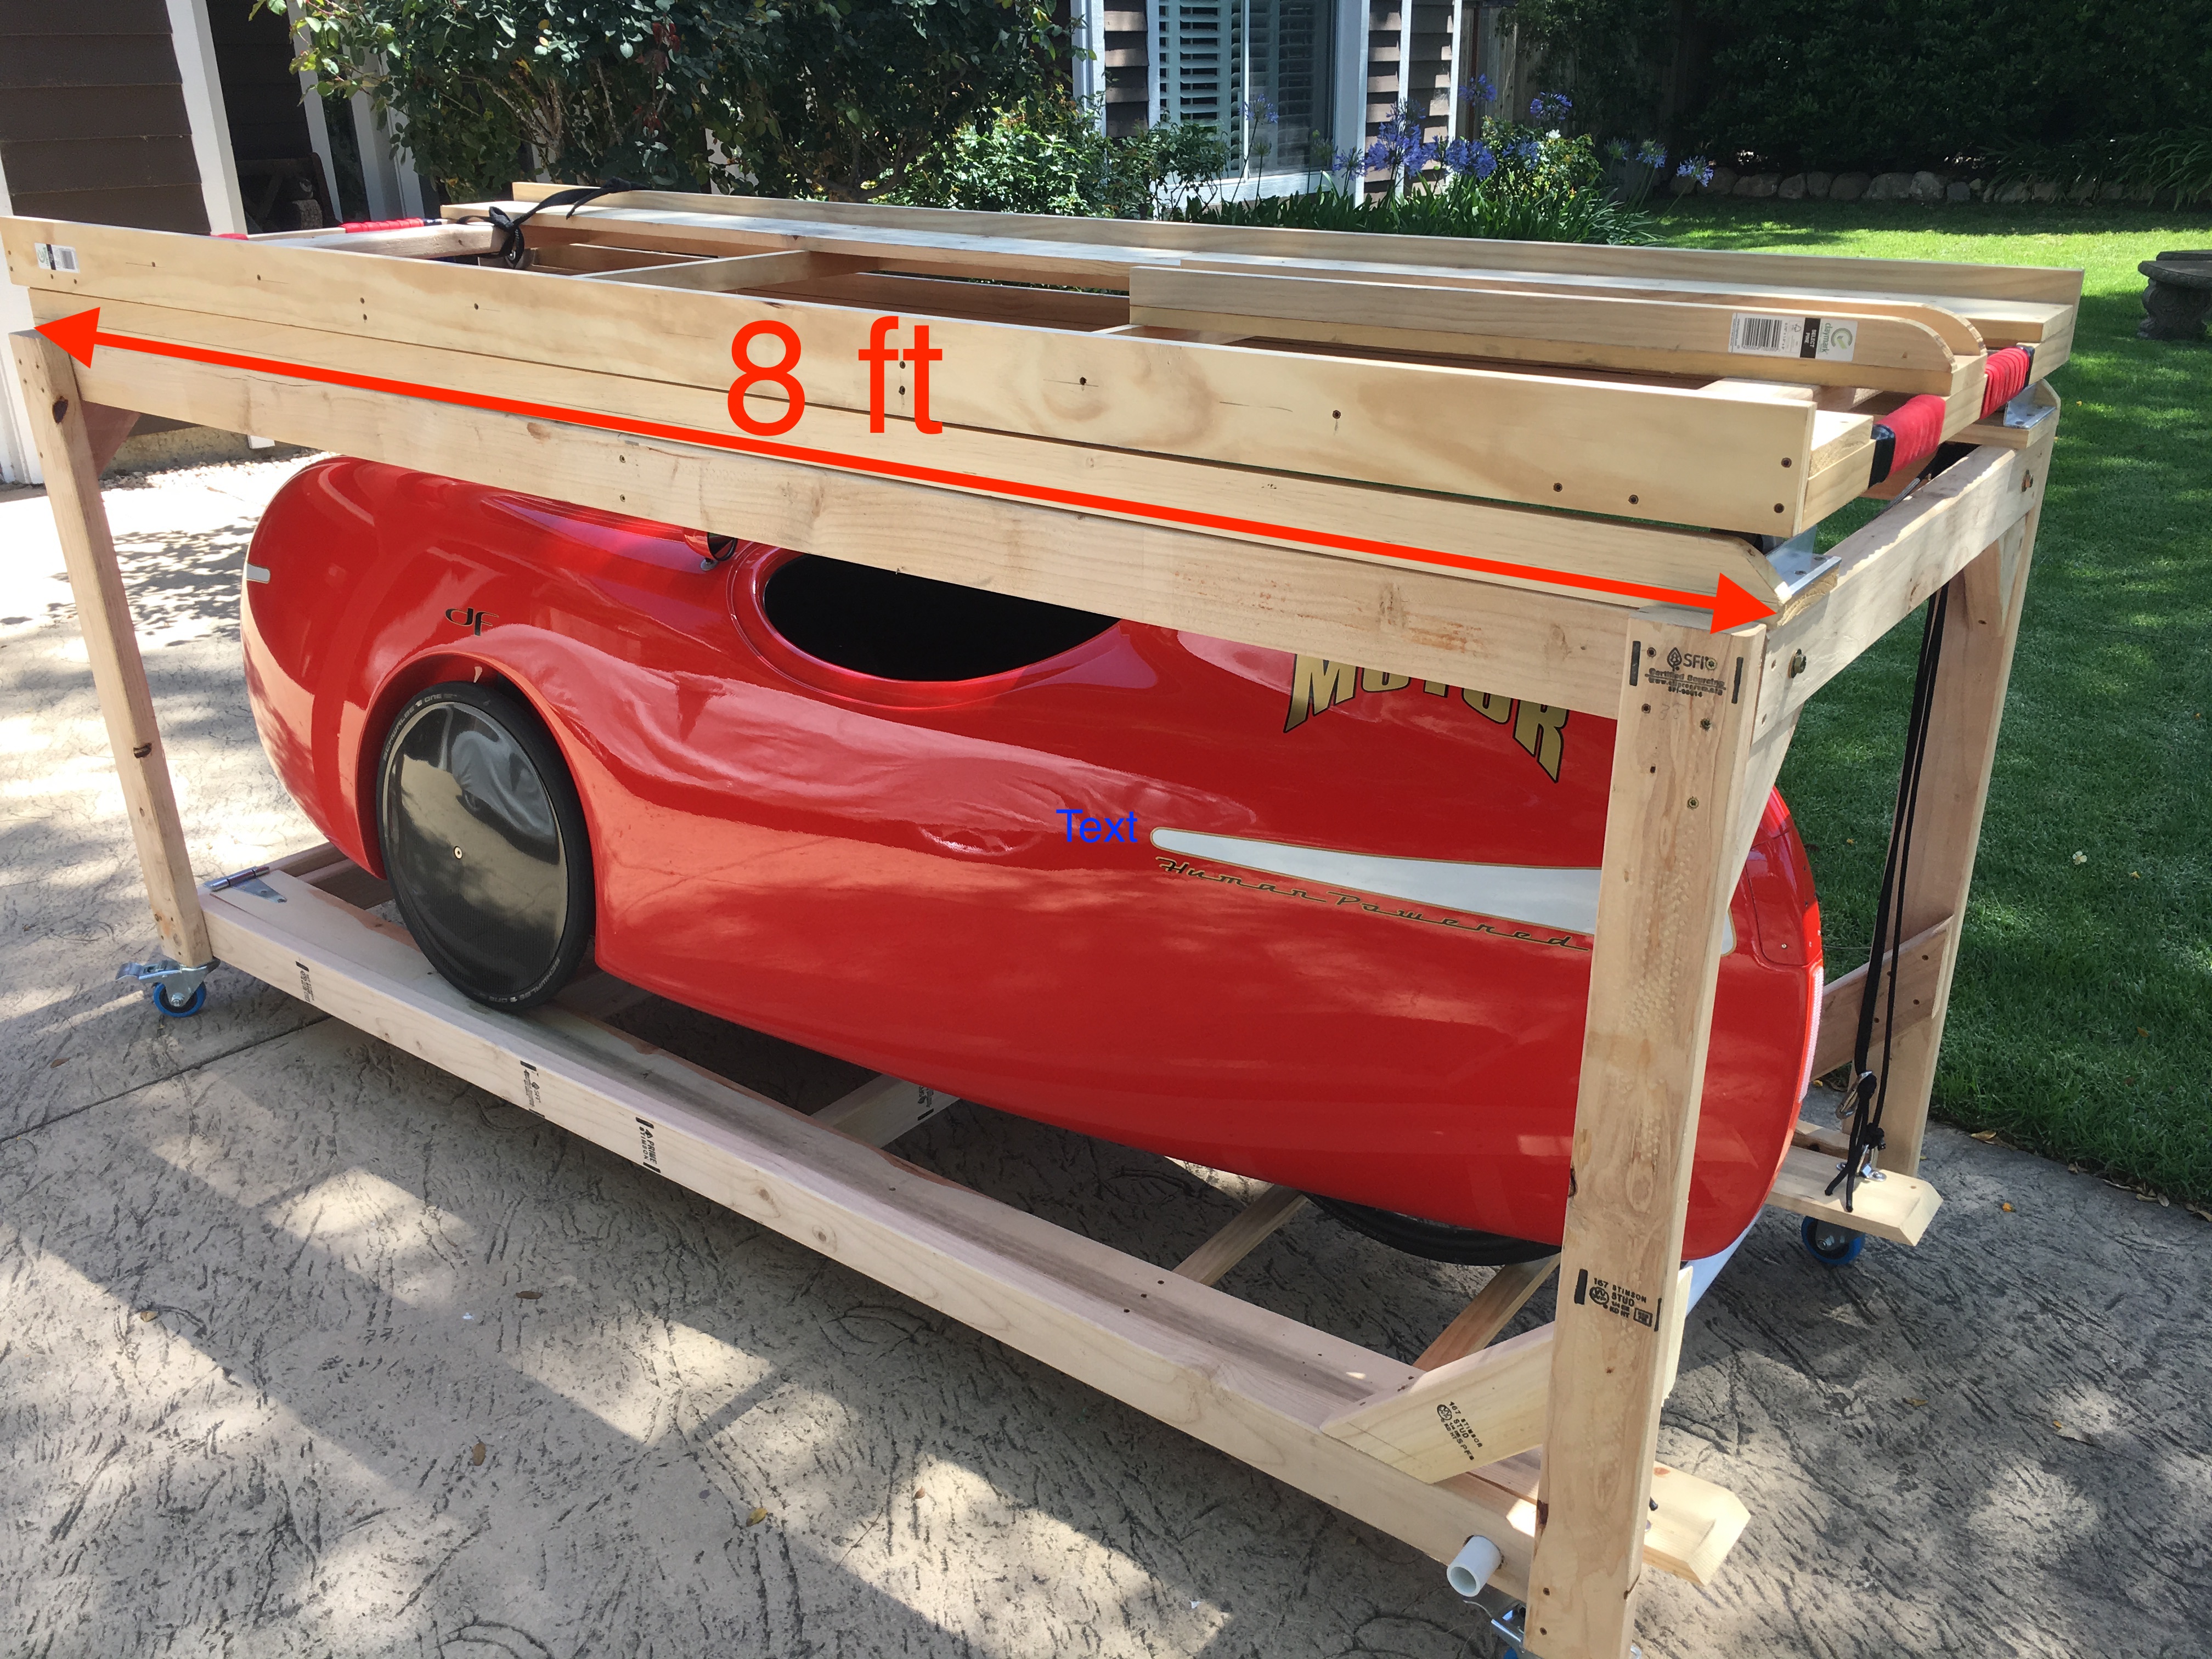
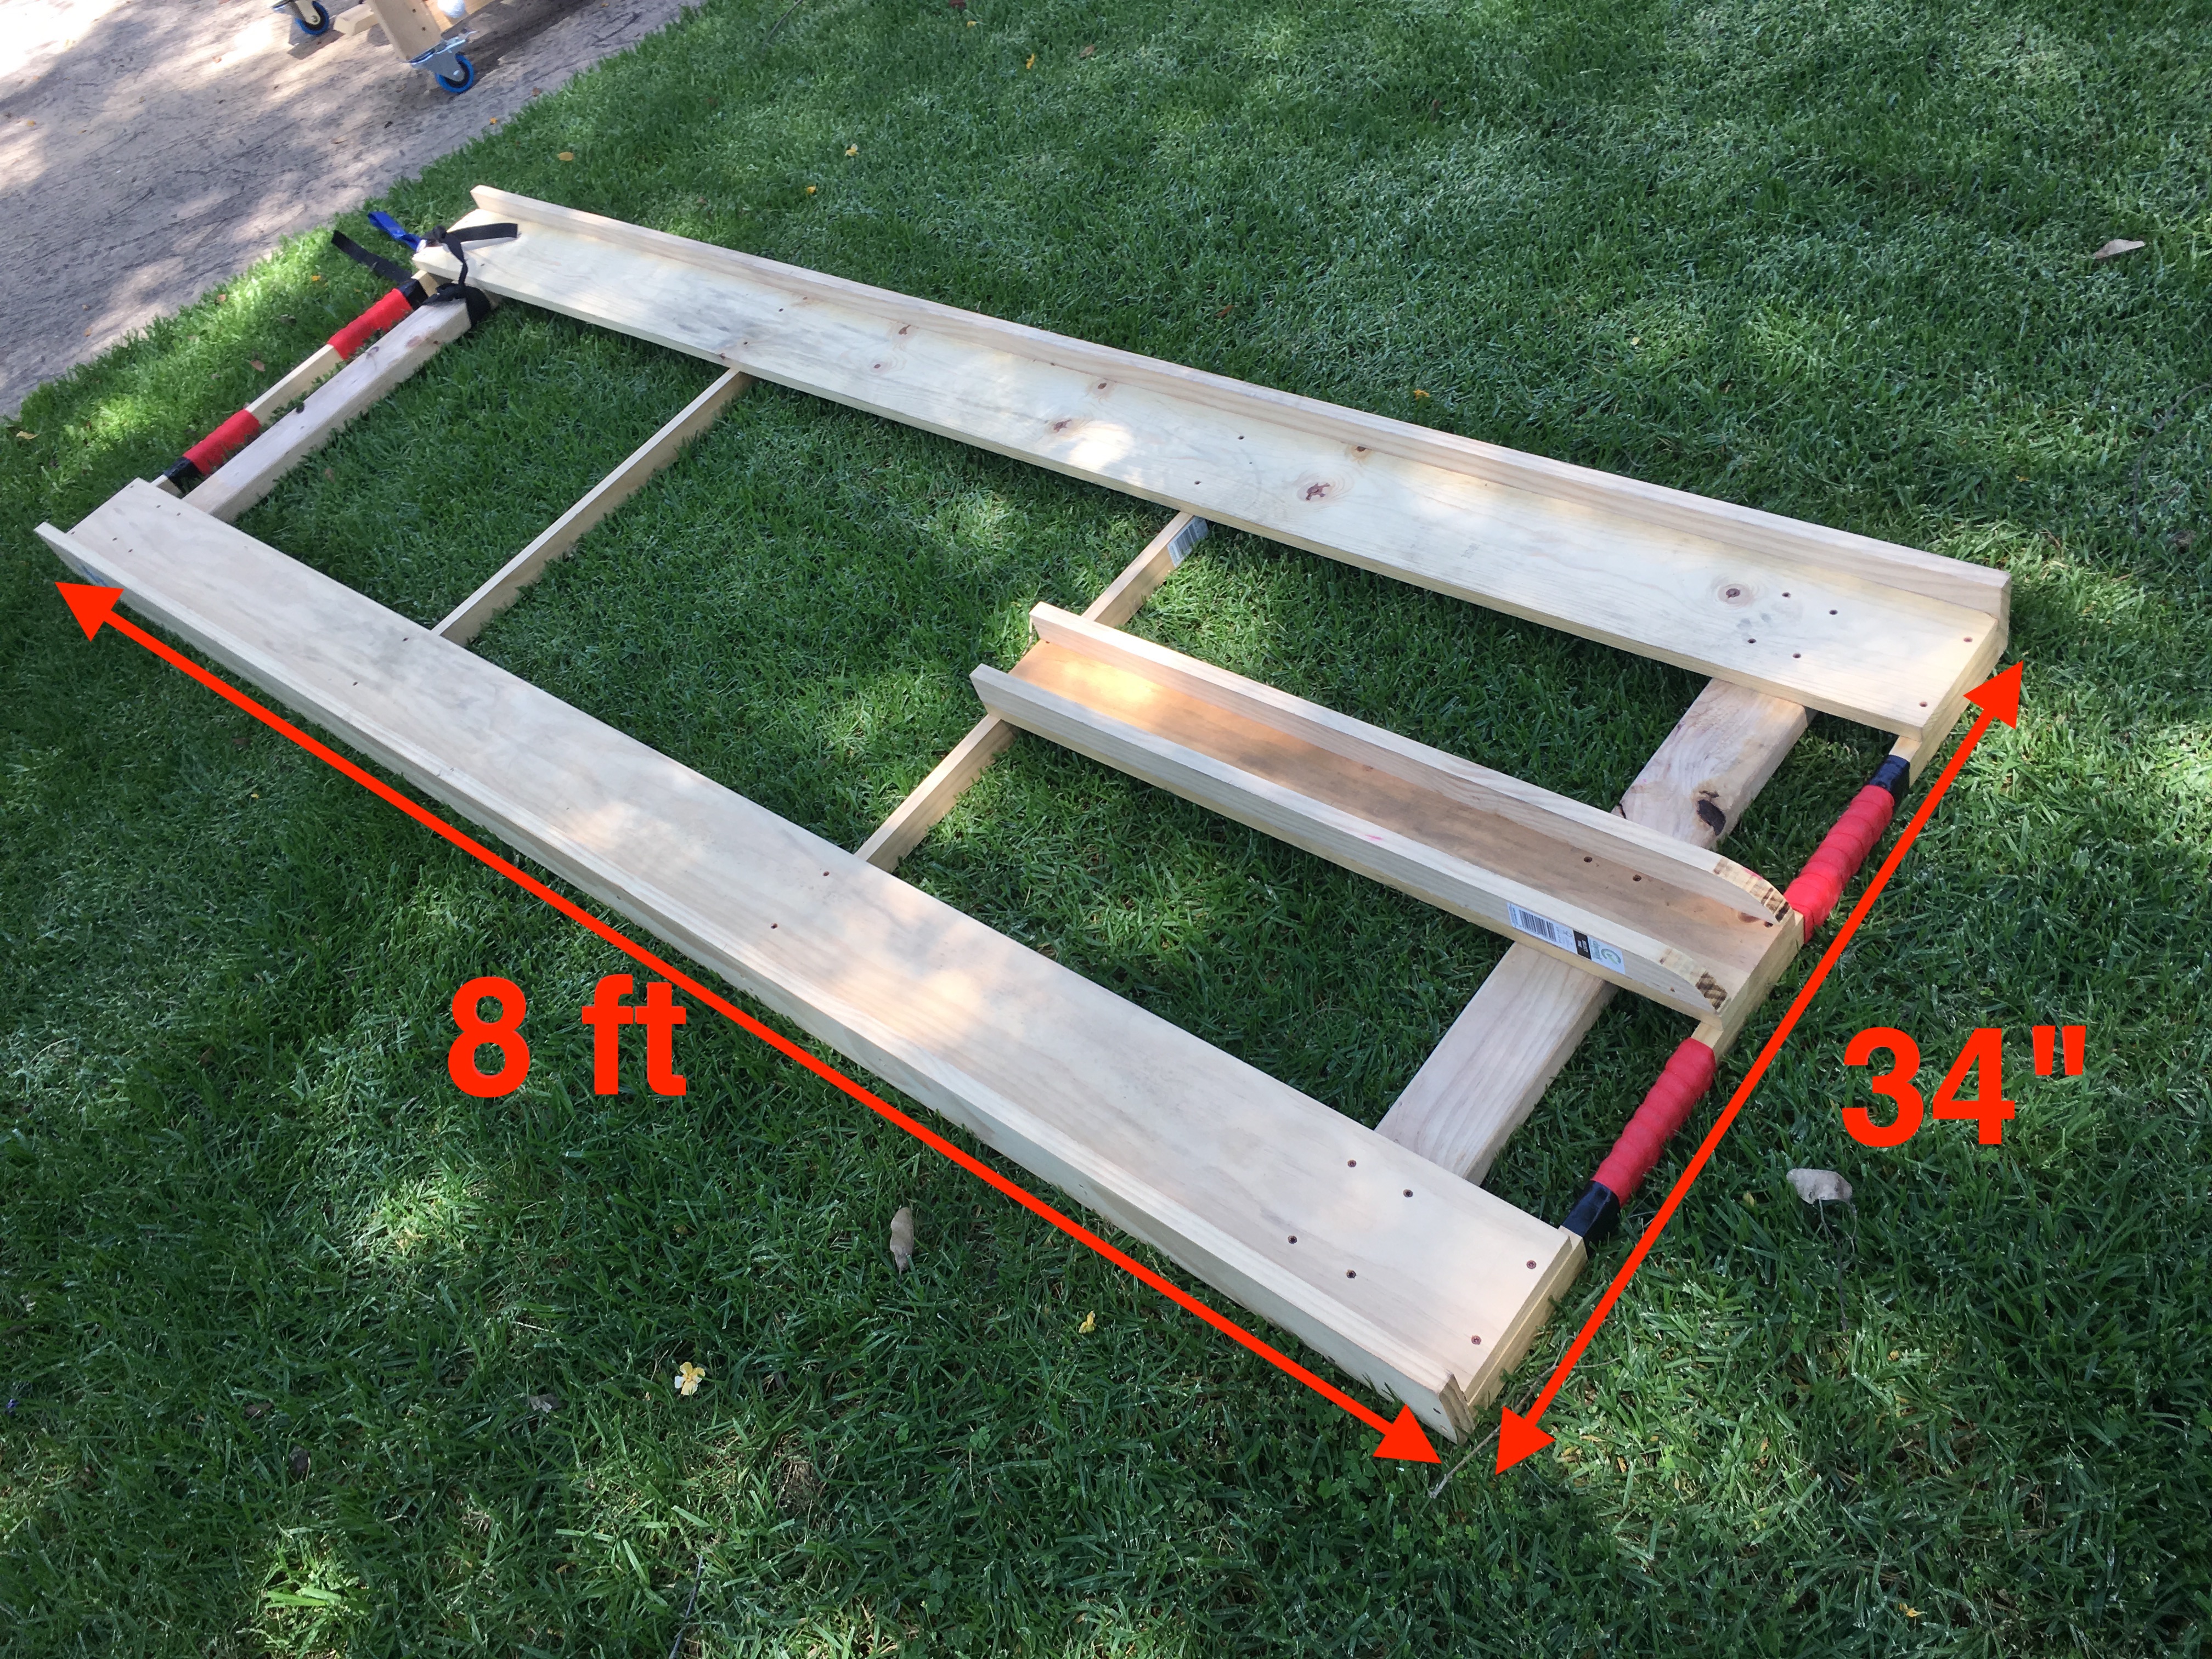
Here are some pictures in no particular order that hopefully show enough detail to get your ideas flowing.


