I’ve been asked about the NACA duct panel that I made for the DFXL. The first question is “Is it worth it?”. Yes. With the current NACA duct configuration, I’m able to run the race cap on days with temperatures in the 70s. The duct moves a lot of air across my body. Without the duct, I was only able to tolerate running the race cap on days no hotter than the low 60s.
The next question is “Does it slow you down?”. I’ve done some crude roll out tests and it does seem to reduce the roll out distance when compared to running the plain, unducted panel with otherwise the same configuration. However, the test that I cared most about was the comparison of running no race cap with a plain panel vs. running with the race cap with a ducted panel. In this test, running the race cap with the ducted panel was better than running no race cap with the plain panel. The bottom line for me is that I consider it a success. I can make good use of the race cap on days when I couldn’t before.
This is my current panel. Let’s see how I got there.

Building the duct
First I 3D printed some smaller open source NACA ducts and placed them in flexible plastic prototype panels in various locations. Here’s an early example that didn’t work very well. I determined that a larger duct located closer to the front of the panel was required.
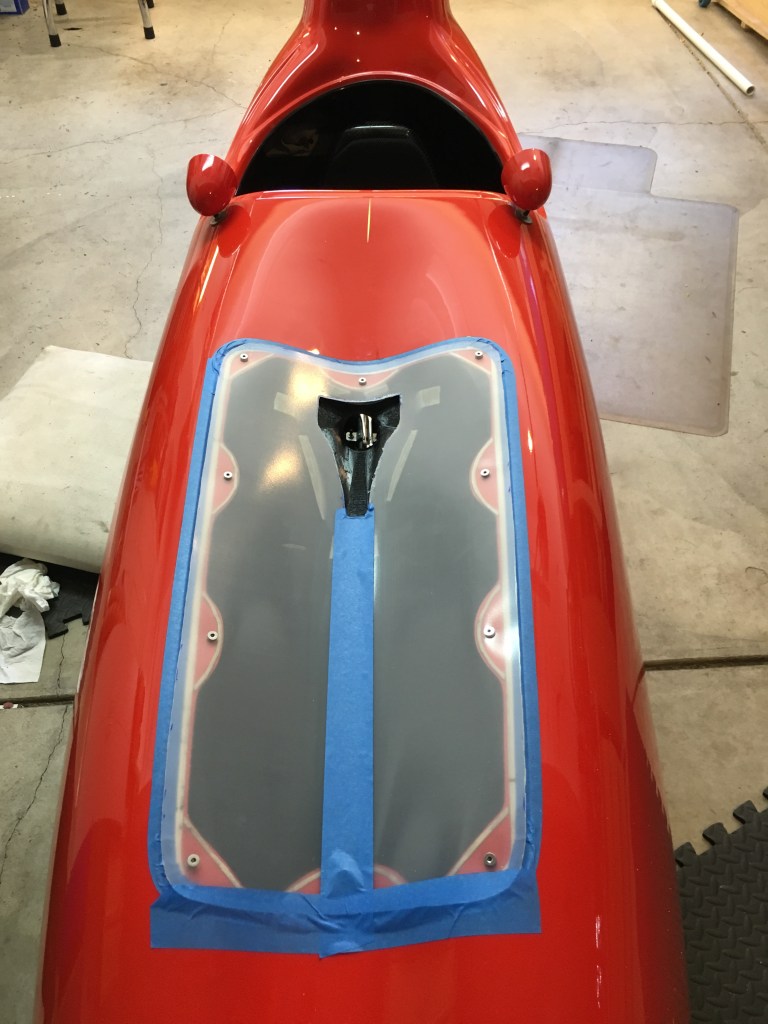
Molding a NACA duct into the curved front panel is a bit tricky. It would be a lot easier if the panel were flat. In fact, you could easily incorporate a commercially produced duct instead of going to all this trouble. The panel has a sort of valley down the middle. Here’s the panel outlined by blue tape. I first made a mold of the stock panel so that I could make my own prototype panels and avoid hacking up my stock panel.
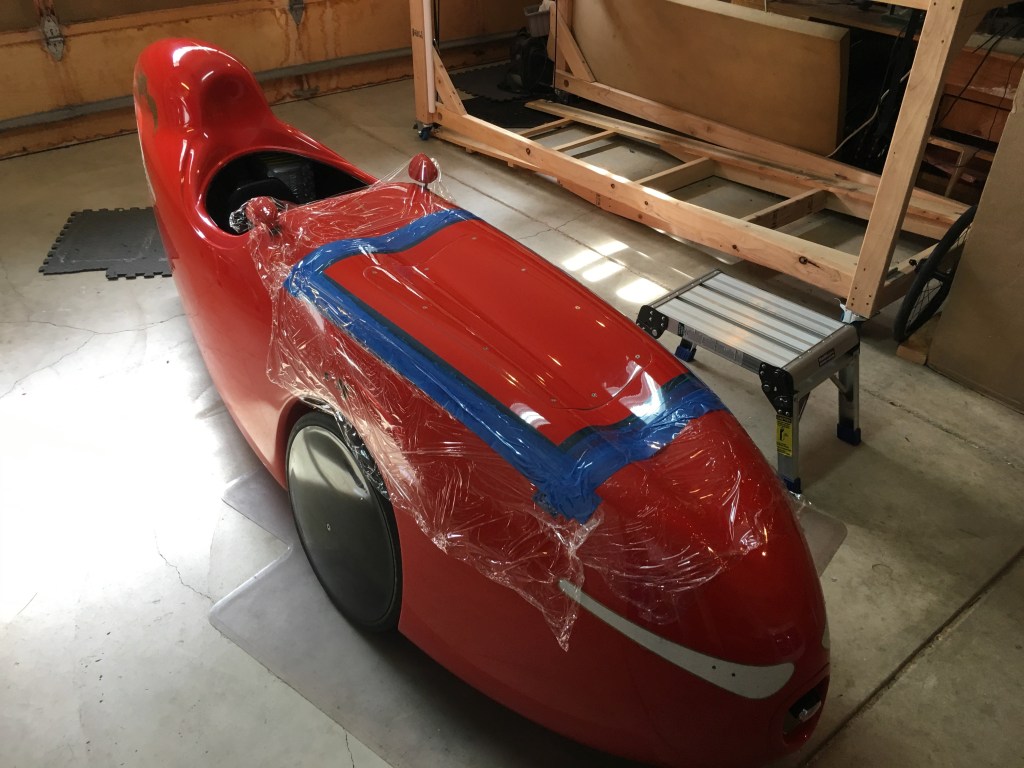
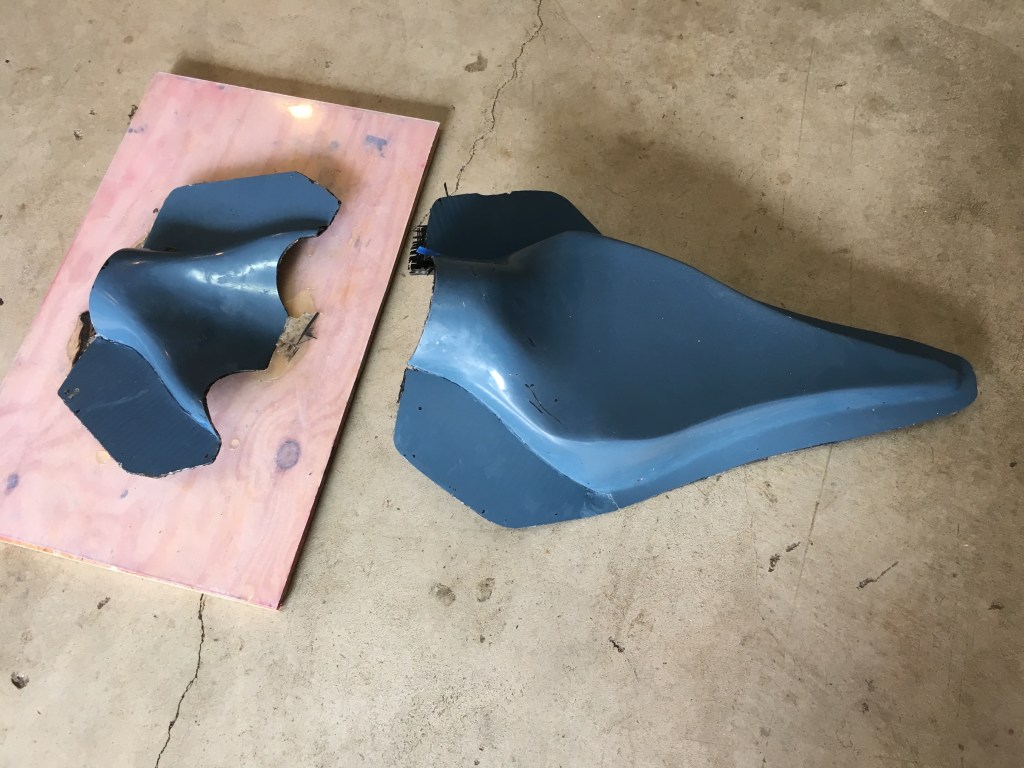
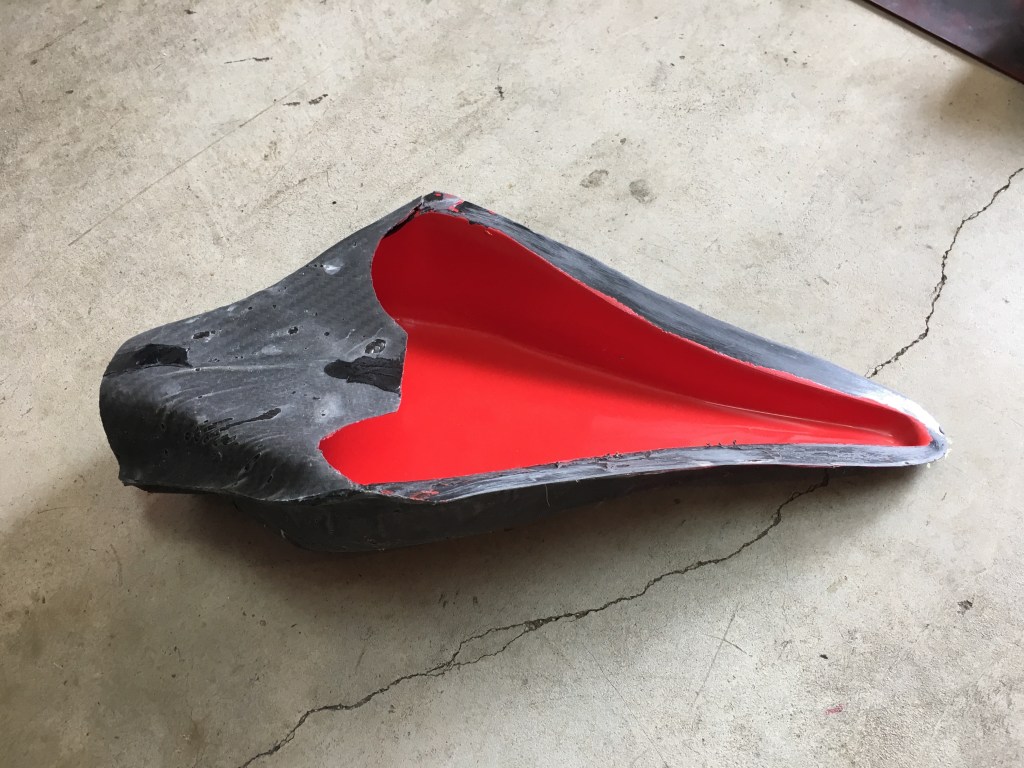
After some experimenting, I arrived at this plug. I made this solid shape out of foam, plastic and Bondo to fit the backside of the panel. This plug was used to make the mold. The red paint got messed up in the process.

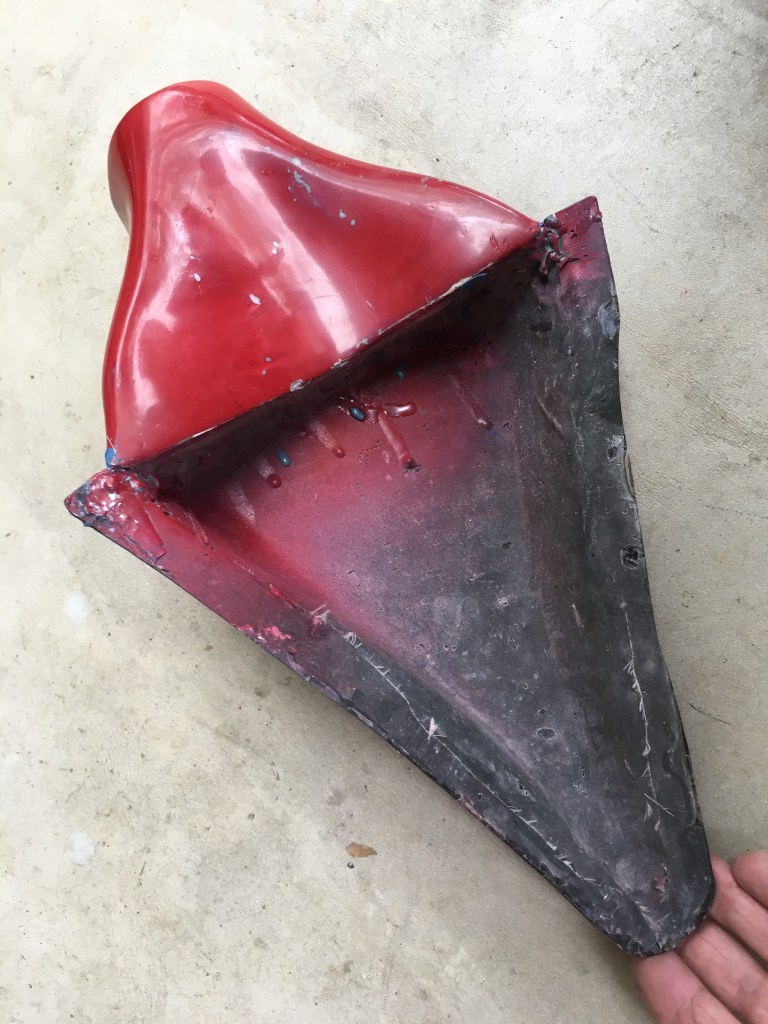
This is the surface that mates up with the underside of the panel. Notice the contour in the back section of the plug that accommodates the valley of the panel.
Here is the 2 piece male mold (looking a little tired after multiple uses).
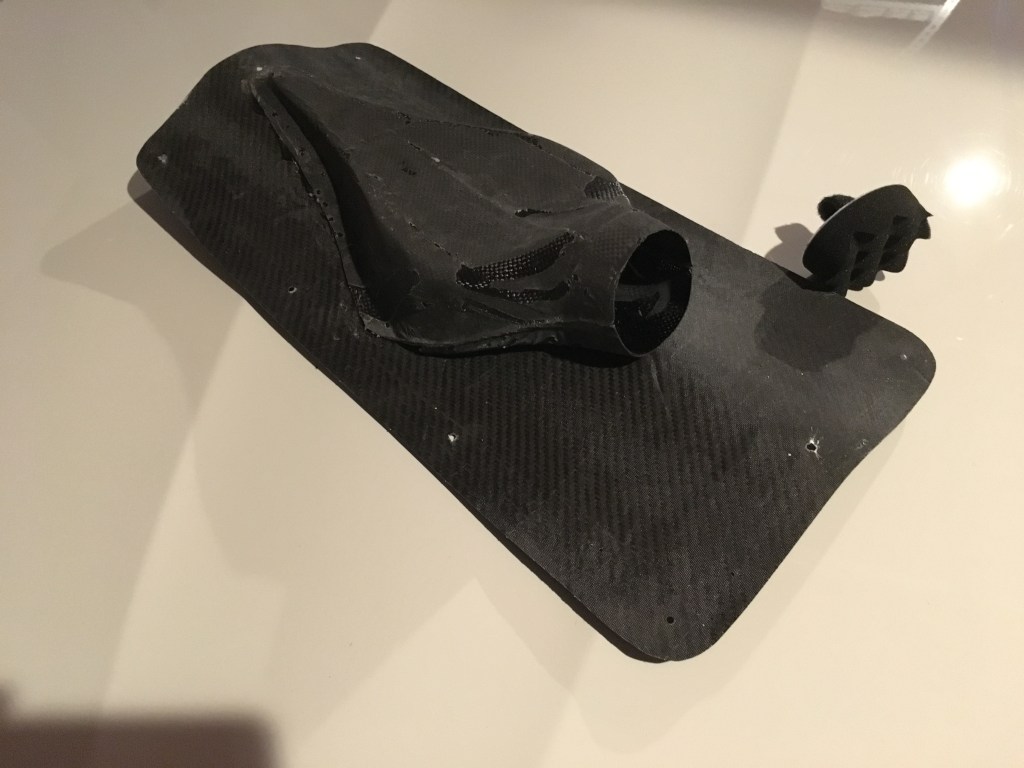
Below is a duct ready to be bonded to a panel. Excuse the sloppy carbon work. I’m still trying to get my vacuum bagging set up working properly. Notice the duct ends in a round exit. I thought it would be nice to be able to fit a foam plug in the opening on cold days. Also notice the complex curve of the long edge where red meets black. As it ramps up, it also has to traverse that valley.
Here’s a duct bonded to a panel. I found that a small foam buffing pad from my auto polisher fit the opening perfectly forming a removable plug.
Here’s the top of the panel with the duct installed and the shape cut out. With some prototypes, I blended the cut edge into the panel with Bondo. Here I left the edge exposed. I couldn’t detect any difference in performance.

I tried removing the round exit on one of the prototypes and found that the duct flowed much more air without that restriction. Here you can see where I made the cut.

Here are more photos of the panel that I’m currently using.

DF Carbon Fiber panel with NACA Duct 

